I love nests
I am the nesting type.
Around this time of year I can usually be found fashioning things to hold eggs...chocolate or otherwise.
I recently spied this lovely thing on the Marfa Stewart website.
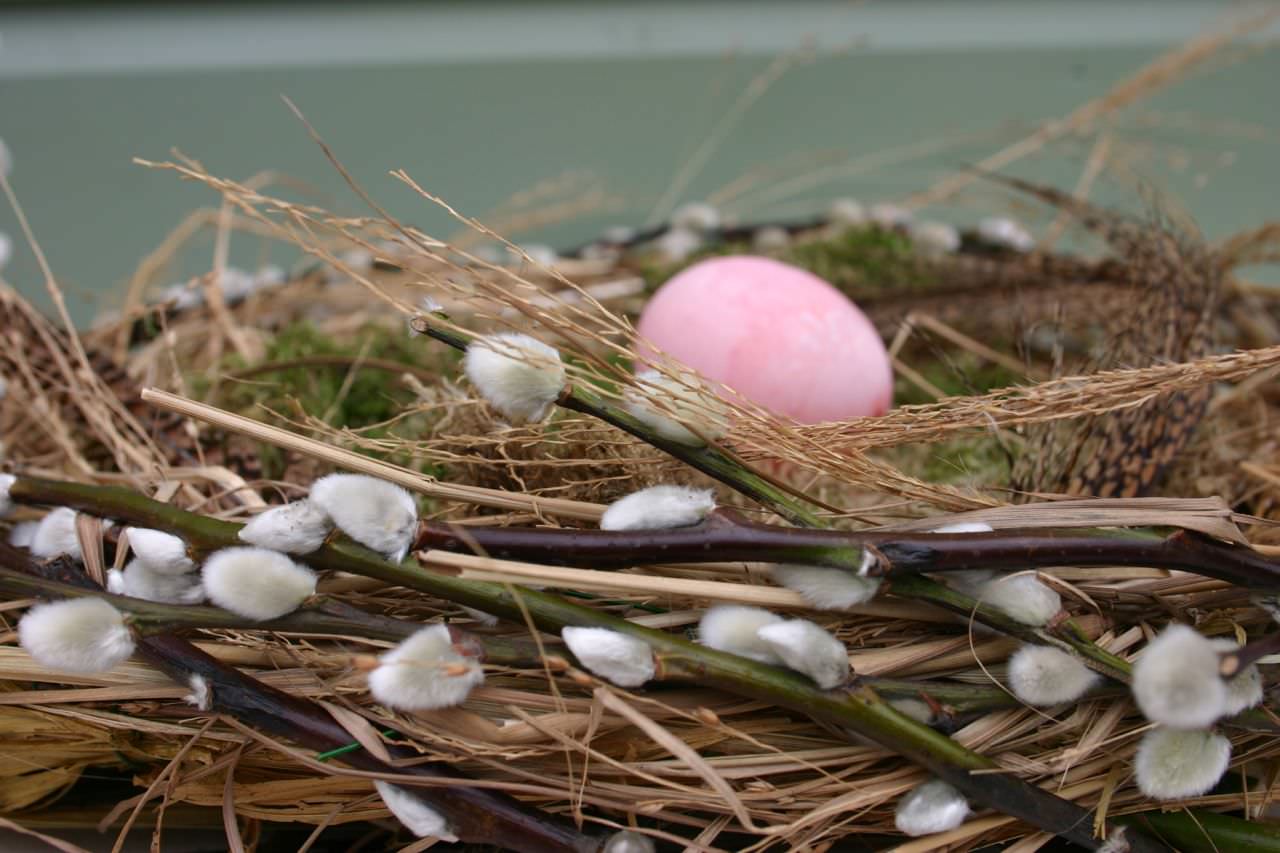
I had pussy willow (because I always end up buying it at this time of year)...and my old, dried, crispy Christmas wreath, looking forlorn in a dark corner...crying out for me to dismantle it. The result is nothing like the perfection of Martha's...(I was time-poor, and the instructions are vague) but I love it all the same.
You need:
Some nest material: I used dried grasses from a selection of miscanthus and bunny tails that I'd just pruned from the garden, and the old, crispy foliage from some gladiolus callianthus that I had tied up aeons ago in my basement. Basically, a mixture of flat/thick and fine grasses....the sort of thing a bird might choose to make a comfy nest with.
Pussy willow: In all the shops right now - One bunch...mine came from the supermarket.
A wreath form - mine is about 35-40cm diameter
Some thin wire - mine is green
Wire cutters - I use sectaurs....*gasp*
Some fishing wire or thin, clear thread, and a thick, blunt needle (or 'bodkin' as my mother calls it)
Method:
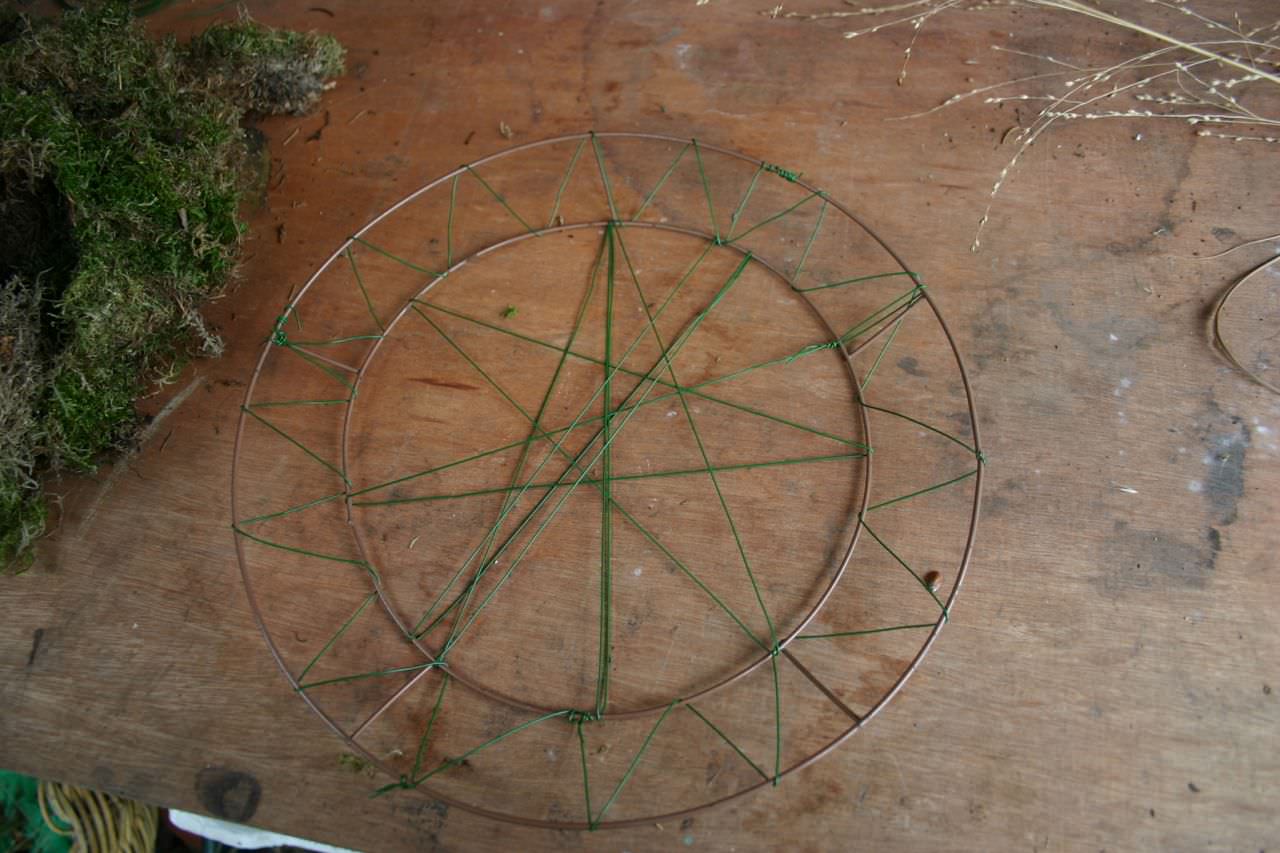
First, take your wreath form and make a sort of dream-catcher out of it with your wire like this:
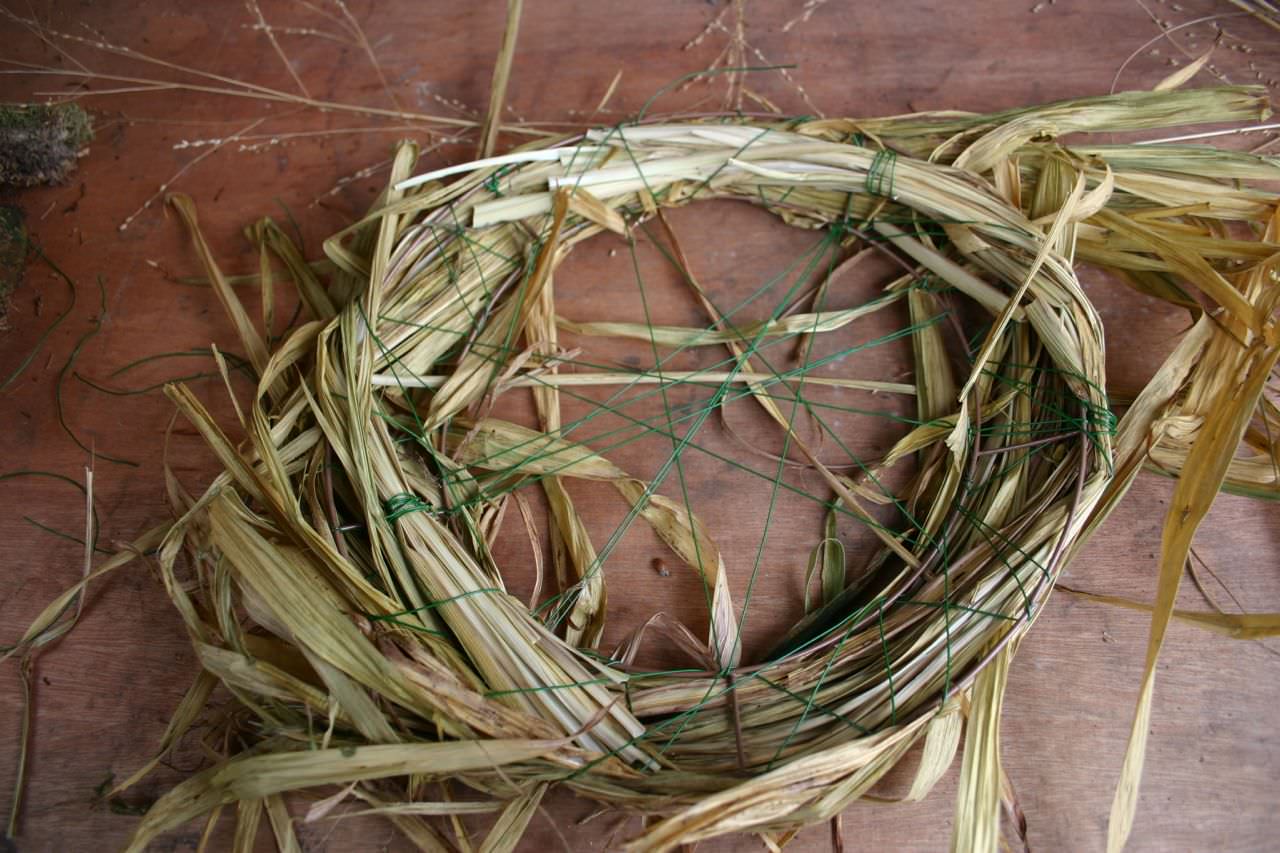
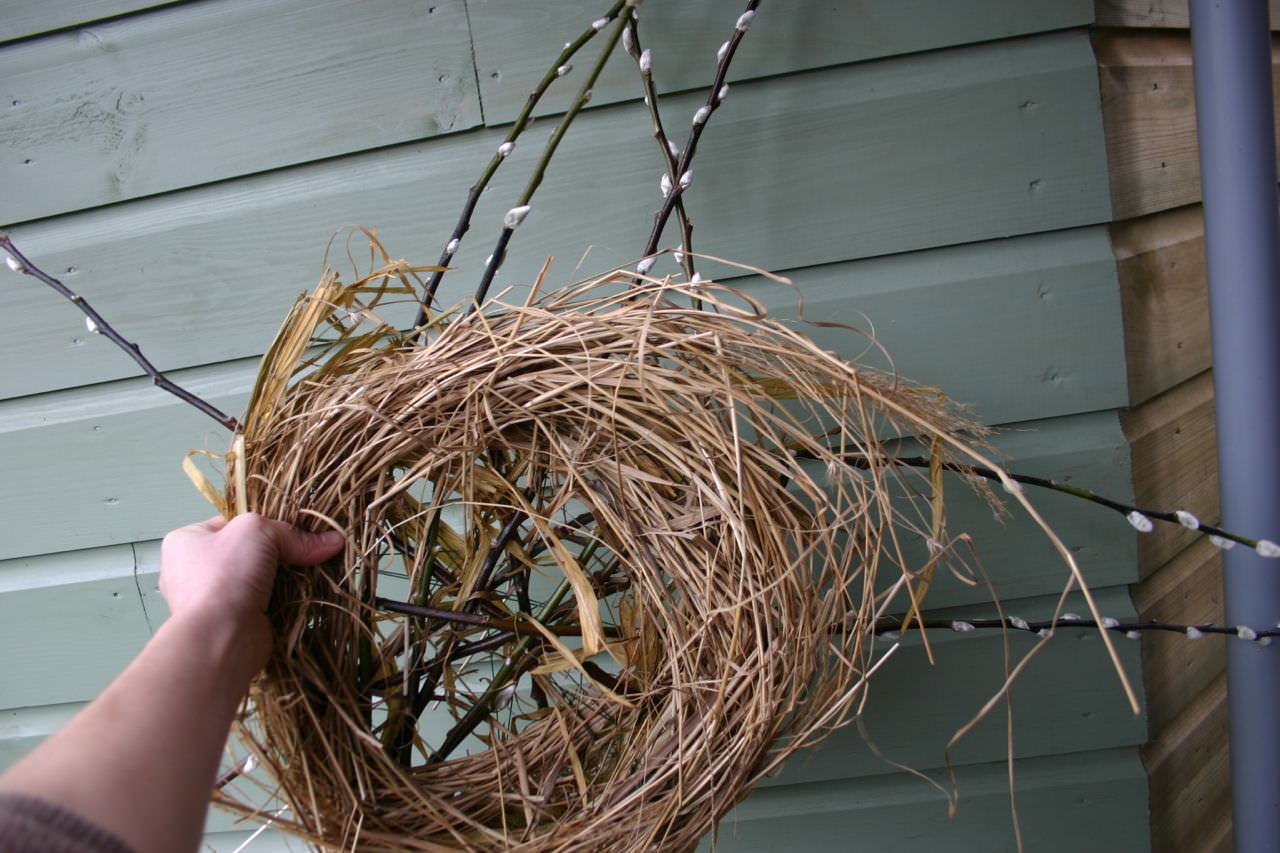
Next, separate your base-grass (in this case, my gladiolus leaves) into three or five handfuls and secure each of them with wire, and then attach them to the wreath form, just as you would if you were making a Christmas wreath (by placing them at regular intervals and securing them to the form with a long piece of wire like this:
So far, so messy, but don't worry (birds don't worry, do they).
Next, add in your thinner, prettier grasses. I just wove them in - I didn't need to wire them because I had the framework. Concentrate on the outside of your nest - don't worry about the base of it too much yet..you can fill that in later. Keep adding grasses until you have what looks like a bird's nest with a hole in the bottom.
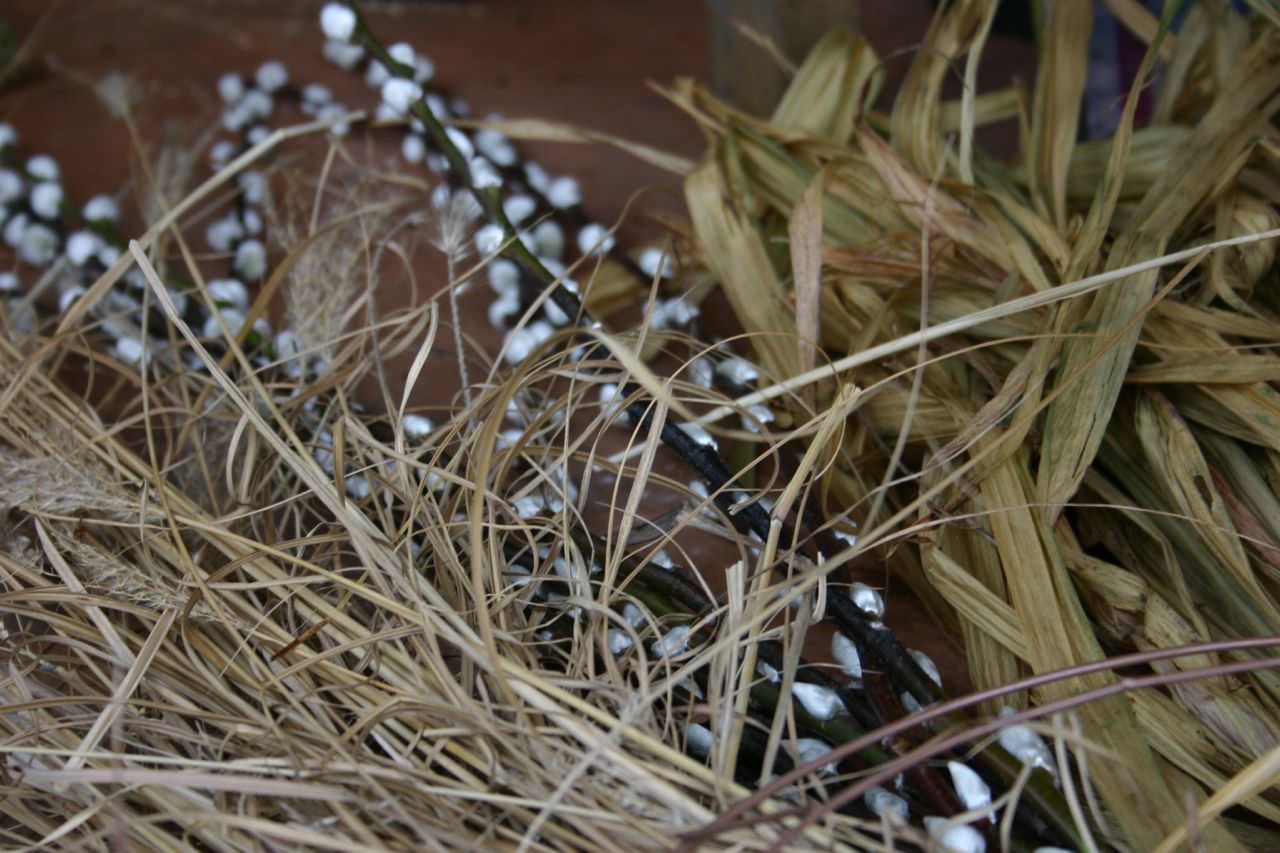
Now you're ready to add your pussy willow. It's really amazing how pliable this stuff is. Start by pushing each individual stem into the base of your nest, weaving it in and out of the criss-crossy wires so that you have what looks like a child's drawing of the sun:
Then take the first stem and bend it firmly round the wreath form. Don't worry about breaking it - go tighter than you might think possible. Martha says you can just tuck them in and that's that...but my pussy willow had other ideas, so I threaded up a really long piece of fishing wire on a needle and 'sewed' the nest tight, holding each stem down as I sewed around it with my needle. There's no denying that this is fiddly, but once you've got the hang of it, it becomes pretty easy to do.
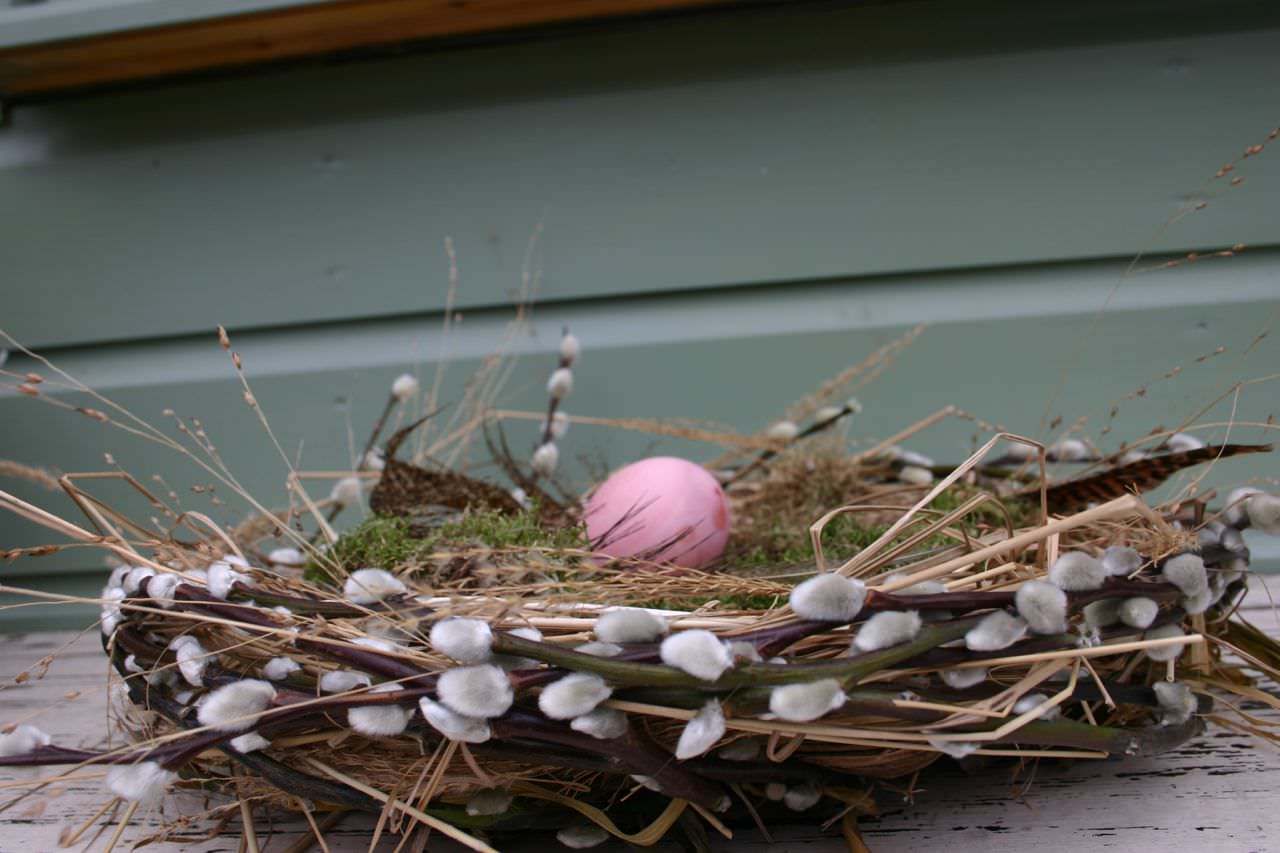
Fiddle around with the nest until you are happy with the look of it, and then line the bottom with some more grass (and I used a bit of sphagnum moss and a few feathers from a forgotten hat too). Make sure it's suitably messy (birds don't do perfect).
My egg is a duck-egg - blown and dyed with pink food colouring. This is very easy to do.
Even better, store your favourite chocolate eggs here. There is something about this nest that says 'hands off...I'm precious, and rare'.
If you don't feel like doing quite this amount of fiddling, then I've written a cheat's guide to nest-making which will appear very soon on the Crocus website...I'll keep you posted.
