Winter scented beauty

Scented winter wonders are not only great structural additions but also thoroughly better-making; if anything is going to get you outside, then it’ll be these.

Sarcococca confusa

First up is Sarcococca confusa (above)– glossy green, smart, clippable, dry-shade tolerant and smelling of sweet-shops. You will never regret having it. Next, Daphne odora ‘aureomarginata’

IMG_7236.JPG

with absolutely stunning pale-margined green leaves and waxy pink flowers that smell like you’ve died and gone to heaven. You have to be nice to it, and give it a sheltered spot with well-drained but fertile soil, but if it likes you then glory will be yours. My tip is to get small plants (I’ve linked to a set of three above) so that you can plant in different parts of the garden and if one doesn’t like its spot, then you won’t lose out too much. Last but not least, is Viburnum tinus Don’t turn your nose up and tell me it’s only for a car park…this is a true beauty – loves being clipped and preened, into lolly pops (linked above, which I heartily recommend) and hedges and all manner of things, and has scented flowers from December onwards. And one more thing; if you don’t mind a bit of messy, then Lonicera x purpusii ‘Winter Beauty’, has the gorgeousest scent of all.

Chimonanthus praecox

How to feed the birds but not the squirrels, mice or rats

As the weather becomes more hostile, now is the time to start feeding the birds.

3%F2S4g2ThODlwt87STrIQ.jpg

You can begin with something as simple as a fat ball, (mix lard with bird seed) hung from a tree, or a bird seed feeder, filled with one of the many bird seed mixes available from most large supermarkets. Rodents though, are unbelievably agile and can climb almost anything in order to get to a good food source. Keeping raids to a minimum requires you to do a few things –annoying, but rather less so than the sight of a revolting rat stealing your bird food. Hygiene is a priority; keep the ground below the feeder clear of detritus. Next, site your feeder in the open, so that squirrels can’t jump from neighbouring trees. A pole system, such as the Garden Pole from Birdfood.co.uk, particularly if it is greased with Vaseline, and fitted with a ‘baffle’ (see the RSPB website) is harder to navigate than a typical bird table. Surround the food with a cage, such as the RSPB’s Bird Feeder Guardian, so that it can only be accessed by the little birds you want to see, rather than the big ones (and rodents) that you don’t. Lastly, vermin detest chilli, so put a generous amount of powder into your fat balls, or coat your bird seed with it by adding powder and shaking it about in the bag. It doesn’t bother the birds one bit.

A tiny front garden, planting phase 2: THE HEDGE

The hedge arrived!

DN7+M9qNTMulRH2NjhJUpg.jpg

It was bare-root. Bare root hedges are dug up from the ground and transported to you literally ‘bare-root’ with no soil and therefore not pot or ‘root-ball’. This reduces the product’s weight, which means you pay MUCH less for it.

pRXc%8VJS%CiBepWBDs+uA.jpg

Bare root hedging is younger than ‘instant’ hedging, and as such beds down better, and acclimatises to its surroundings with greater aplomb.

Bare root babies ready in their trench

Bare root babies ready in their trench

All in all, it’s a budget option that will give you a better finished product. All you need is a gigantic dollop of PATIENCE.

It was pretty tricky to put the hedge in without trampling all the other planting I had previously done. But I managed it eventually, and I even used a mycorrhizal fungi ‘dip’ for the roots before I bedded them in. Studies have shown this to be a ‘good thing’, and I love a study, so the mycorrhizal fungi thing basically had me at hello, but it’s not essential.

gloopy mycorrhizal fungi dip

gloopy mycorrhizal fungi dip

What IS essential is totally tender loving care in the first few months and beyond. The ground was pretty wet when I planted, but I watered the following day, and I’m watering every three days until it gets really cold.

beginning of something beautiful

beginning of something beautiful

I can’t wait to see this hedge come to life, and for it to block out the cars in the road. Perhaps I’ll do a post every year to show its progress.

o6dS+RtMSlW76FRn4TGUWQ.jpg

All this needs now is a multi-stemmed something to go in the middle. I’m still wavering on this but watch this space!

xx Laetitia

The Five Minute Garden Approach

A simple system for gaining, and keeping control of your outside space.

My Five Minute Garden, November 2018

My Five Minute Garden, November 2018

I’ve been banging on for a while about how I keep a handle on my (rather large) garden, in tiny five minute bursts each day. It all began with a decision to stop doing what I had been doing (letting everything get to crisis point and then having to spend hours and hours at a time to regain control) and try a different approach to see where it led me.

It led me to a garden that never got on top of me

A garden I was excited and happy to venture out into

A garden that did what it was supposed to do: bring me and my family joy.


Up until recently I’ve been happily chugging along, deciding randomly the things I’m going to tackle for each five minute burst…

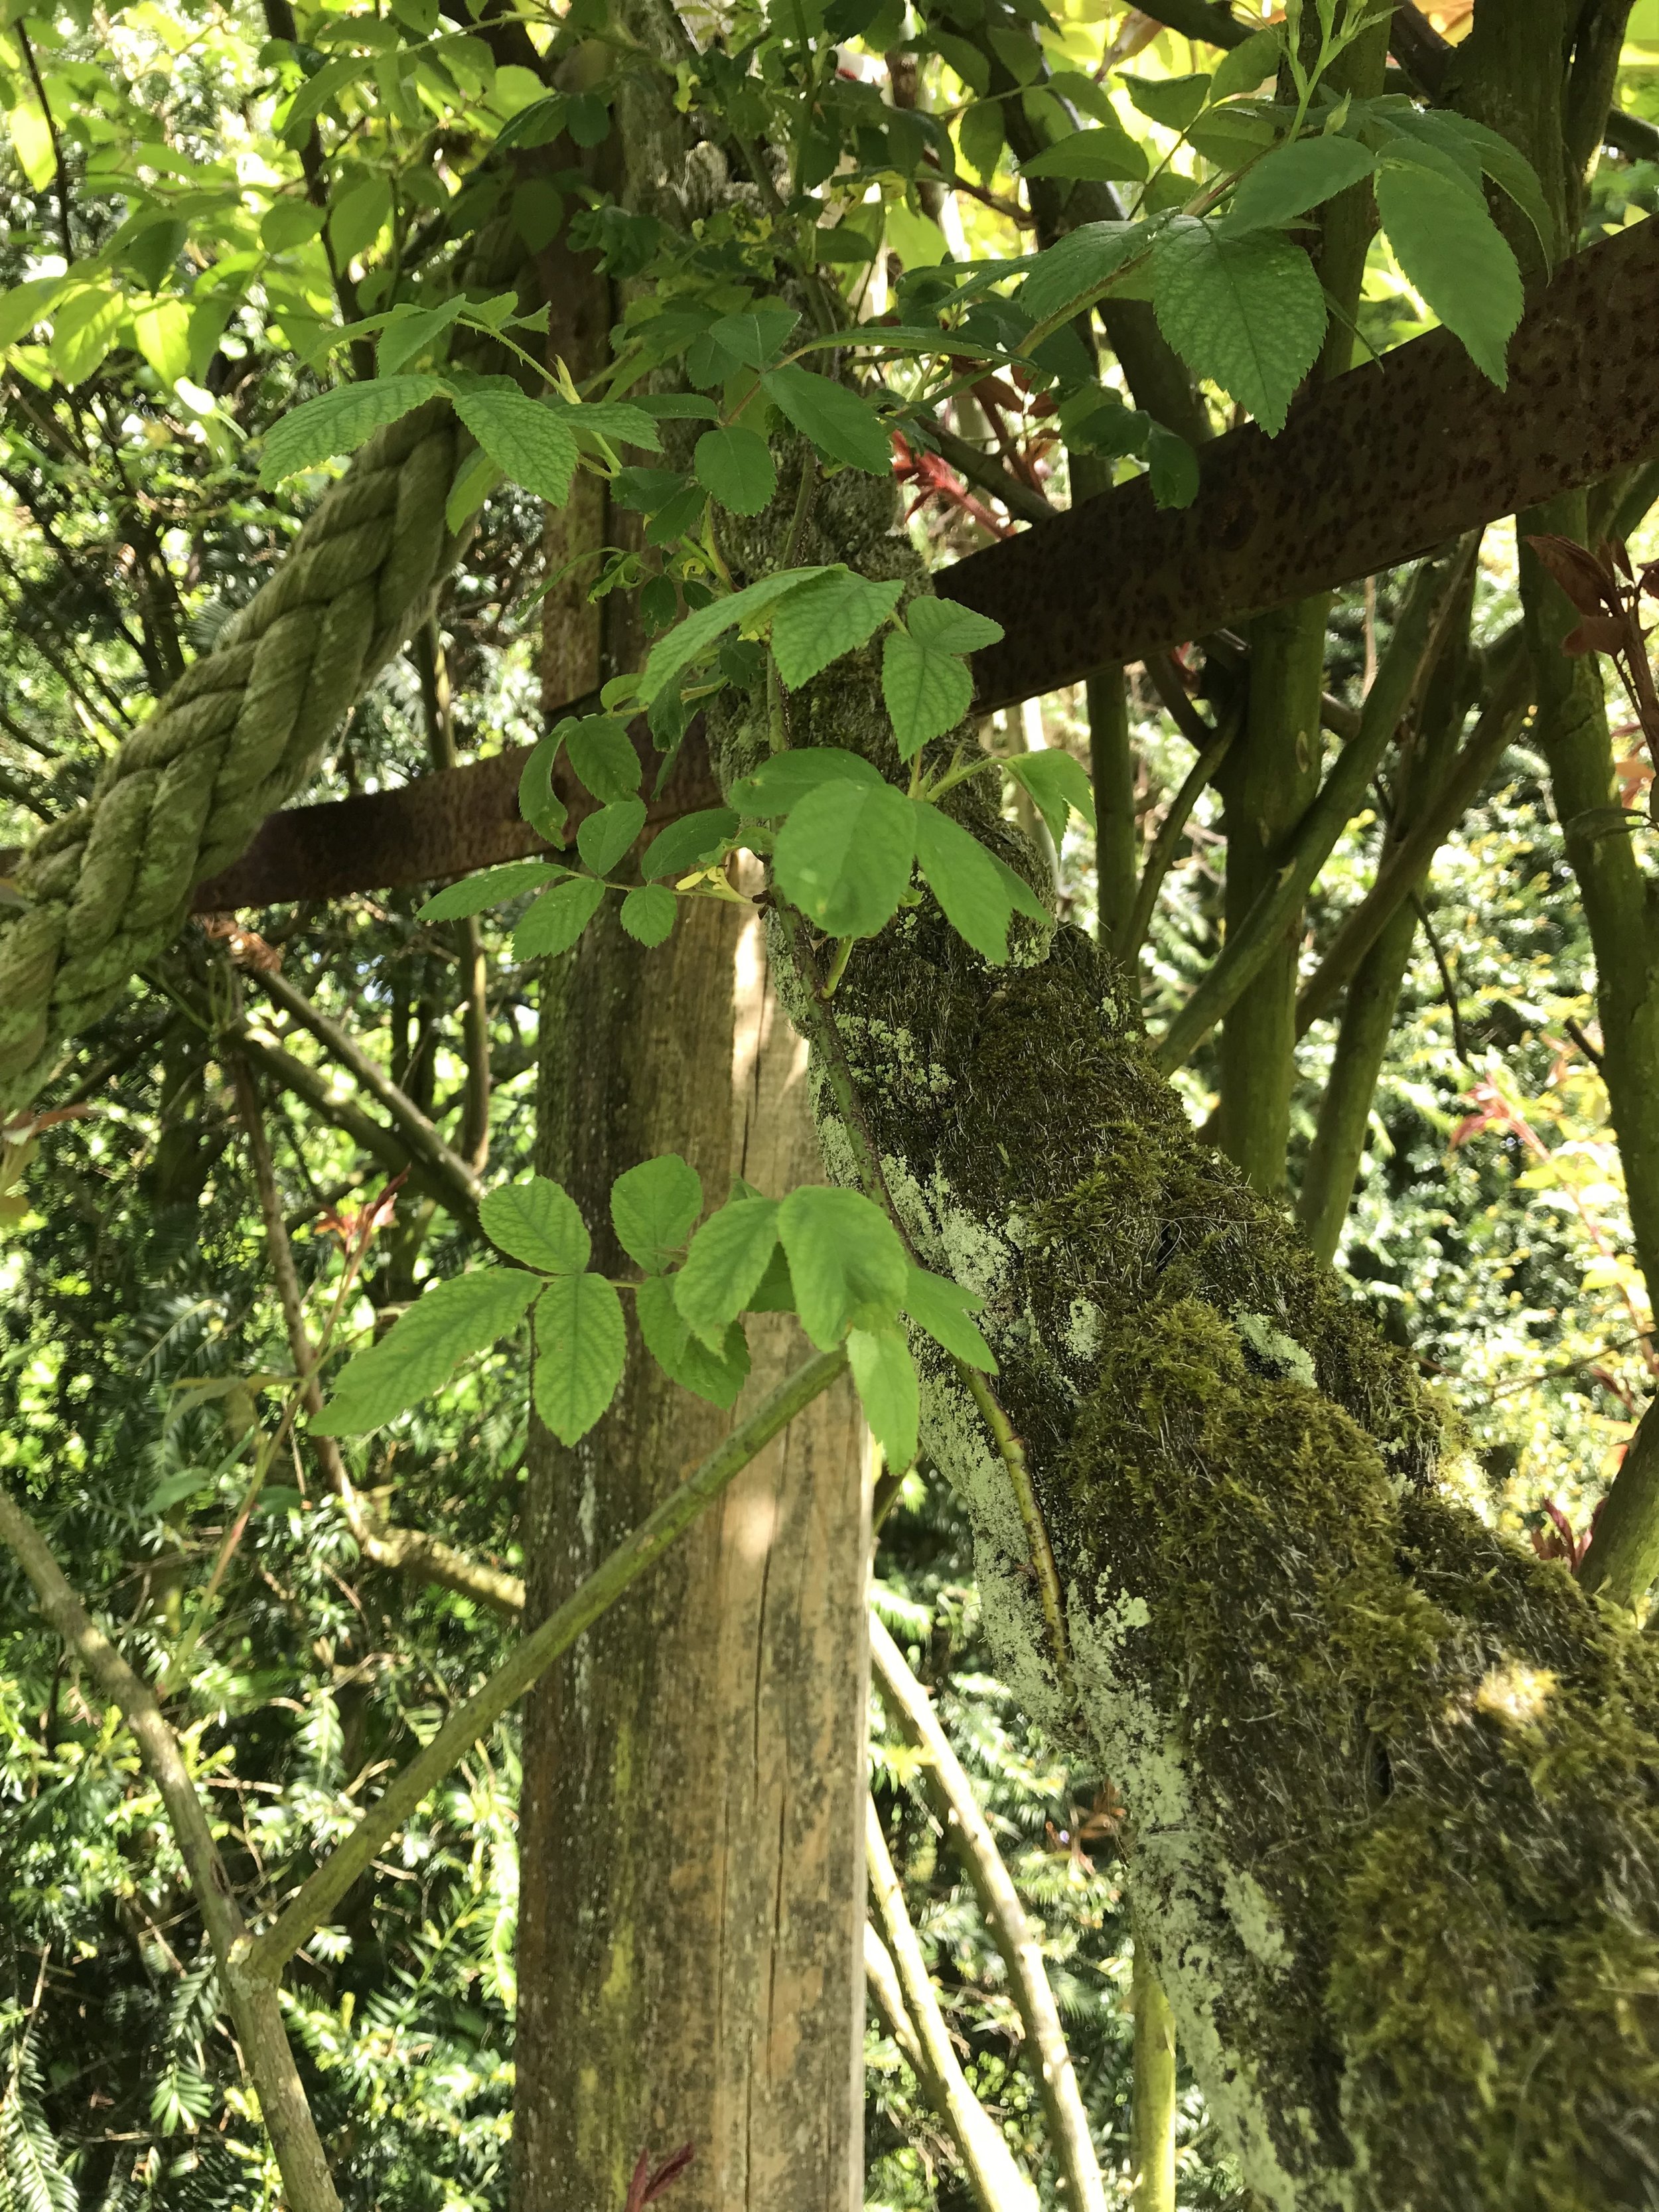
But I’m well aware that although I may FEEL like a beginner, I’m actually not and that deciding what to do each day is sometimes more of an obstacle than the DOING of the thing, especially when you are unsure of yourself. For example: if you’re not sure about how to proceed with your rambling rose, then the chances are you’re going to avoid dealing with it completely for as long as possible. That’s okay of course (there’s nothing lovelier than an out-of-control rose) - until, that is, you want to go out and play in the garden.

So I started to cast around for a system that would help me get around to everything, with minimum agonising.

I decided to lump all the stuff that ALWAYS needs doing into a quick five minute burst, and then allocate a separate, more specific enterprise to each day. This worked beautifully, except that it didn’t allow for all the other, perhaps less important, but more detailed stuff, like planting containers, or looking after your pond, or maintaining your garden furniture.

Then I found THIS.

I love watching people clean things; especially when they are all jolly and up-beat about it. I don’t enjoy cleaning my own house (in fact I pay someone else to do it for me), so quite why I love watching other people clean theirs is beyond me…but I have decided not to judge myself and just go with it. Anyway, this lady, Gemma, has devised something called ‘The Organised Mum Method’ and every day she’s there, on Instagram, encouraging others to get their mops and dusters out and zip through the housework fast and efficiently, so that they can enjoy the rest of their lives without being plagued by dirt - FABULOUS! I LOVE HER!

Like me, she has a daily task system, but she also has something she calls ‘The Friday Focus’ - a set of eight distinct areas that she tackles in rotation, to go ‘deeper’ than just bog standard cleaning (i.e. empty the crumbs out of the toaster). I took this idea into my garden, creating a set of ten things to tackle on Fridays in rotation (or indeed, that I could just pick and choose from).

So that was rather a long-winded introduction, but here is my Five Minute Garden approach, and I hope it helps some of you get out there and enjoy your outside spaces again!


The five minute method to keep your garden beautiful

The Basic Stuff: watering, weeding, sweeping, tidying – Do as much as you can in 5 minutes.

Watering. All containerised plants in summer

Weeding. Pick a spot, start the timer, ready, set, go! Two trays or trugs: one for composting, the other for council or black bin.

Sweeping. Sweep or blow out steps, paths and terraces. Compost leaves.

Resetting and tidying. Cushions out, umbrellas up, lights and candles lit and vice versa at the end of the day.


The Daily Enterprise: Each day you do something different

Monday spruce – 5 minutes

This little enterprise sets you up for your week. It’s a general garden tidying mission – it comprises all the baseline jobs but over the entire garden. That means you’re not getting into detail – no perfectionism here, but you will get round the whole garden. Tidy away anything out of place, weed anything that’s obvious when you view the entire space, roughly sweep/blow all terraces, steps and paths and water anything that needs a drink.


Tuesday chop – 5 minutes

This is everything chopping and tying in. Get those secateurs and do the dead, diseased and dying dance. Next, tackle any tree or shrub branches that need pruning or shaping. Tie in anything that needs training. Put everything into a bag for council composting, or chop up fine for home composting. Mow and edge the lawn (summer).


Wednesday affair – 5 minutes

This involves moving and planting. Take stock. Lift and divide perennials that need it in autumn, move (or remove) anything that’s not working and replace with something else. Sow seed, prick out, pot on, plant out. Plant bulbs in autumn


Thursday fuss – 5 minutes

This is simple deadheading and fussing. Glass of wine, finger and thumb. Compost or vase. Also feeding containers in summer

The Friday project. - 5 minutes: Go deeper. Pick and choose from list below, or follow the list in rotation


Week 1: terrace or patio, steps and paths, windowsills, balconies

Wash with a strong hose stream or pressure wash and/or scrub with baking soda/vinegar to remove any slippery mould. Weed between cracks.


Week 2: lawn

Weed out any dandelions. Deal with any bald or yellow patches.
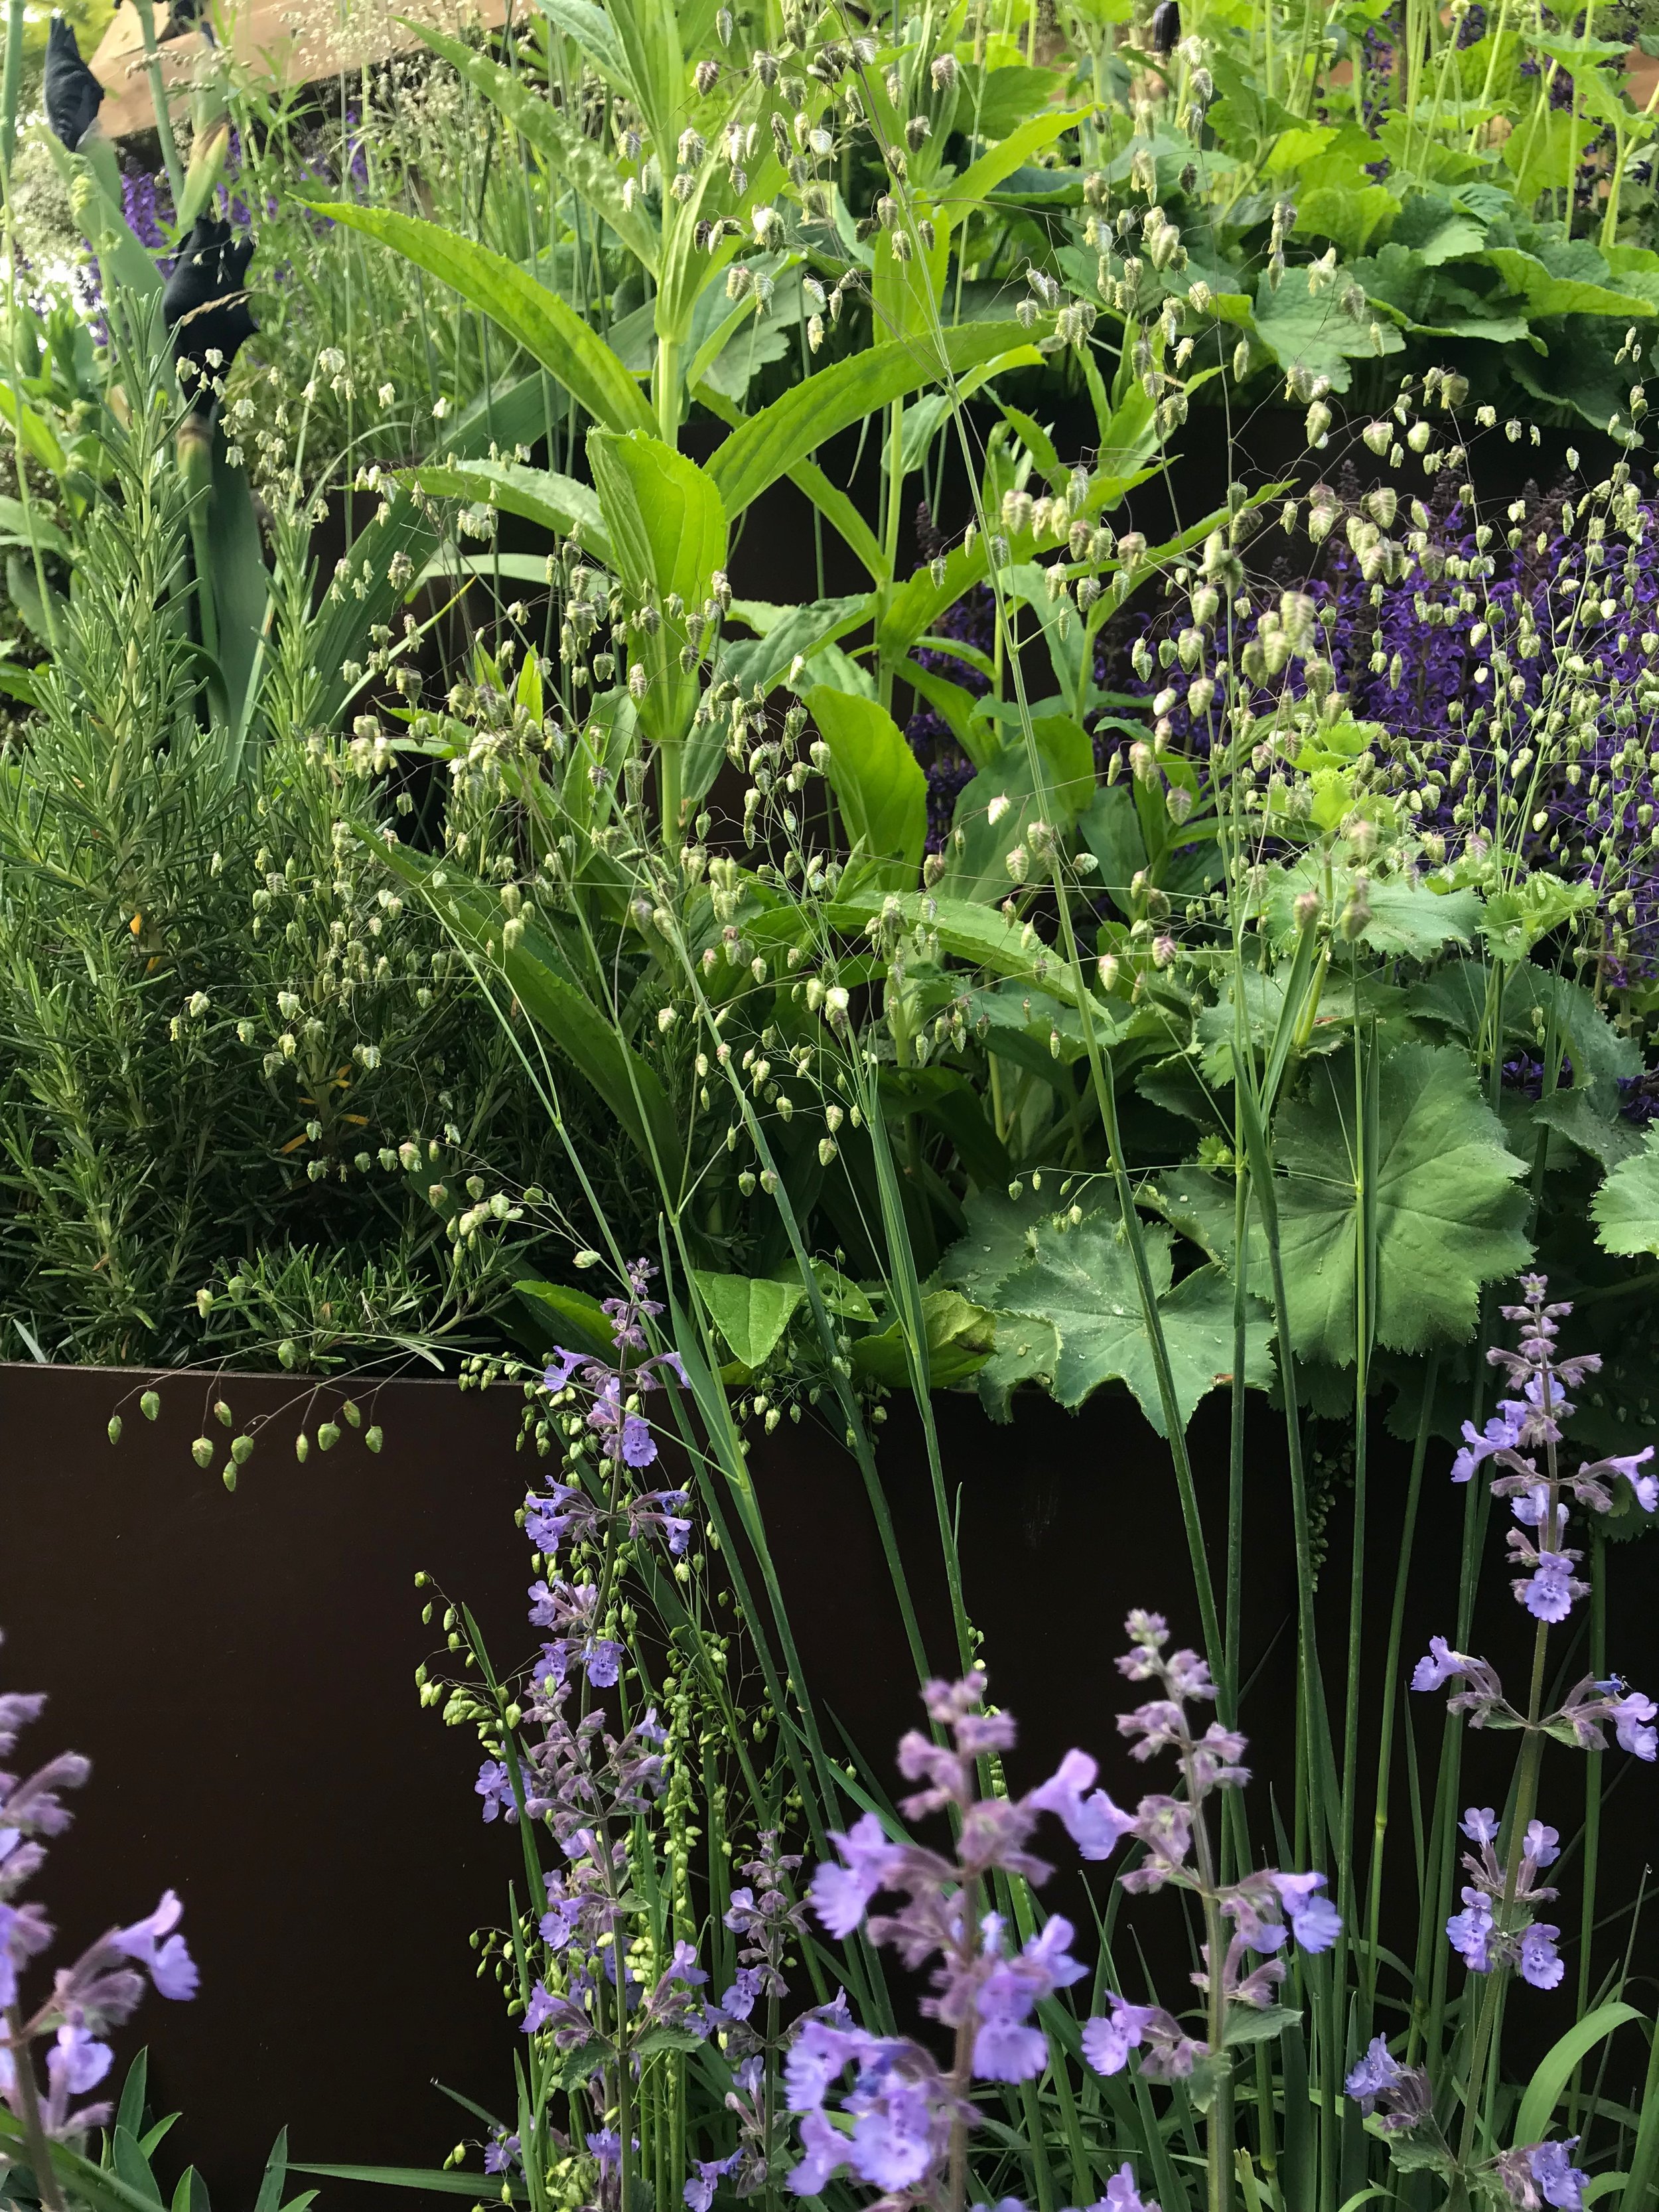
 

Week 3: flower beds

Get between the plants and search out hidden weeds, prune out any dead, diseased or dying matter, dead head in summer, divide in autumn, mulch in winter.


Week 4: containers

Re-pot in spring, feed and deadhead in summer, plant up in autumn and spring, mulch, weed, etc.
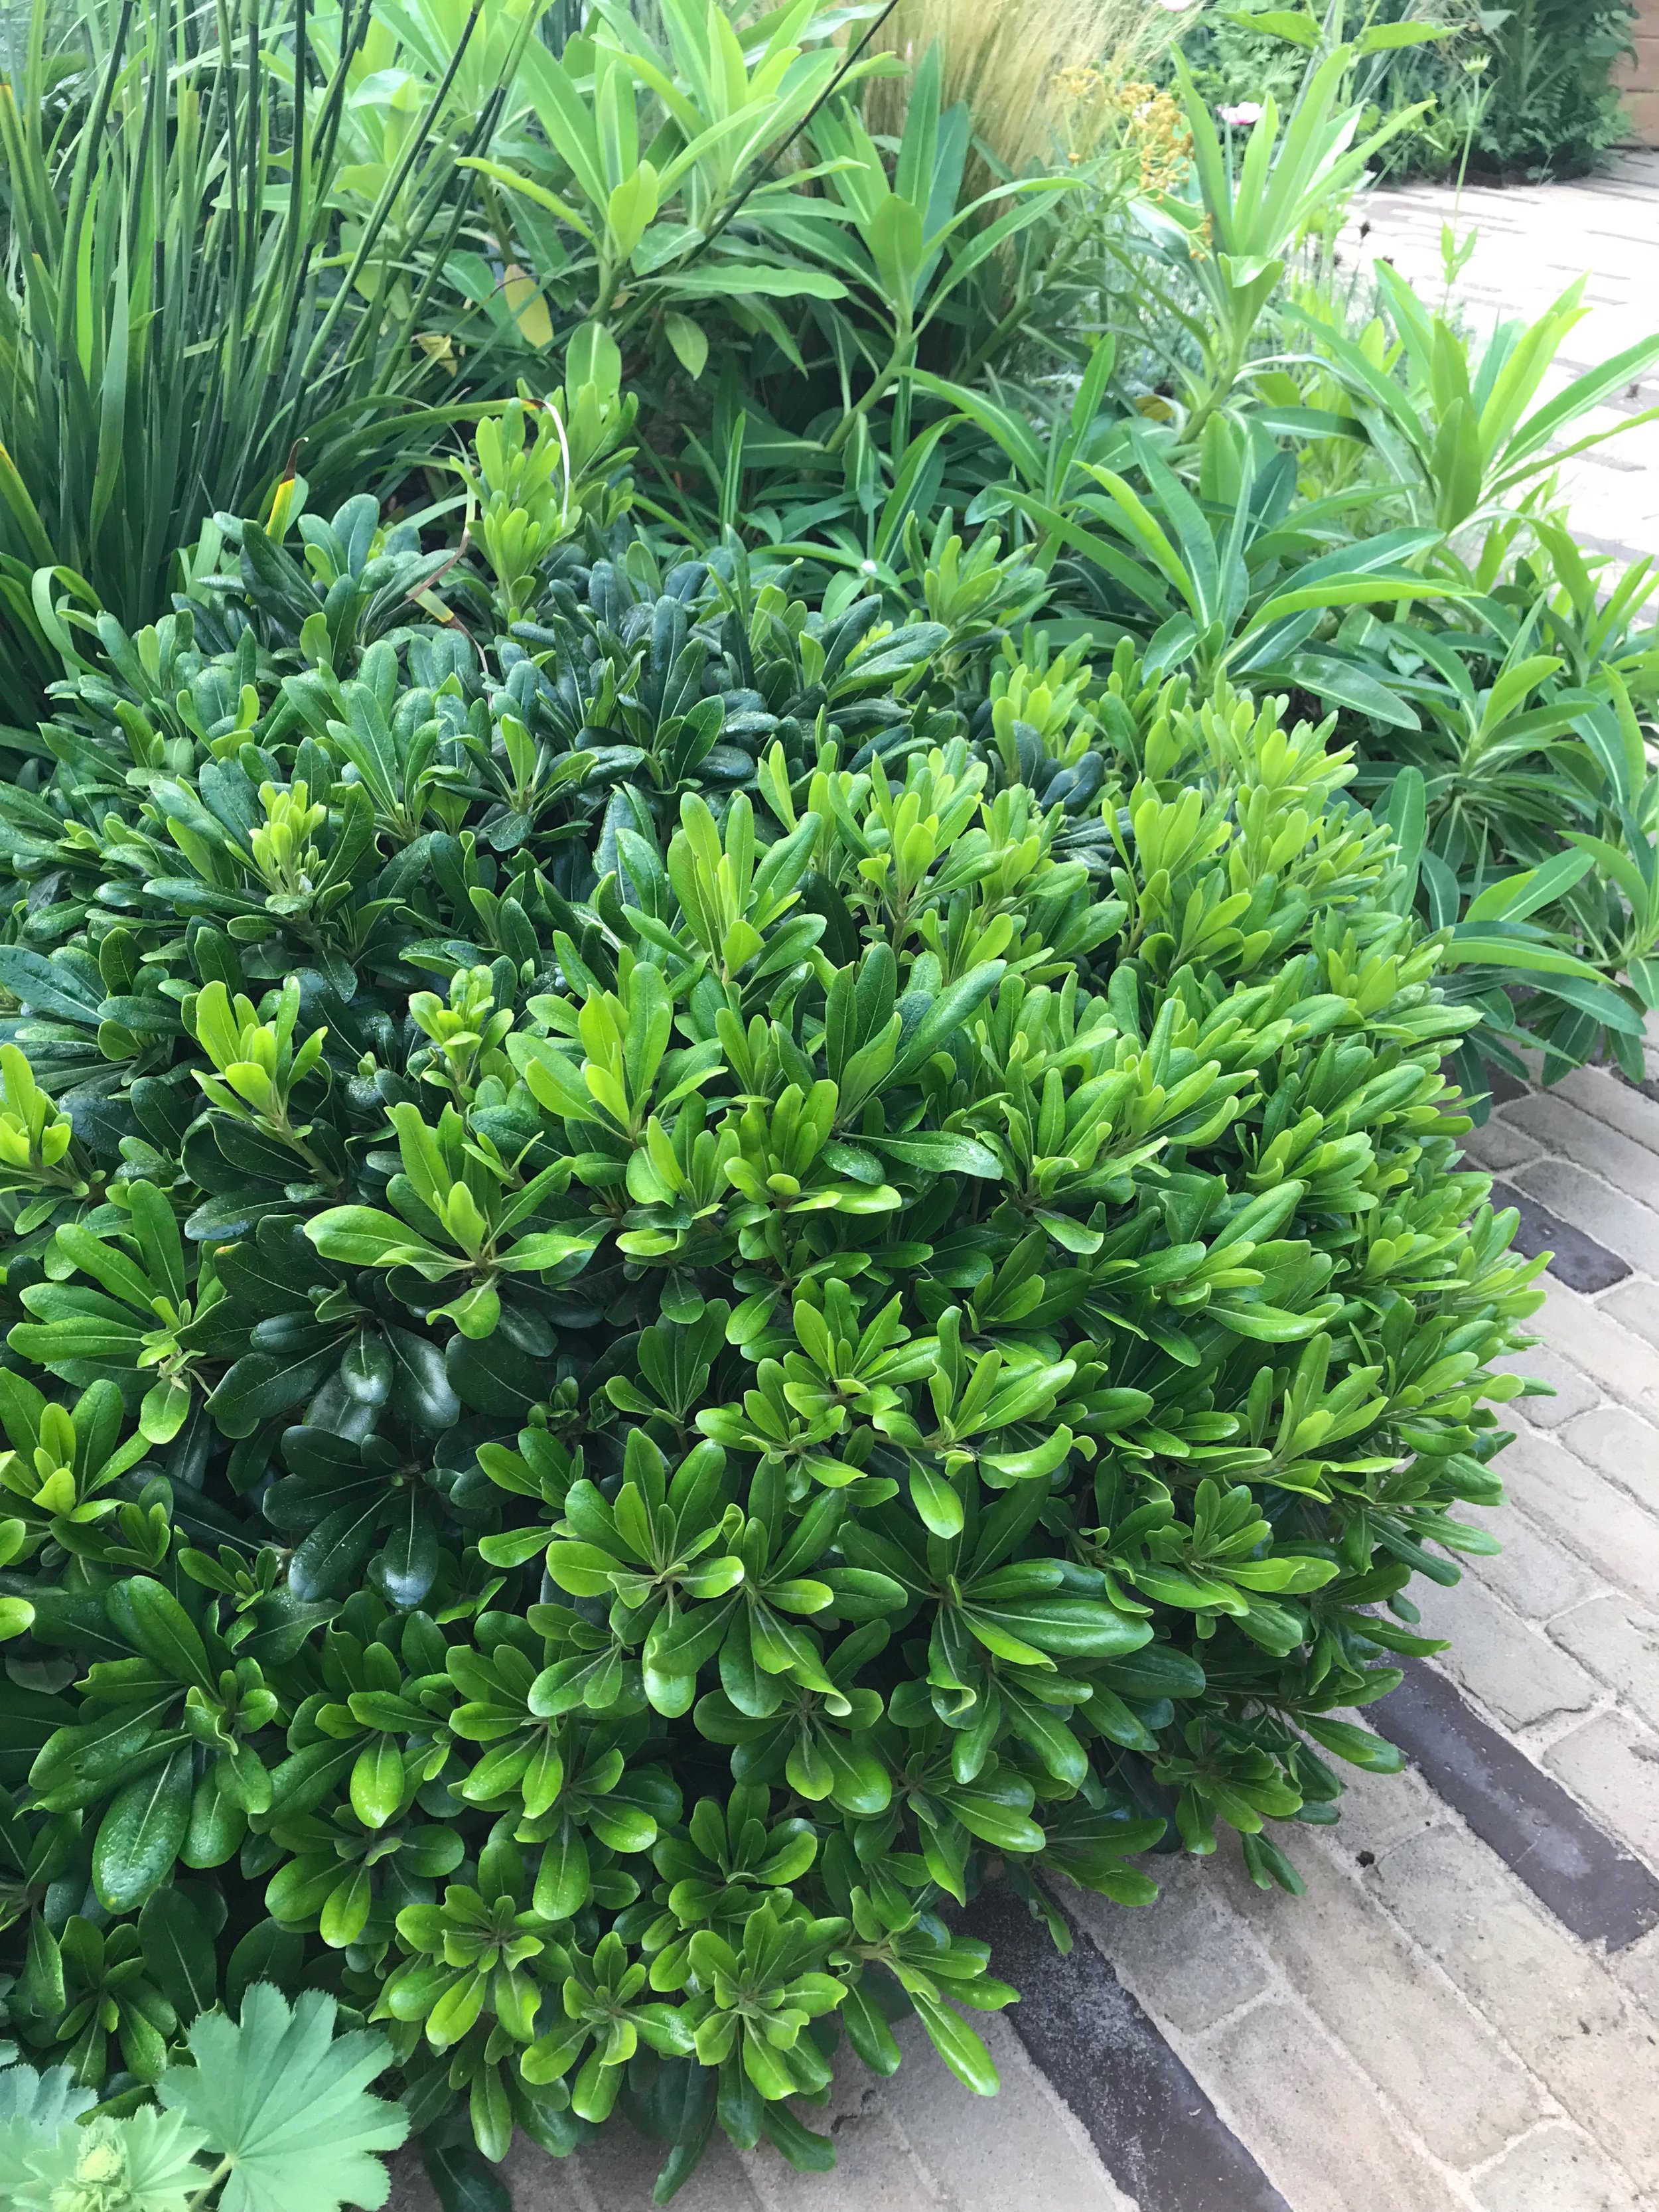
 

Week 5: topiary

Clip, feed, mulch according to season


Week 6: compost 

Turn the heap, add green or brown waste/ bulking agents etc.


Week 7: tools and shed, greenhouse 

Tidy away anything that’s out of place, brush down surfaces, clean and sweep/ wash floors


Week 8: pond or water features

Remove weeds and/or fallen leaves, add oxygenators.


Week 9: indoor plants

Wipe leaves to remove dust, turn plants, pot on or propagate as necessary


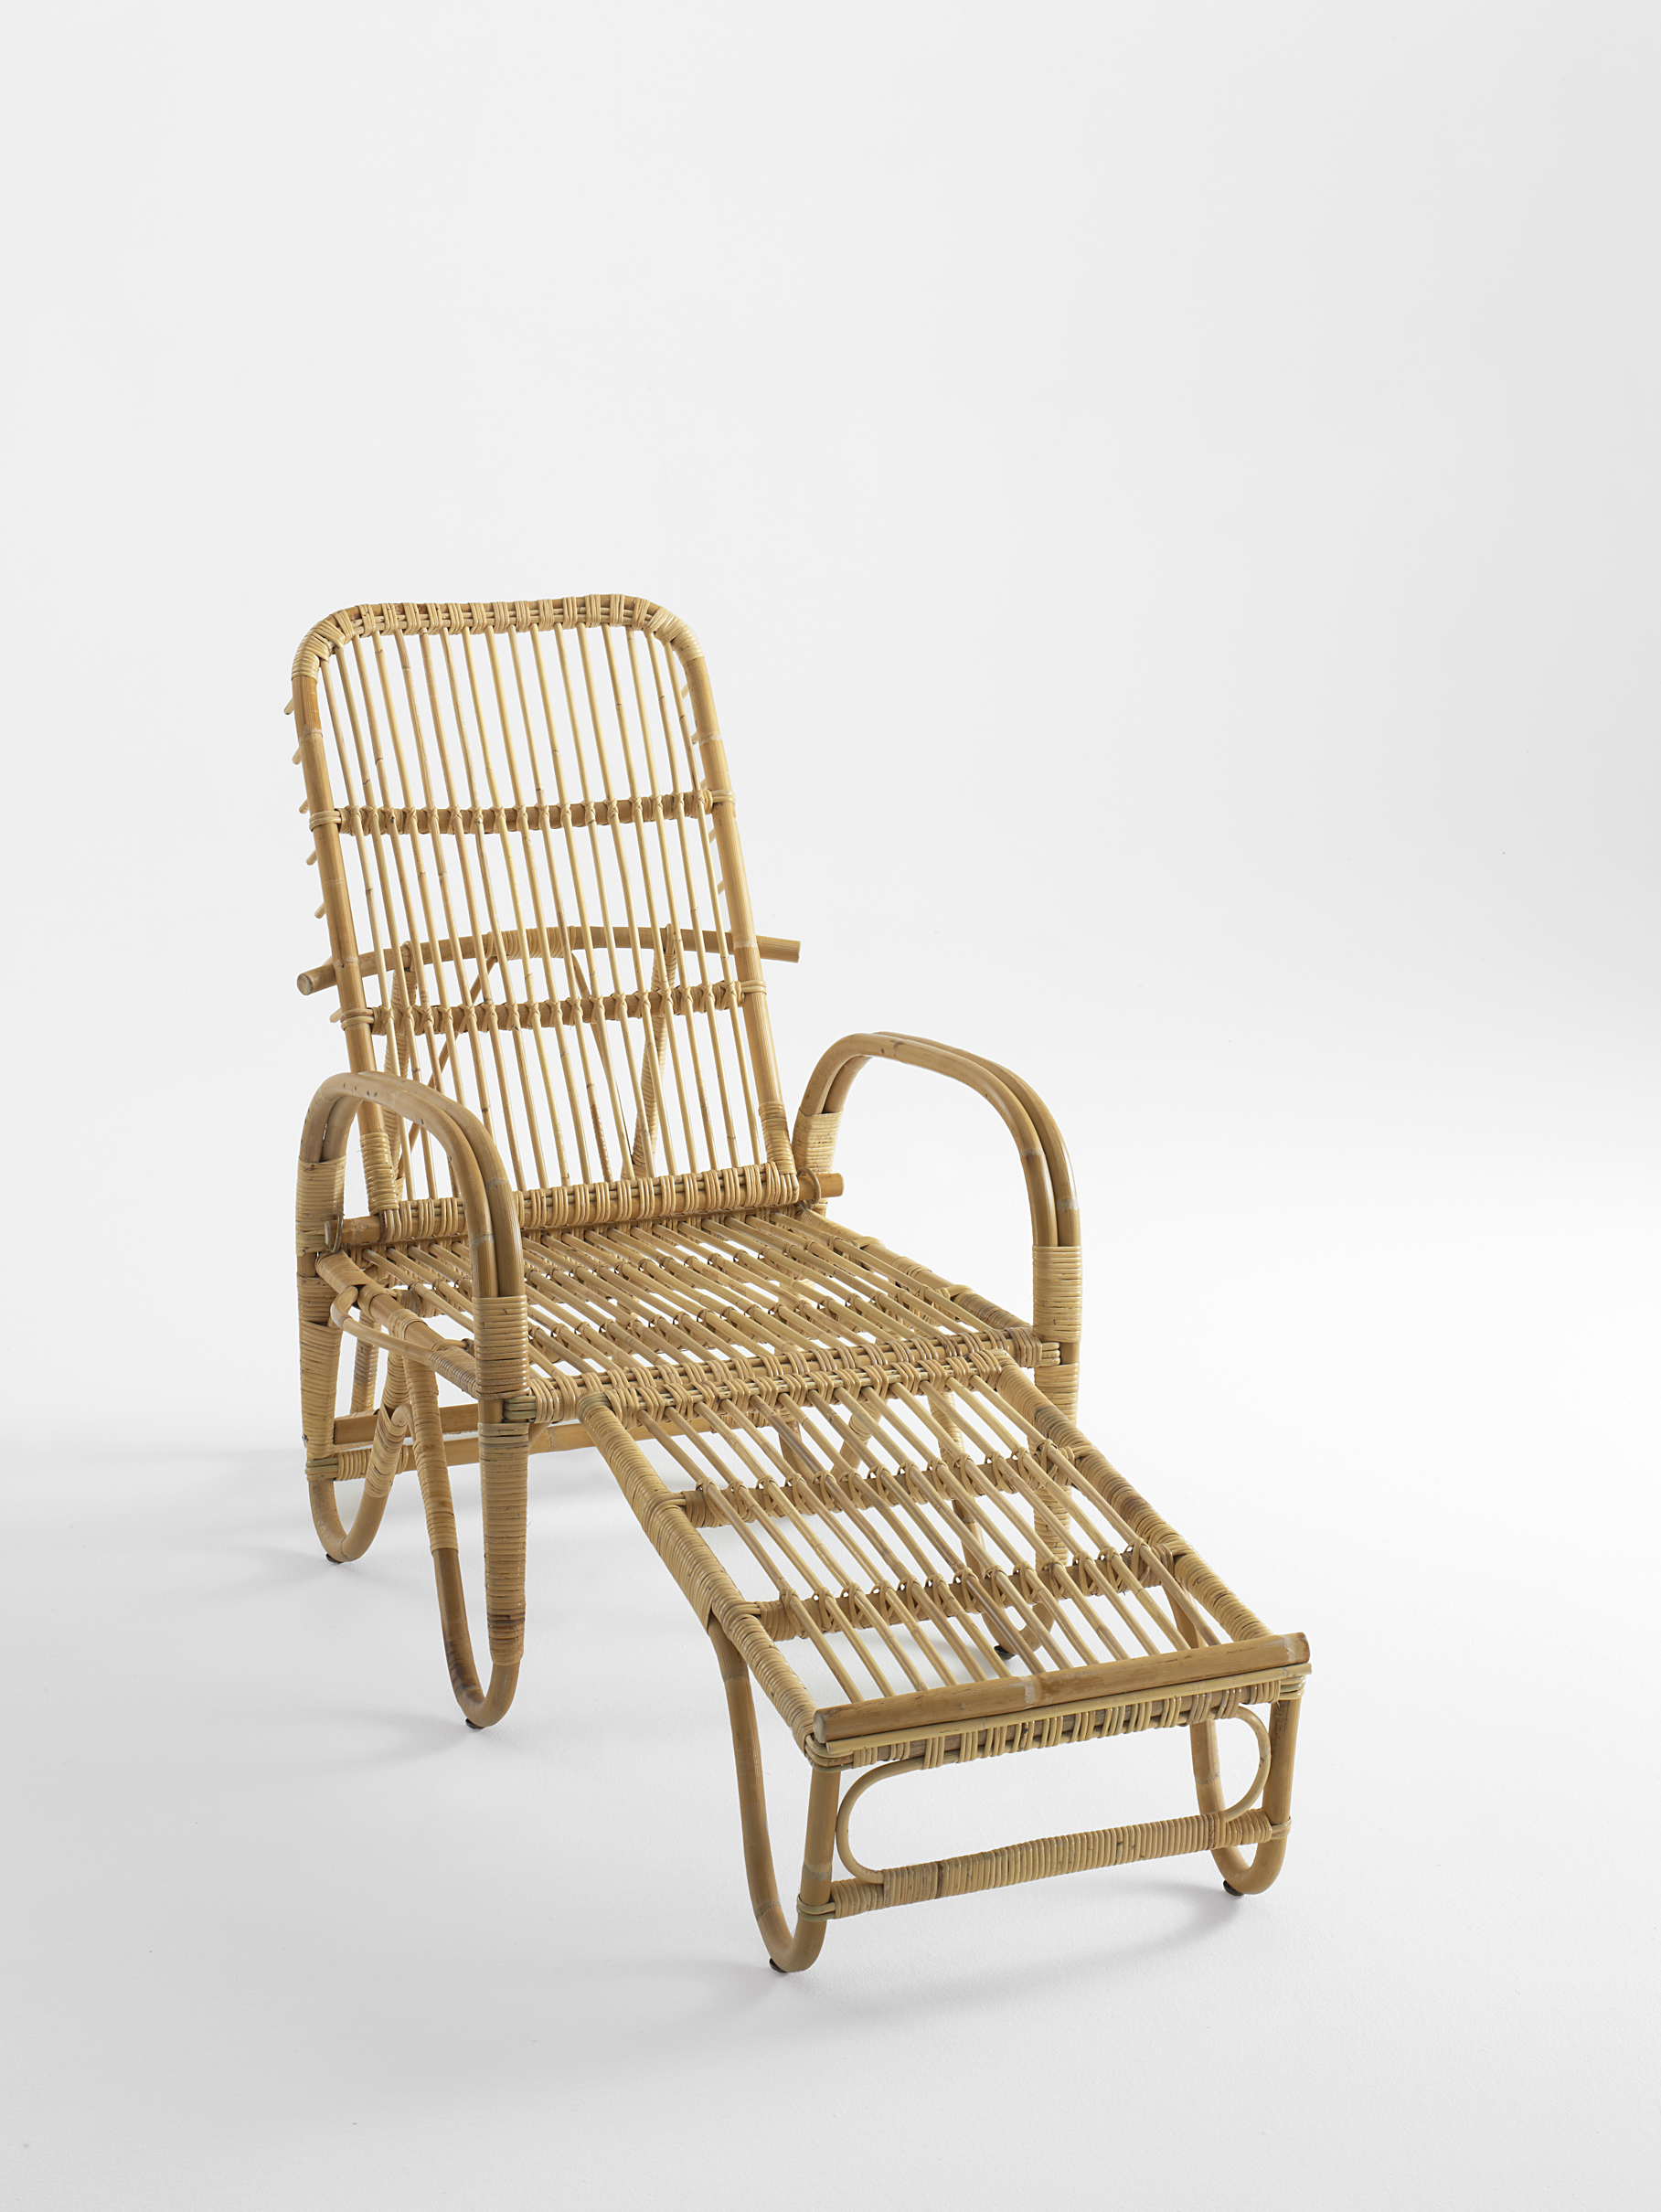
Week 10: garden furniture

Brush down and wipe clean


If your garden is mostly indoors, simply pick a secondary task that applies to you from the list above and repeat on Fridays (or sit back and do nothing!)


Essential things:

In order to use your 5 minutes effectively, you need to work towards:

1.    Having your tools, outdoor shoes and gloves easily accessible

2.    Having water easily accessible, in cans or a hose, ready to use

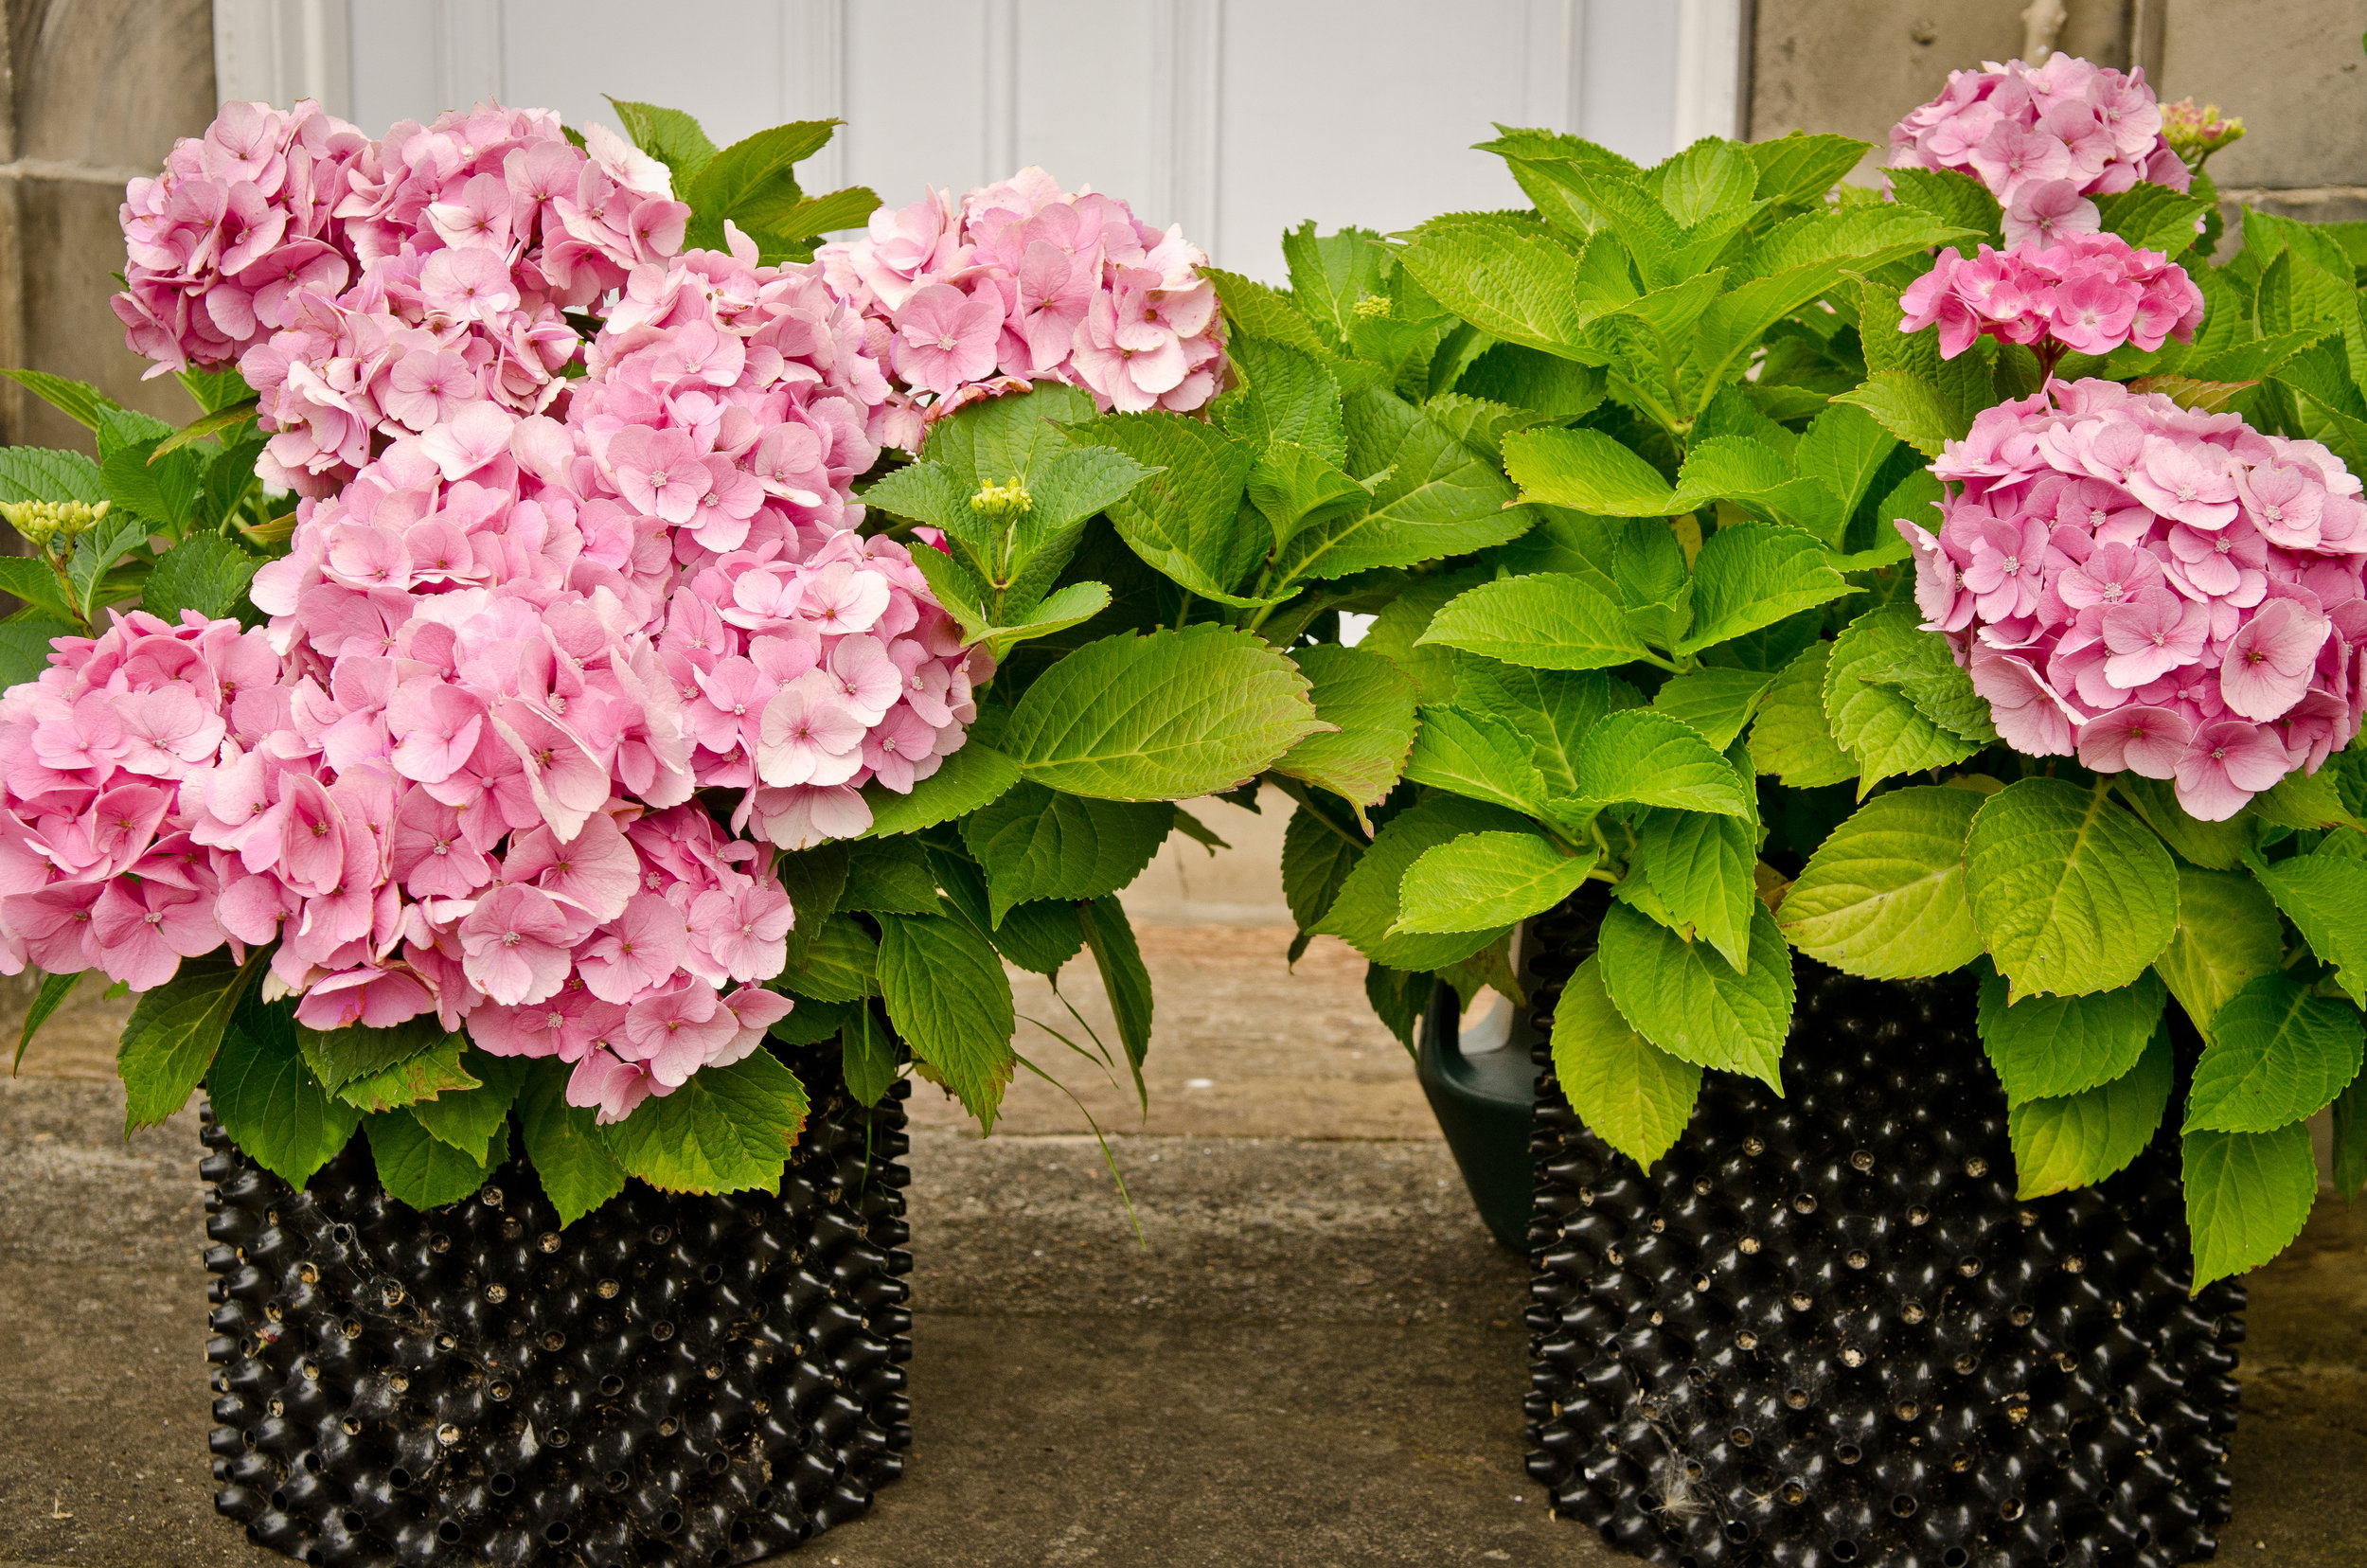
3.    Having only large containers (wider than 40cm diameter)


What if there’s a massive job to be done?

If you have a huge job that needs doing , simply add it to your basic list, and do it instead – so for example you could make mulching the garden your basic enterprise for an entire week – a trug-full a day.

What if I only want to garden at the weekend?

Yes of course you can adapt this approach to the weekends if you prefer to garden then. Simply do 25 minutes of basic stuff on Saturday and the weekly stuff on Sunday, (or mix it all up into one big burst…) up to you.

And finally: A note about the five minute thing:

If you’ve been following along for a while, (and perhaps using the five minute approach to gardening) you’ll know that the timing aspect of it can be pretty elastic sometimes. There are days when you’ll have time (and inclination) to stay and keep going for much longer than five minutes, and there will be other days, when you can literally only manage 300 seconds. The point is that we can ALL stop what we’re doing and go outside for five minutes. That’s the idea that gets us out there and doing something positive. All this to say that yes, you can take this whole thing totally literally if you like – set a timer and do proper five minute bursts, and your garden will look lovely, and you will benefit too, because you went outside…but you can also let the mood take you for longer, and you’ll be able to go a bit deeper, and understand your garden a bit better…it’s not set in stone; it’s up to you.

The five minute garden approach


x Laetitia


Just add pumpkins: a five minute autumnal entrance.

I’m hesitating as I begin writing this, because after all, who on earth needs to know that I’m plonking a load of random pots on my windowsills? But the idea here is that you don’t need to go shopping in order to decorate your front door - you can probably just move some stuff around and get the effect you want. And if you’re daunted at the thought of window boxes, or planting things, well then here is your work-around. Just add pumpkins! It took me five minutes to gather the stuff, and rather longer to fuss around with it. I hope it sparks some decorative energy.

fullsizeoutput_3cb7.jpeg

There was a time in the dim and distant past when I would go to the nursery and buy up bedding by the armful, plant it up in containers and display it, together with pumpkins, and perhaps a lantern, outside the front door. The window boxes too, would get an autumnal shake-up; I would swap out the summer lobelia and nasturtiums with cyclamen, or viola, plunging bulbs beneath.

fullsizeoutput_3cc4.jpeg

But the window boxes went during some building work a couple of years ago, and haven’t yet returned. It’s a sadness, but also a relief in some ways - the hassle of watering and tending to them (one more thing in a long list of ‘stuff to do’ has been removed - and I rather relish the austerity of unadorned windowsills.

fullsizeoutput_3cc6.jpeg

But I’m not the fun police, and I do love a celebration. There’s absolutely no point in fighting against Halloween when you have children. They love it and there’s nothing to do but embrace the entire she-bang. So I went off to the nursery, fully intending to buy great big chrysanthemum bombs and do like the Americans, with all their fabulous front-door autumnal (or should I say ‘fall’) excess.

Well, I got there, and the big balls of chrysanthemums looked a little tired and a LOT like they’d need me to deadhead for HOURS, but most off-putting of all, they were all encased in plastic, I guess to prevent the stems from flopping out and snapping off.

fullsizeoutput_3cc8.jpeg

So I went home, resolving to gather up all the orphaned, random things in my home and garden, and put them on the windowsills. This is what I did. It cost me nothing, and I am smugly pleased with the result.


Here’s what I put there, and where I found it:

  1. Muehlenbeckia complexa: I had thee little plants, bought a while ago because I am VERILY IN LOVE with this plant. I’m waiting for the Gladiolus callianthus to go over, and then I’ll replace them with muehlenbeckia as a permanent planting.

  2. Bunnytail grass: I bought this to plant in the thin strip at the base of the wall at the end of the garden. True to form, I haven’t got around to planting it yet, so it’s going here on the windowsill.

  3. Ivy: Each of my kids have an ivy plant in their bedrooms. I stole them and put them on the windowsill.

  4. Euphorbia ‘Diamond Frost’. This small pot was the result of some left-over plants that I had when I put a load of plugs at the base of one of my myrtle trees. It has been on a little table outside my shed, flowering its little heart out. I nicked it and put it on the windowsill.

  5. Cylcamen. I bought a load of these at the beginning of the week to plant in a large shallow pot that I usually use for salad leaves and add some colour to my terrace. I also like having some knocking about to bring indoors when the weather turns really ghastly, so I plant them, three to a shallow pan and have them lying in wait. This one is ‘waiting’ on the windowsill.

  6. Gourds. I bought these on purpose at the market - they are ridiculously tasteful and will be joined in due course by proper orange ones, which we will carve scary faces into.

xx Laetitia

RHS Chelsea: My favourite things 2

Carrying on from yesterday's gorgeous rugs from Weaver Green, something rather less outwardly beautiful but incredibly clever and useful; The Air Pot. This thing combines clever design and recycled plastic to give you healthier plants.

Flowers 2.jpg

The Air Pot

The Air Pot has been around for years and is used by professional growers for everything from seedlings to large trees. The design promotes healthy root growth - roots grow outwards towards the holes in the sides and bottom, and are then air-pruned (the tips die off when they come into contact with air) which in turn makes the plant produce more branching roots. The result is a containerised root system that never becomes pot-bound (where the roots start circling around the edge of the compost), and when it's time to pot on or plant out, you simply un-wrap the pot, which means minimal root disturbance. 

The pots are made in Scotland, from recycled plastic, and let's be honest, they're not pretty, but a healthy root system makes for more beautiful plants, and they can of course be placed inside another, larger, more lovely container. They come flat-packed and are easily assembled. They can also obviously be stored flat, which is a great for those with limited space. At present, because the company has only just started retailing to smaller customers, the product is sent out wrapped in a sand-bag (woven plastic material) which can be re-used in the garden. Eventually these will be replaced with cardboard.

I have enough old-school small and medium sized plastic pots to last me for years, but I'll be ordering a couple of large Air Pots for my containerised trees so watch this space!

Acers in Air Pots at Kew Gardens

Acers in Air Pots at Kew Gardens

x Laetitia

RHS Chelsea 2018 - My favourite things 1

Before I bang on again about plants, I thought I'd do a short series showcasing my favourite products from Chelsea this year. All of them have one thing in common; they have sustainability at the core of their business.

Stunning rugs, throws and cushions from Weaver Green, made from recycled plastic bottles.

Stunning rugs, throws and cushions from Weaver Green, made from recycled plastic bottles.


The judging criteria at RHS Chelsea doesn't include anything on sustainability - odd, considering that gardens are nature, tamed. It becomes stranger every day to me, that this professed love of nature should be accompanied by such a head-in-the-sand approach to the mountains of single-use plastics within the industry, along with toxic rivers of insecticides and herbicides (also encased in single-use plastics. 

It's not up to the RHS, or any other large organisation to lead the way in reducing waste though. The power is with each of us, making everyday choices which align with our values; if we want to see the gardening industry (and the rest of the world) changing its ways in this respect, then it is in our gift to vote with our feet and our wallets. Sustainability begins at home.

There are businesses out there though, who are making it easier for us to do this. Whilst I wait and dream of a nationwide plastic-free compost delivery service for those of us who don't make enough of it at home, here is the first of my favourite things from Chelsea this year. 

Weaver Green rugs

When I walked onto this stand and touched these rugs and throws, I fell in love with them instantly. Imagine how thrilled I was then to be told that they were made entirely of thousands old plastic bottles that would have ended up in the ocean. I am smitten. The colours are soft and receding and they basically look like they've been there forever, which is what you WANT (or at least that's what I want) Oh, and guess what, moth larvae, house dust mites, and mould have absolutely no interest in these products either. Needless to say, I bought one of their beautiful runners immediately, and will be investing in a couple of other rugs for outside, because yes, these things are outdoor friendly and machine washable.

Weaver Green is the brainchild of Tasha and Barney, who spotted a fishing rope used to tether boats on one of their trips to Asia, and, inspired by this discovery, tasked themselves with creating the softest, comfiest textiles possible using single-use plastic bottles. They ended up with a product that works on so many levels - not only is does it give new life to discarded plastic bottles, but it also looks and feels exquisite. People like Tasha and Barney make me feel hopeful and happy.

x Laetitia


RHS Chelsea 2018: Ideas to steal

Wafty and romantic.

I know I sound like a fashion journalist (and that's NOT what you're here for) but bear with me when I use the words 'key' and 'trend' in the same sentence, and tell you that all things floaty and romantic had the upper hand this year at Chelsea. It was as if someone had sent out a secret decree that forbade hard lines (straight or curved) in the planting on the show gardens. Even the topiary balls were shaggy. It screams laid back laziness and I LOVE it.

Achieving this look requires doing LESS rather than more (hurrah!) but you do have to be careful that your organised, purposeful wafty haven doesn't descend into ACTUAL overgrown chaos.

Here are a few sensible shortcuts

1. Use grasses. See-through. Sensual.  I don't need to spell it out. 

Briza maxima in Matt Keightley's Feel-Good Garden

Briza maxima in Matt Keightley's Feel-Good Garden

2. Use water. It makes light move and glitter and pirouette. It bestows SPARKLE.

Trickles and dancing light in Sarah Price's Mediterranean haven for M&G

Trickles and dancing light in Sarah Price's Mediterranean haven for M&G

You don't have to have lots of time or money to put water in your garden. Although there's no doubt that movement creates magic, you can start off with a  large bowl (Waterside Nursery do purpose-built ones made of fibreglass, or you can use a glazed pot with the drainage hole blocked; (you don't even need to put plants in it...just water will do). 

3. Be intentionally lazy.

Leave your seed-heads standing - all those beauteous brown things that made winter just about bearable can have a different effect in summer...I'm really surprised how much I love this look; I would never have dreamt of doing it until I saw it yesterday. There's a poignancy to this bit of brown dead stuff that tugs at my heart strings. It's a reminder that life is messy, and beautiful, and complicated, and that we all carry the brown spiky bits inside of us all the time. There is also an elegant nonchalance to it - no primping or preening here.

Teasel seed-heads in Kate Crome's Epilepsy garden

Teasel seed-heads in Kate Crome's Epilepsy garden

And again here - same but different - the charred remains of plant material from the South African fynbos. The black is almost sculptural against that zingy orange. I'm won over.

Fynbos landscape on Jonathan Snow's South African Wine Estate for Trailfinders

Fynbos landscape on Jonathan Snow's South African Wine Estate for Trailfinders

4. Embrace shaggy.

It's an aesthetic that says "I'm far too busy living my life for all this clipping". On many of the show gardens, small balls of Pittosporum tobira 'nanum' were as smart as it got. The hard landscaping was left to do all the work of providing a foil to a mass of foliage. This really does still work, providing an alternative to box or yew, or any of their close-clip-friendly pals. Watch out though, before you purchase - this stuff is not fully hardy and you may need to fleece it in a hard winter. A well-tended Sarcococca confusa, which can be clipped into shaggy balls, or even yew, allowed to get a bit away from itself will be much less hassle for those who don't want the bother of worrying about frost.

Pittosporum tobira

x Laetitia

Clearing pond algae

Pesky but inevitable: Pond algae

Pesky but inevitable: Pond algae

It's hard to think of any truly exquisite garden that does not have water. It will always be the thing that completes an outdoor space, as well as the very best way to bring wildlife into the garden. As with all good things though, there must be a down-side, and in this case it is that any pond is only really a bog-garden in the making.


It’s the time of year when algae begins its assault – warmer weather and anything but the perfect chemical balance means that most of us either have water that looks like green soup, or that its surface is covered with the stuff (like my pond, above). No short-term solution is full-proof, but manually removing any blanket weed using a pole is a good start. A submerged bag of barley straw will help to prevent growth, and if you don’t mind your water being black, then a pond dye is a real option as it prevents photosynthesis. In essence though, an algae-free pond is all about achieving a delicate balance; and long-term, the solution is to ensure that any water added to your pond or pool is rainwater (I know, not always possible), that clippings, fallen leaves, mowings and compost are kept out of it, and prevented from adding nutrients, and that it has a modicum of shade. Achieving the right amount of oxygen, nutrient levels and light, is a continual project; your oasis of water will always be a work in progress.