Okay which MAD person put me in charge of not one, but TWO chainsaws?
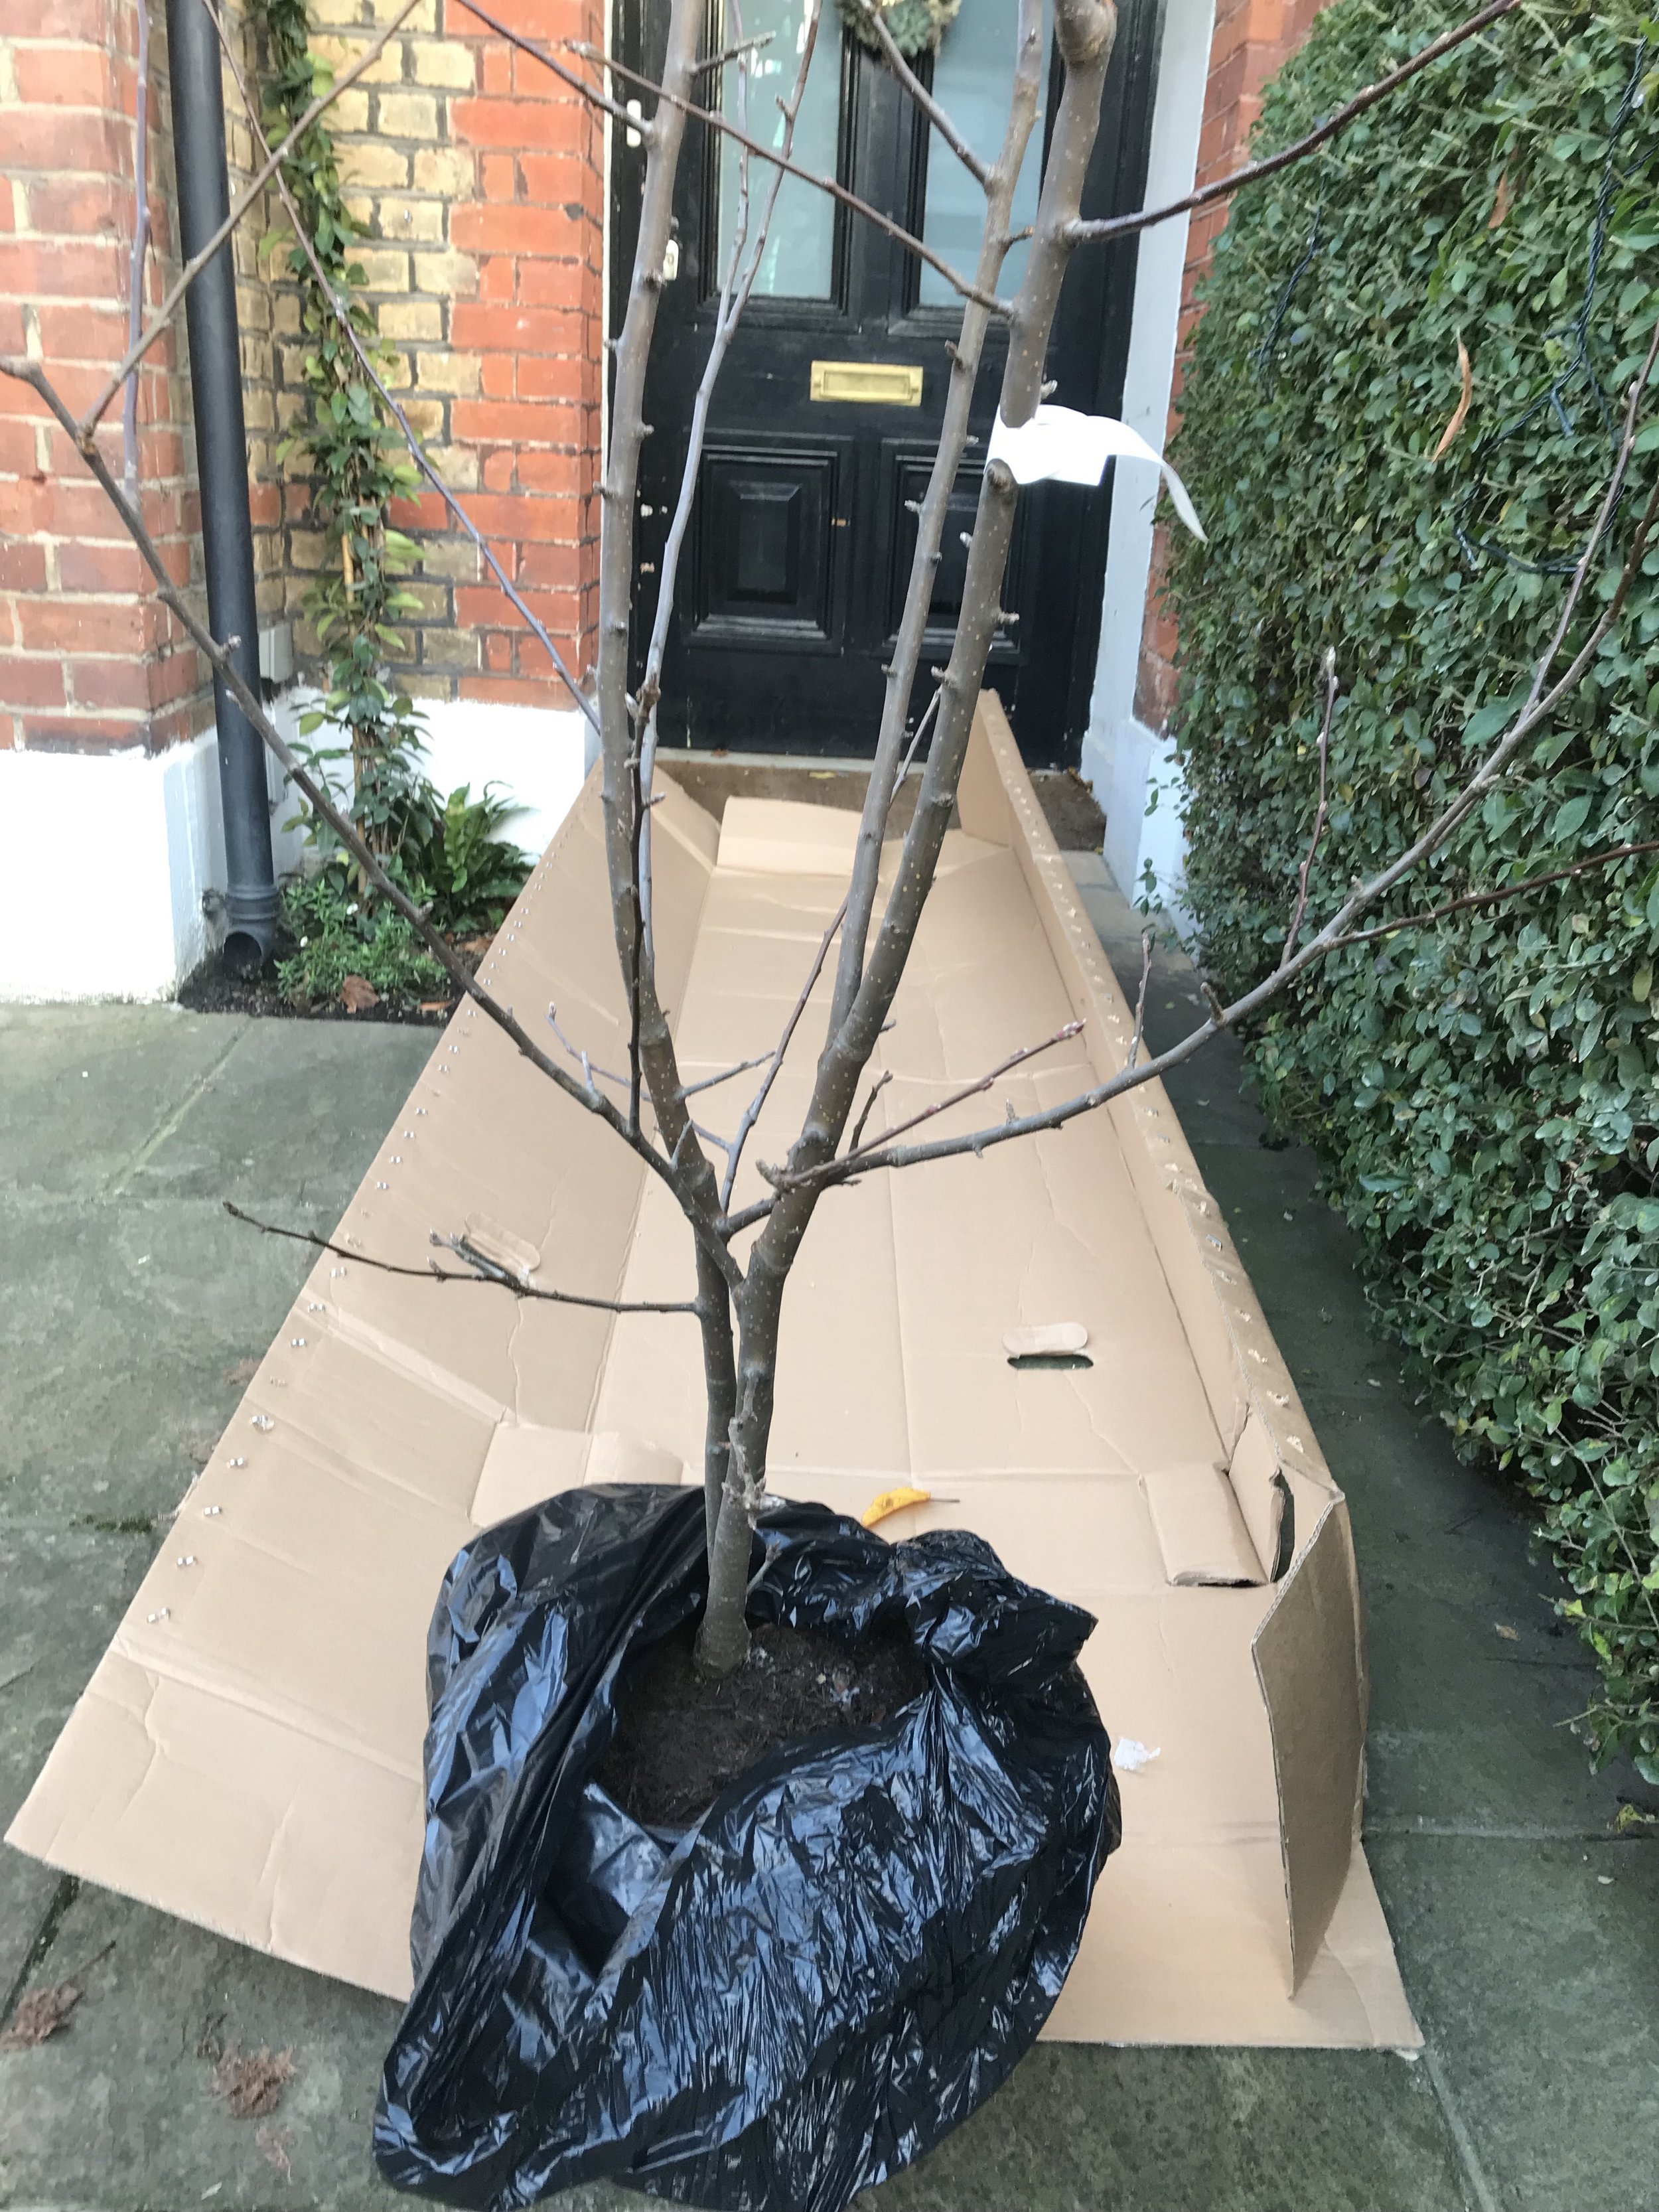
Those were my thoughts as I took delivery of two mean cutting machines, kindly gifted by the crazy people at Stihl for me to use during the pruning of my fruit trees, and for chopping up large bits of wood for fires. I have an apple and a plum tree which need periodic pruning. I also love a fire, and keep any and all of my prunings to use in my firebowl at regular intervals.
I recently had an extremely unpleasant run-in cutting cucumber slices on a mandolin - and a mandolin, darlings, has no moving parts.
Yup, so it was with a fair amount of trepidation that I finally opened the first box, after a couple of weeks just looking at it suspiciously. It comes with a lithium ion battery which you need to charge for a few hours. The battery fits into its charger completely intuitively…no need to read any instructions (shhhh you didn’t hear me say that).
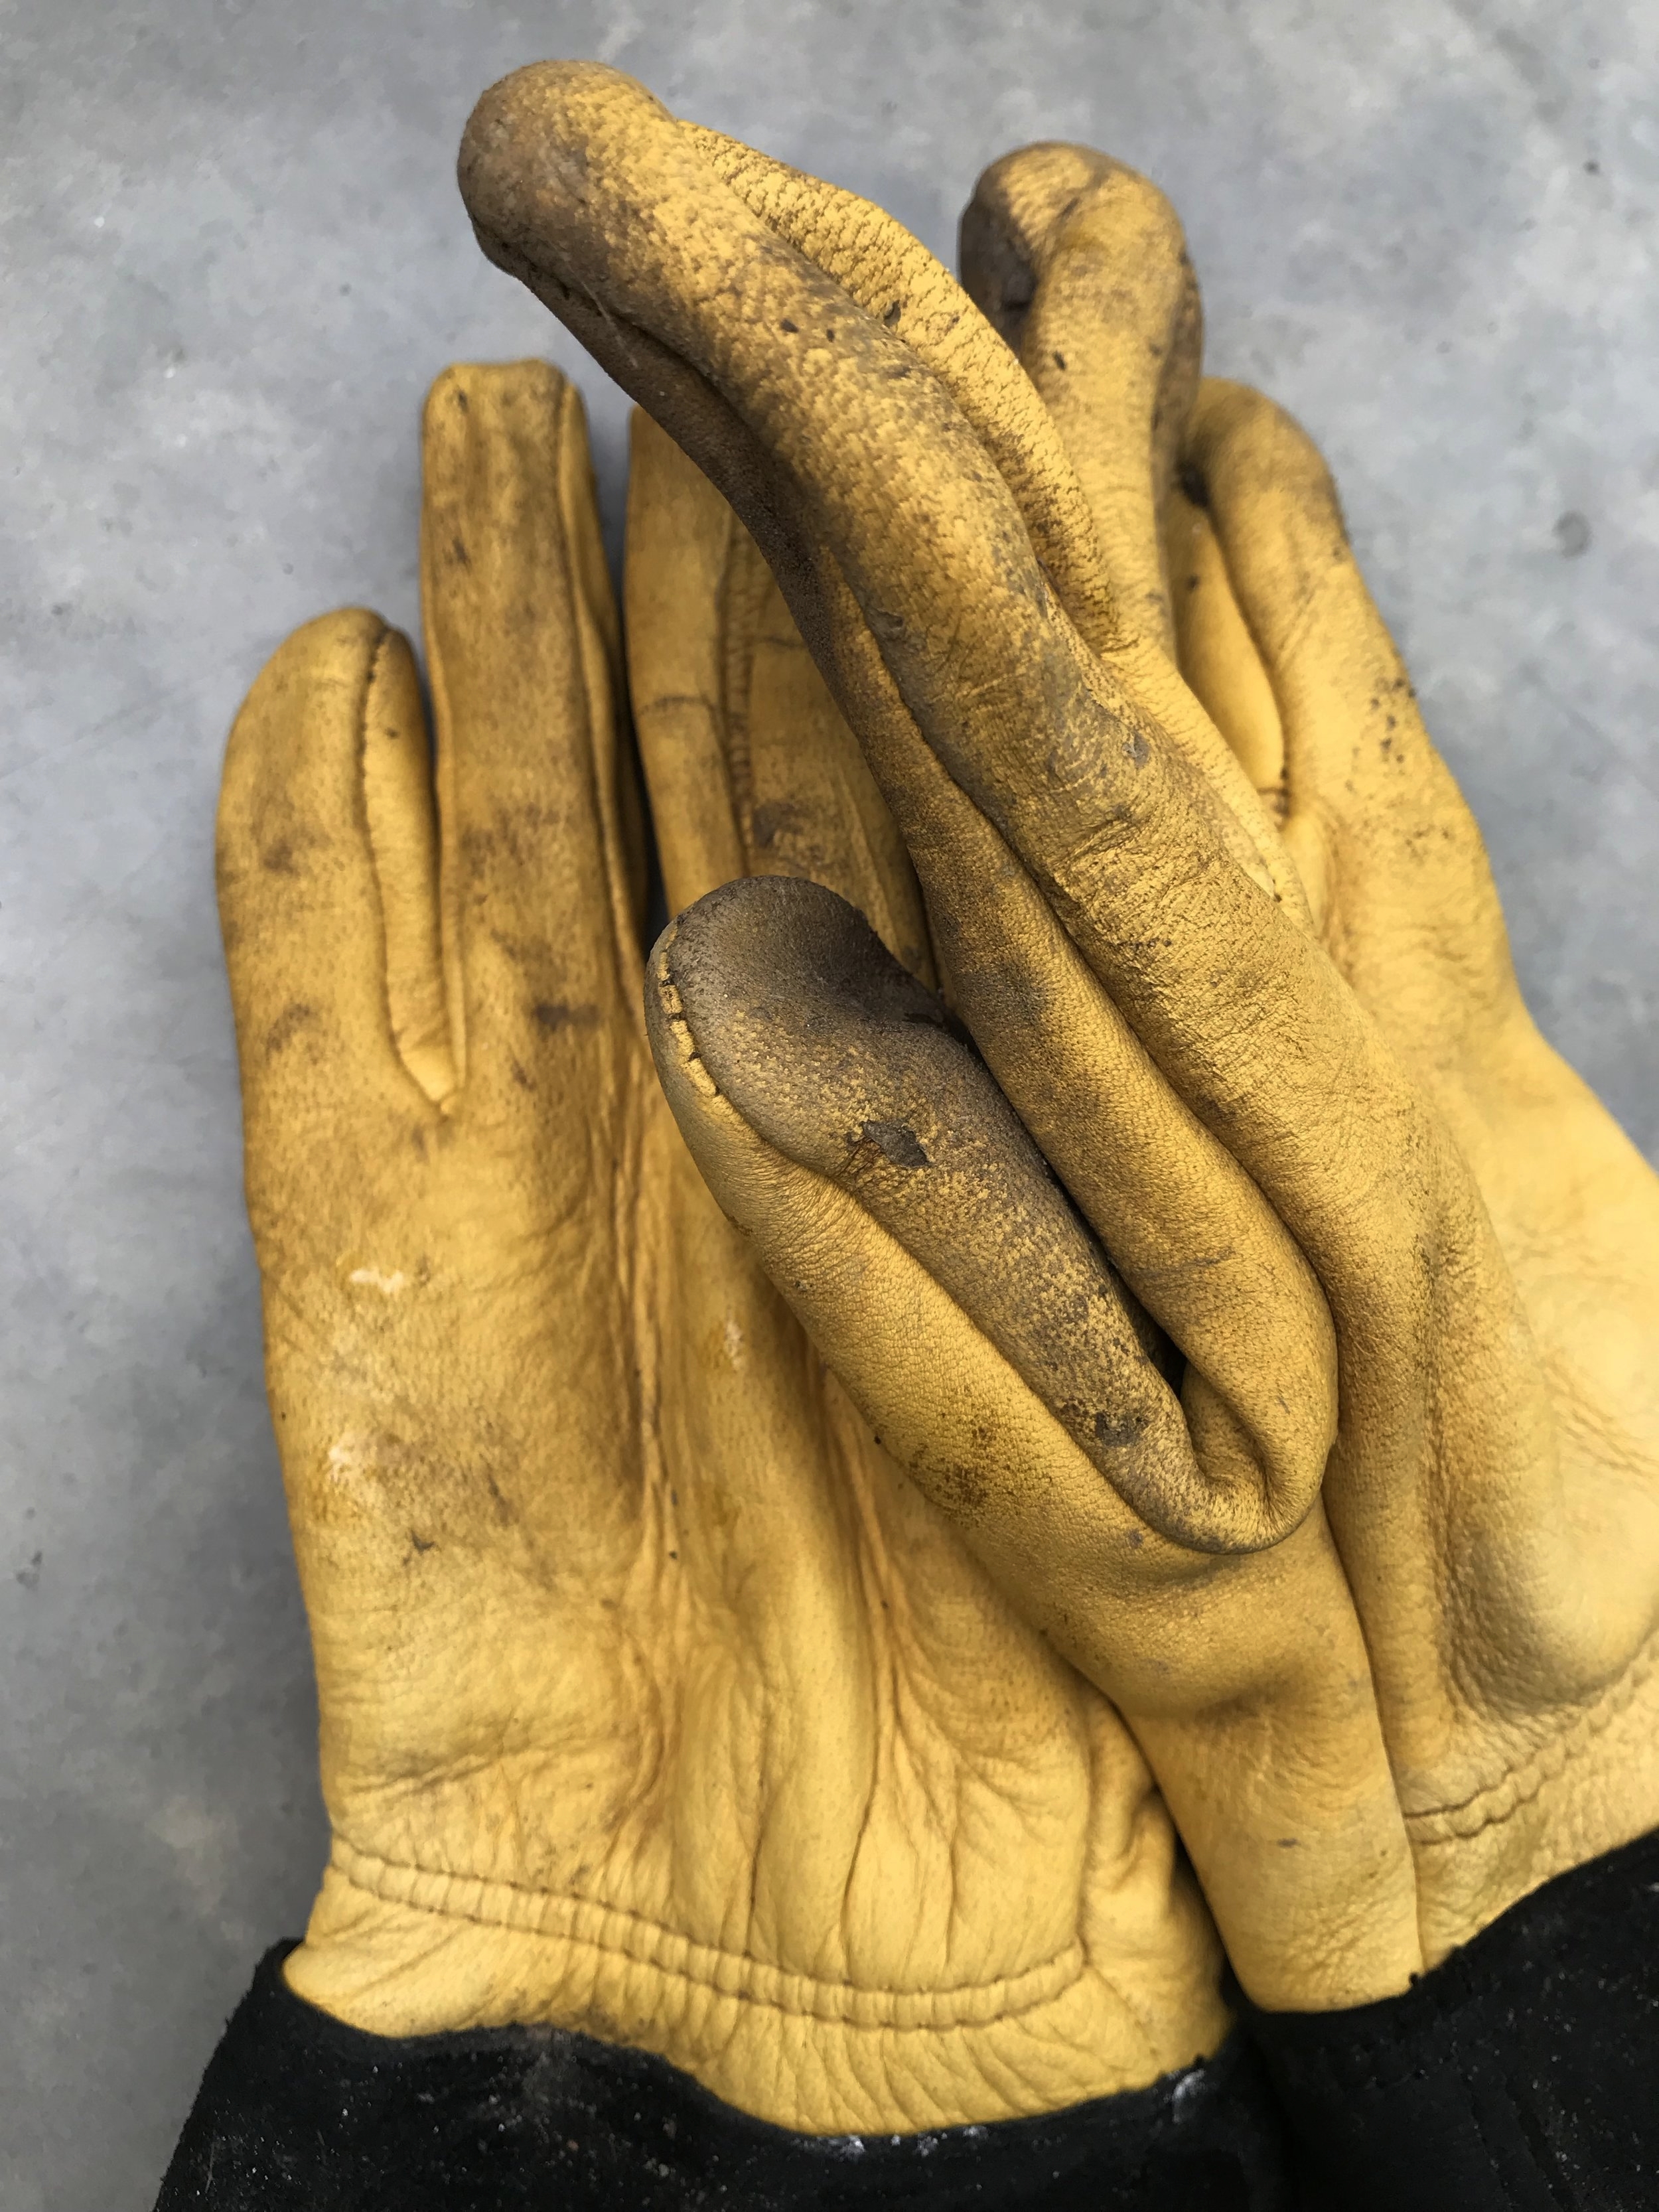
The instructions (which I DID read) say you need to wear lots of safety equipment. You need a helmet that fits correctly, and a pair of good gloves and boots, and a pair of sturdy trousers.
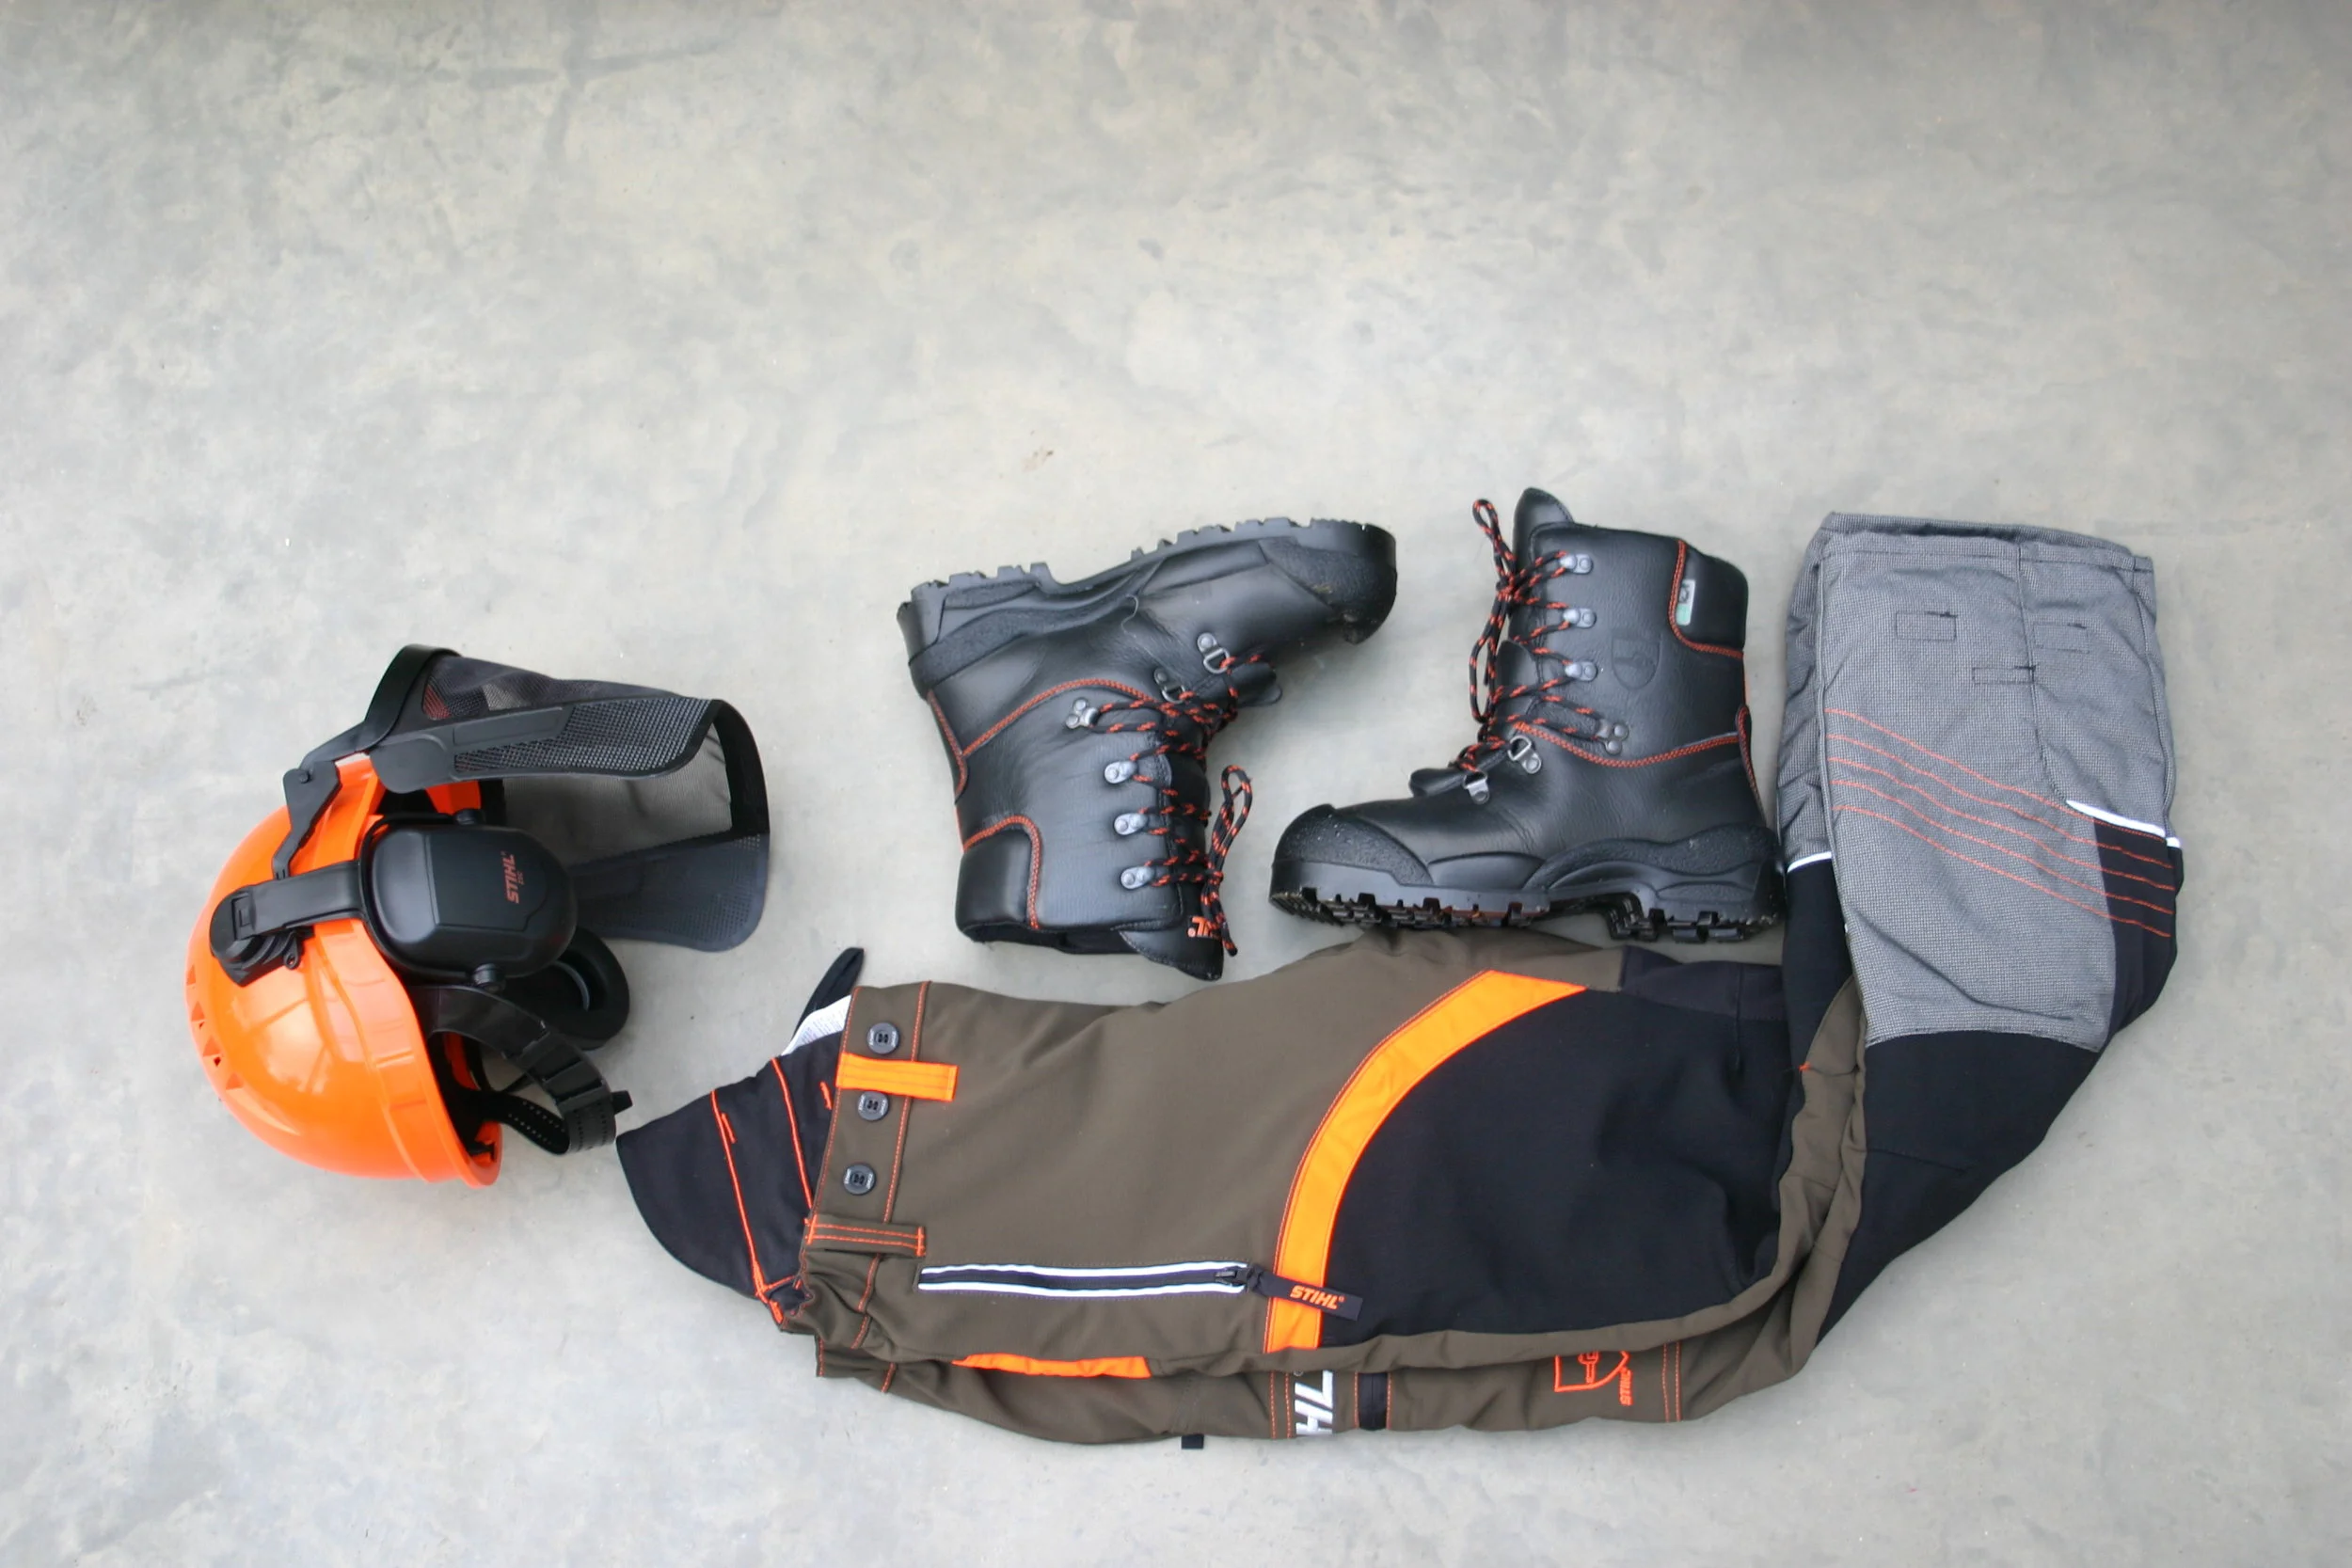
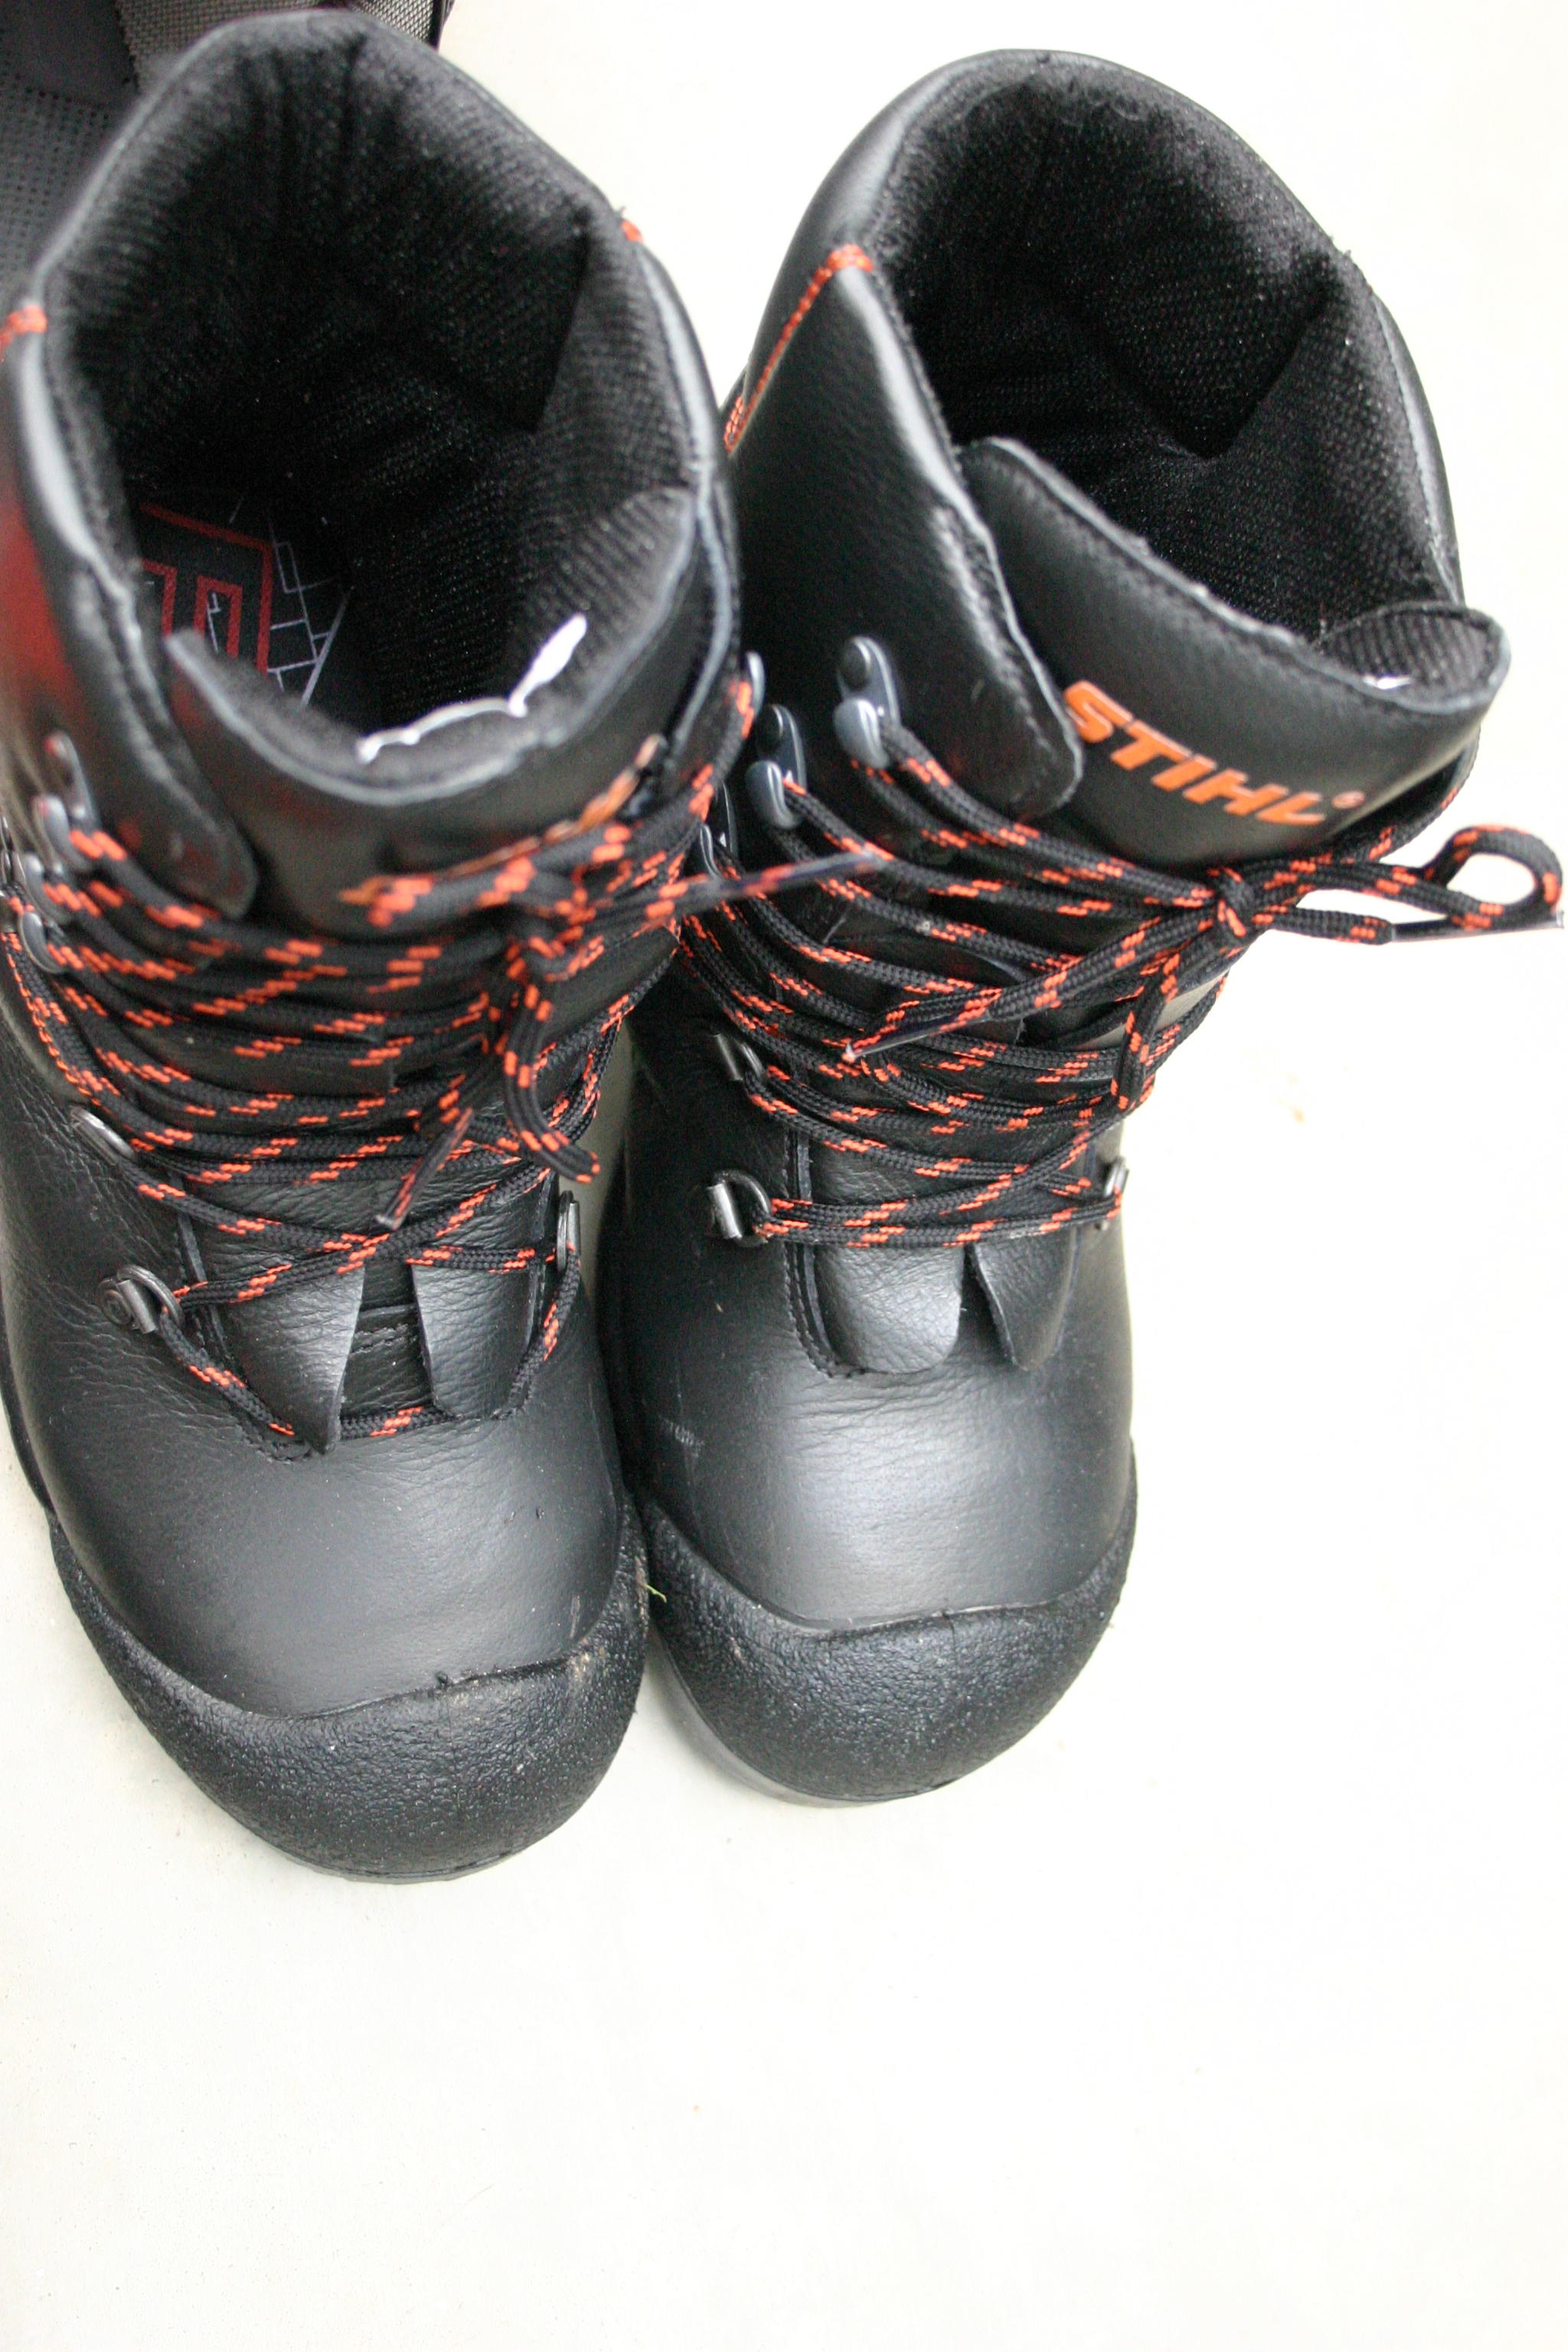
I am a person who gardens in whatever I’m wearing, but some unfamiliar, sensible part of myself tells me firmly not to skip this step, and I put all the stuff on, which instantly gives me the confidence to put the battery in the machine and get going. I’m very familiar with what wearing appropriate clothing will do for you in terms of experience. Jumping in muddy puddles, for example, is infinitely more fun when one is NOT wearing a skirt…the whole thing is just not as pleasurable is it? And so it is with wielding a chainsaw; it feels infinitely safer and more fun when your’e wearing proper garb. Also, the trousers are really rather sexy, if I do say so myself (they should be at this price). They feel a bit like ski trousers - close-fitting, lovely and warm and , well, SUPPORTIVE, if you know what I mean….It’s not that I need clothes to be sexy, but hey, it’s better if they are isn’t it? The boots are glorious -
I mean they’d look better with a floaty dress, but hey, this isn’t fashion…it’s GARDENING, so onwards we go, with our thick trousers and our huge boots and our helmet and gloves. Although, to be fair, the incredibly hot man in the promotional video for this chainsaw (click the link below, and you’re welcome) is simply wearing eye protection.
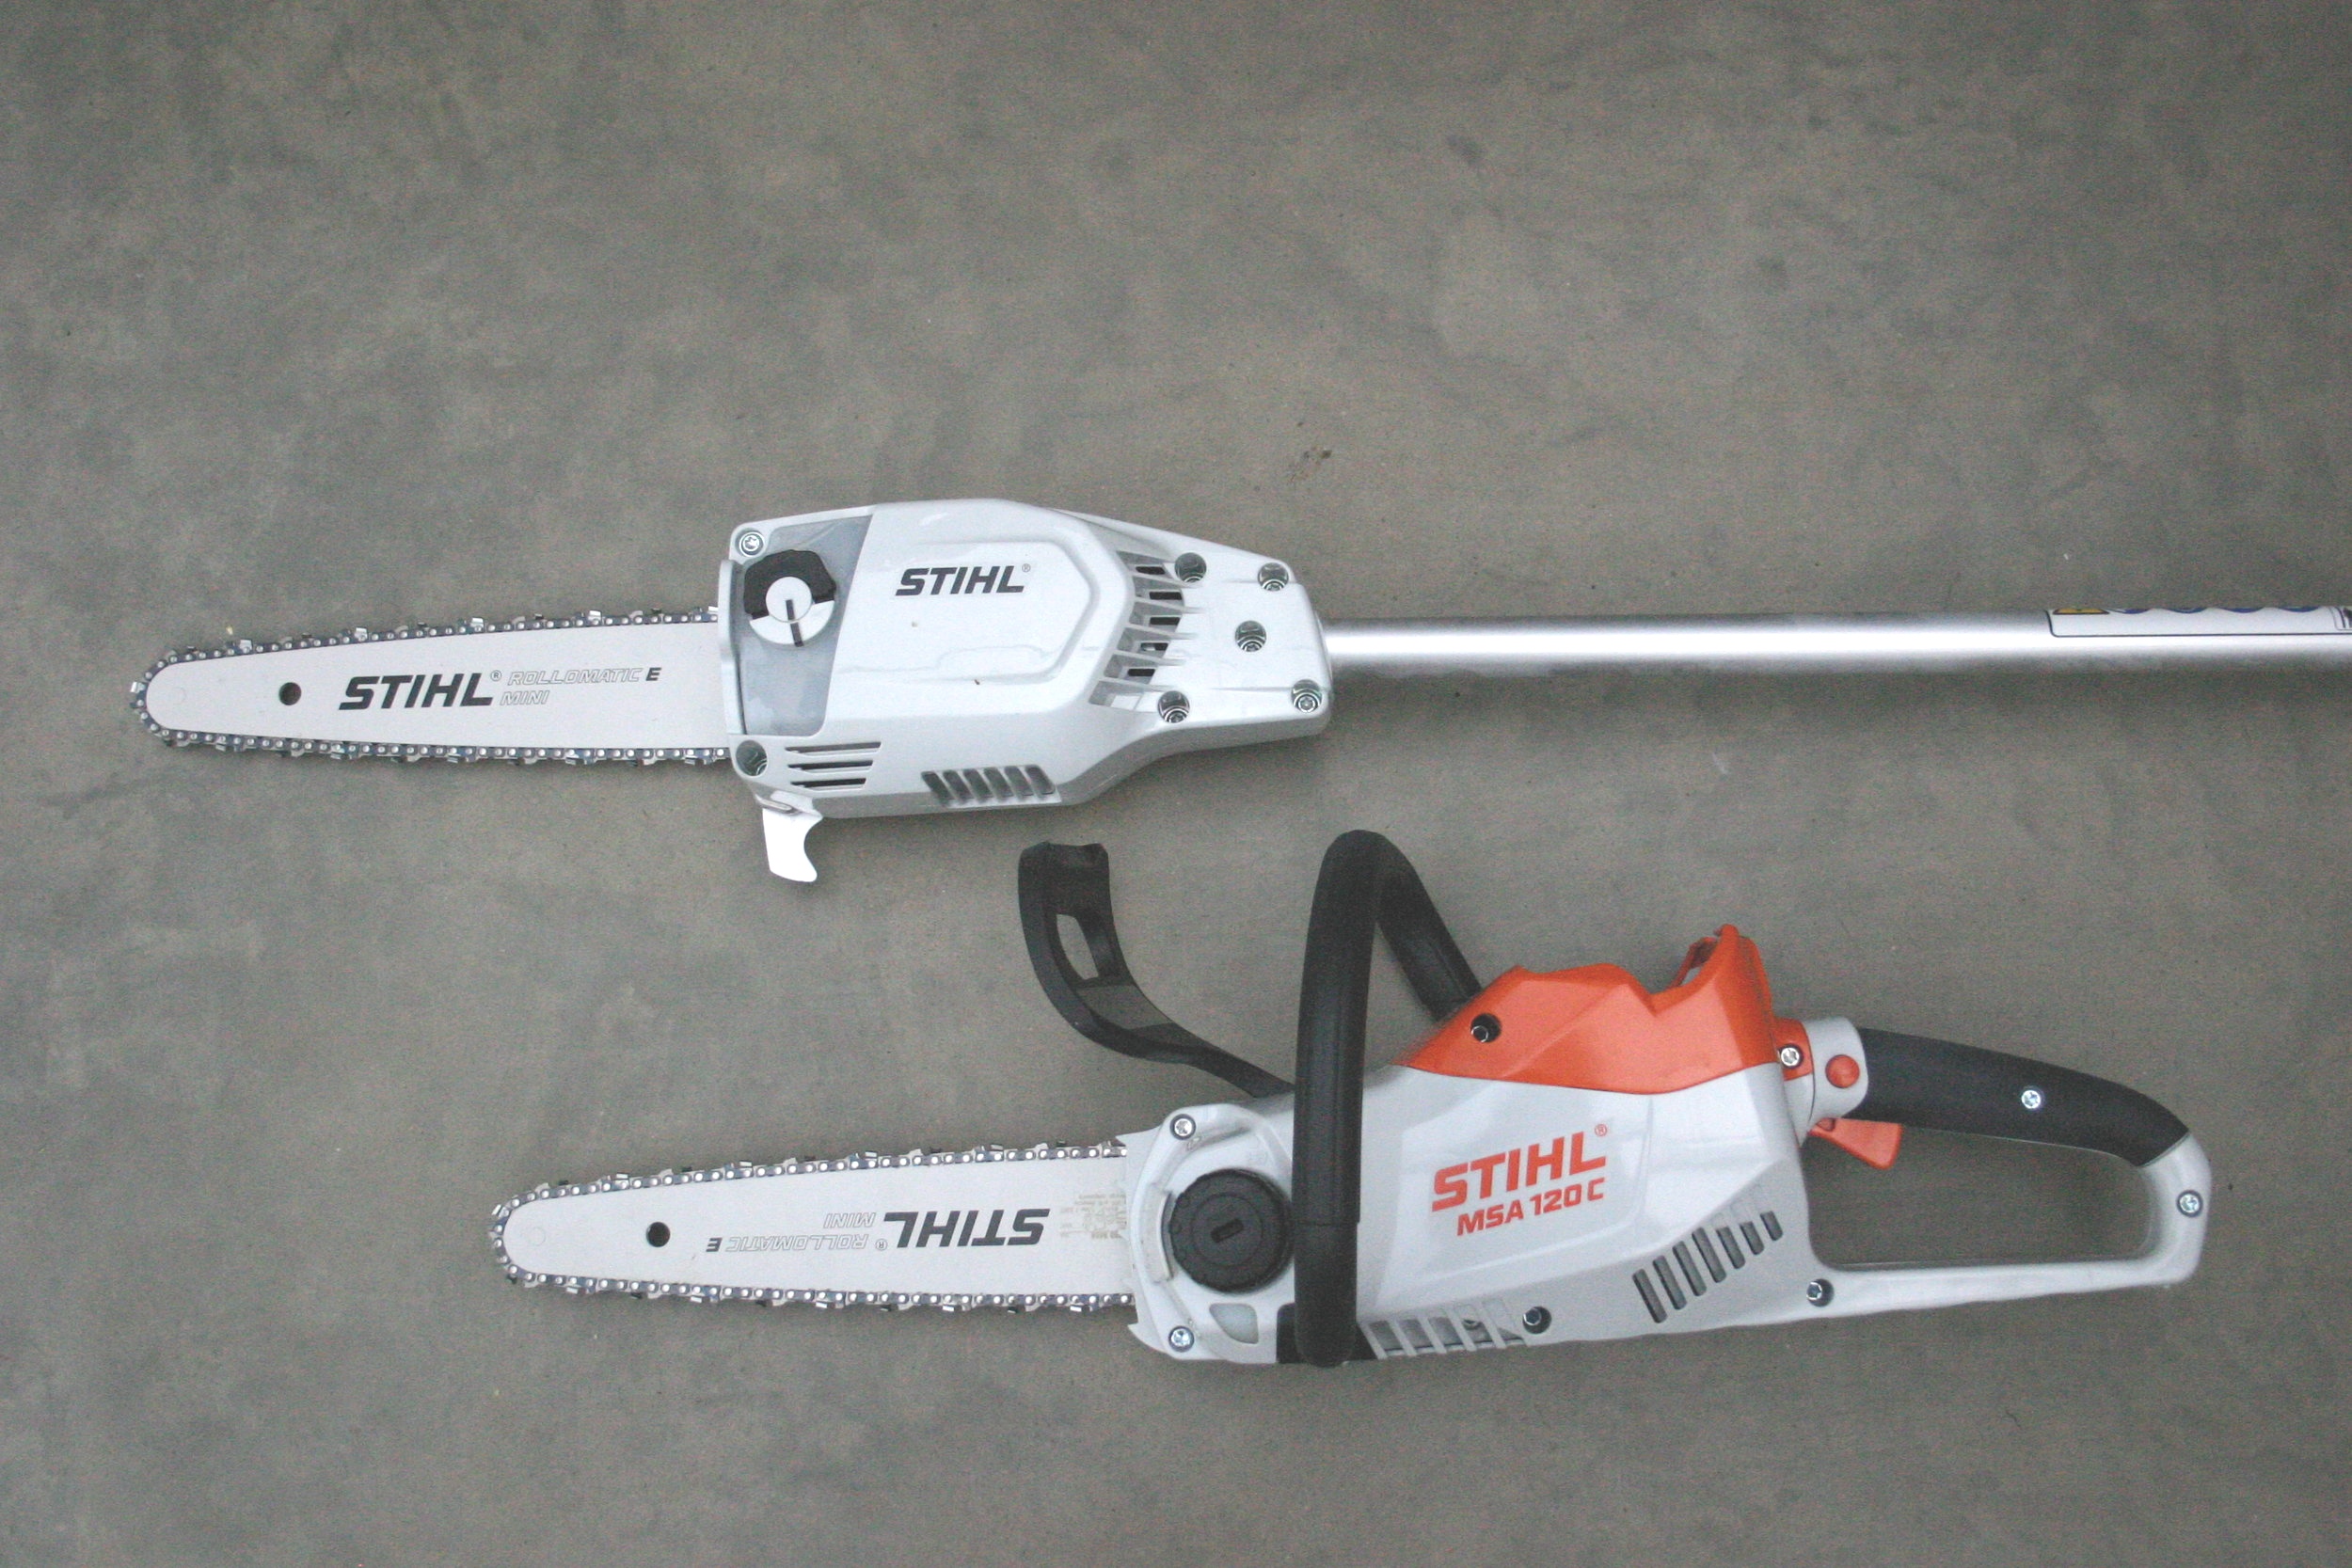
Stihl Compact Cordless Chainsaw MSA 120c with battery and charger
Like most other motorised gardening equipment, switching it on requires two actions - pushing a button whilst pulling a lever. The chainsaw though, has an extra safety catch which has to be pulled towards your body in order for the thing to work. This catch also doubles up as a hand guard, protecting your hands from any flying detritus which might head their way (although if you are wearing good gloves, that shouldn’t be a factor).

I expected a good deal of vibration once I’d got the saw going, but in reality it felt a bit like an electric toothbrush (have a look at my instagram highlights under ‘Pruning'!’) and that’s when the last bit of trepidation left me and I started having fun. The blade cuts through wood easily and smoothly…yes, a bit like a hot knife might slip through butter. I adored the feel of it - easy to manoeuvre, and not too heavy (2.5kg). I cut several large logs up for my stock of wood. It is pretty quiet too; a lawnmower would bother me much more if I were my neighbour. (thank goodness I’m not)
Overall I am in love with this tool, so much so that I wish I had more to cut dammit. But seriously, if you need to prune large branches off a tree, or have wood that needs chopping this is a lovely bit of kit to have in your armoury. For storage, you need to keep the battery and charger away from extreme temperatures (I keep mine in the house) and the cutting part of the machine has a plastic cover that slips over it. I will also need to get to grips with tensioning the chain, and adding oil, which I’ll save for an instagram story at some point in the near future. But all in all, this little thing sits on a shelf in my shed and looks at me seductively from there. I am quite smitten.
This is a chainsaw on a stick - something I realised I needed once I got to work on my apple tree and needed to chop some of the larger, inward-facing water shoots - too thick for loppers and unreachable with my ladder. The pole pruner works in exactly the same way as the mini chainsaw, except that the battery is at the bottom of the pole and the chainsaw is at the top. This is rather more unwieldy than the mini-chainsaw (as you might expect). It takes practice to balance the thing properly, using the strap that comes with it, and at 3.1kg in weight, it does require a certain amount of upper-body strength. Having said that though, It is once again a joy to use, with that electric toothbrush feel, and the tiny blade means that you can pick and choose what you want to prune off, put the saw in the right place, press the trigger and get the bit you want without damaging any other parts of the plant.
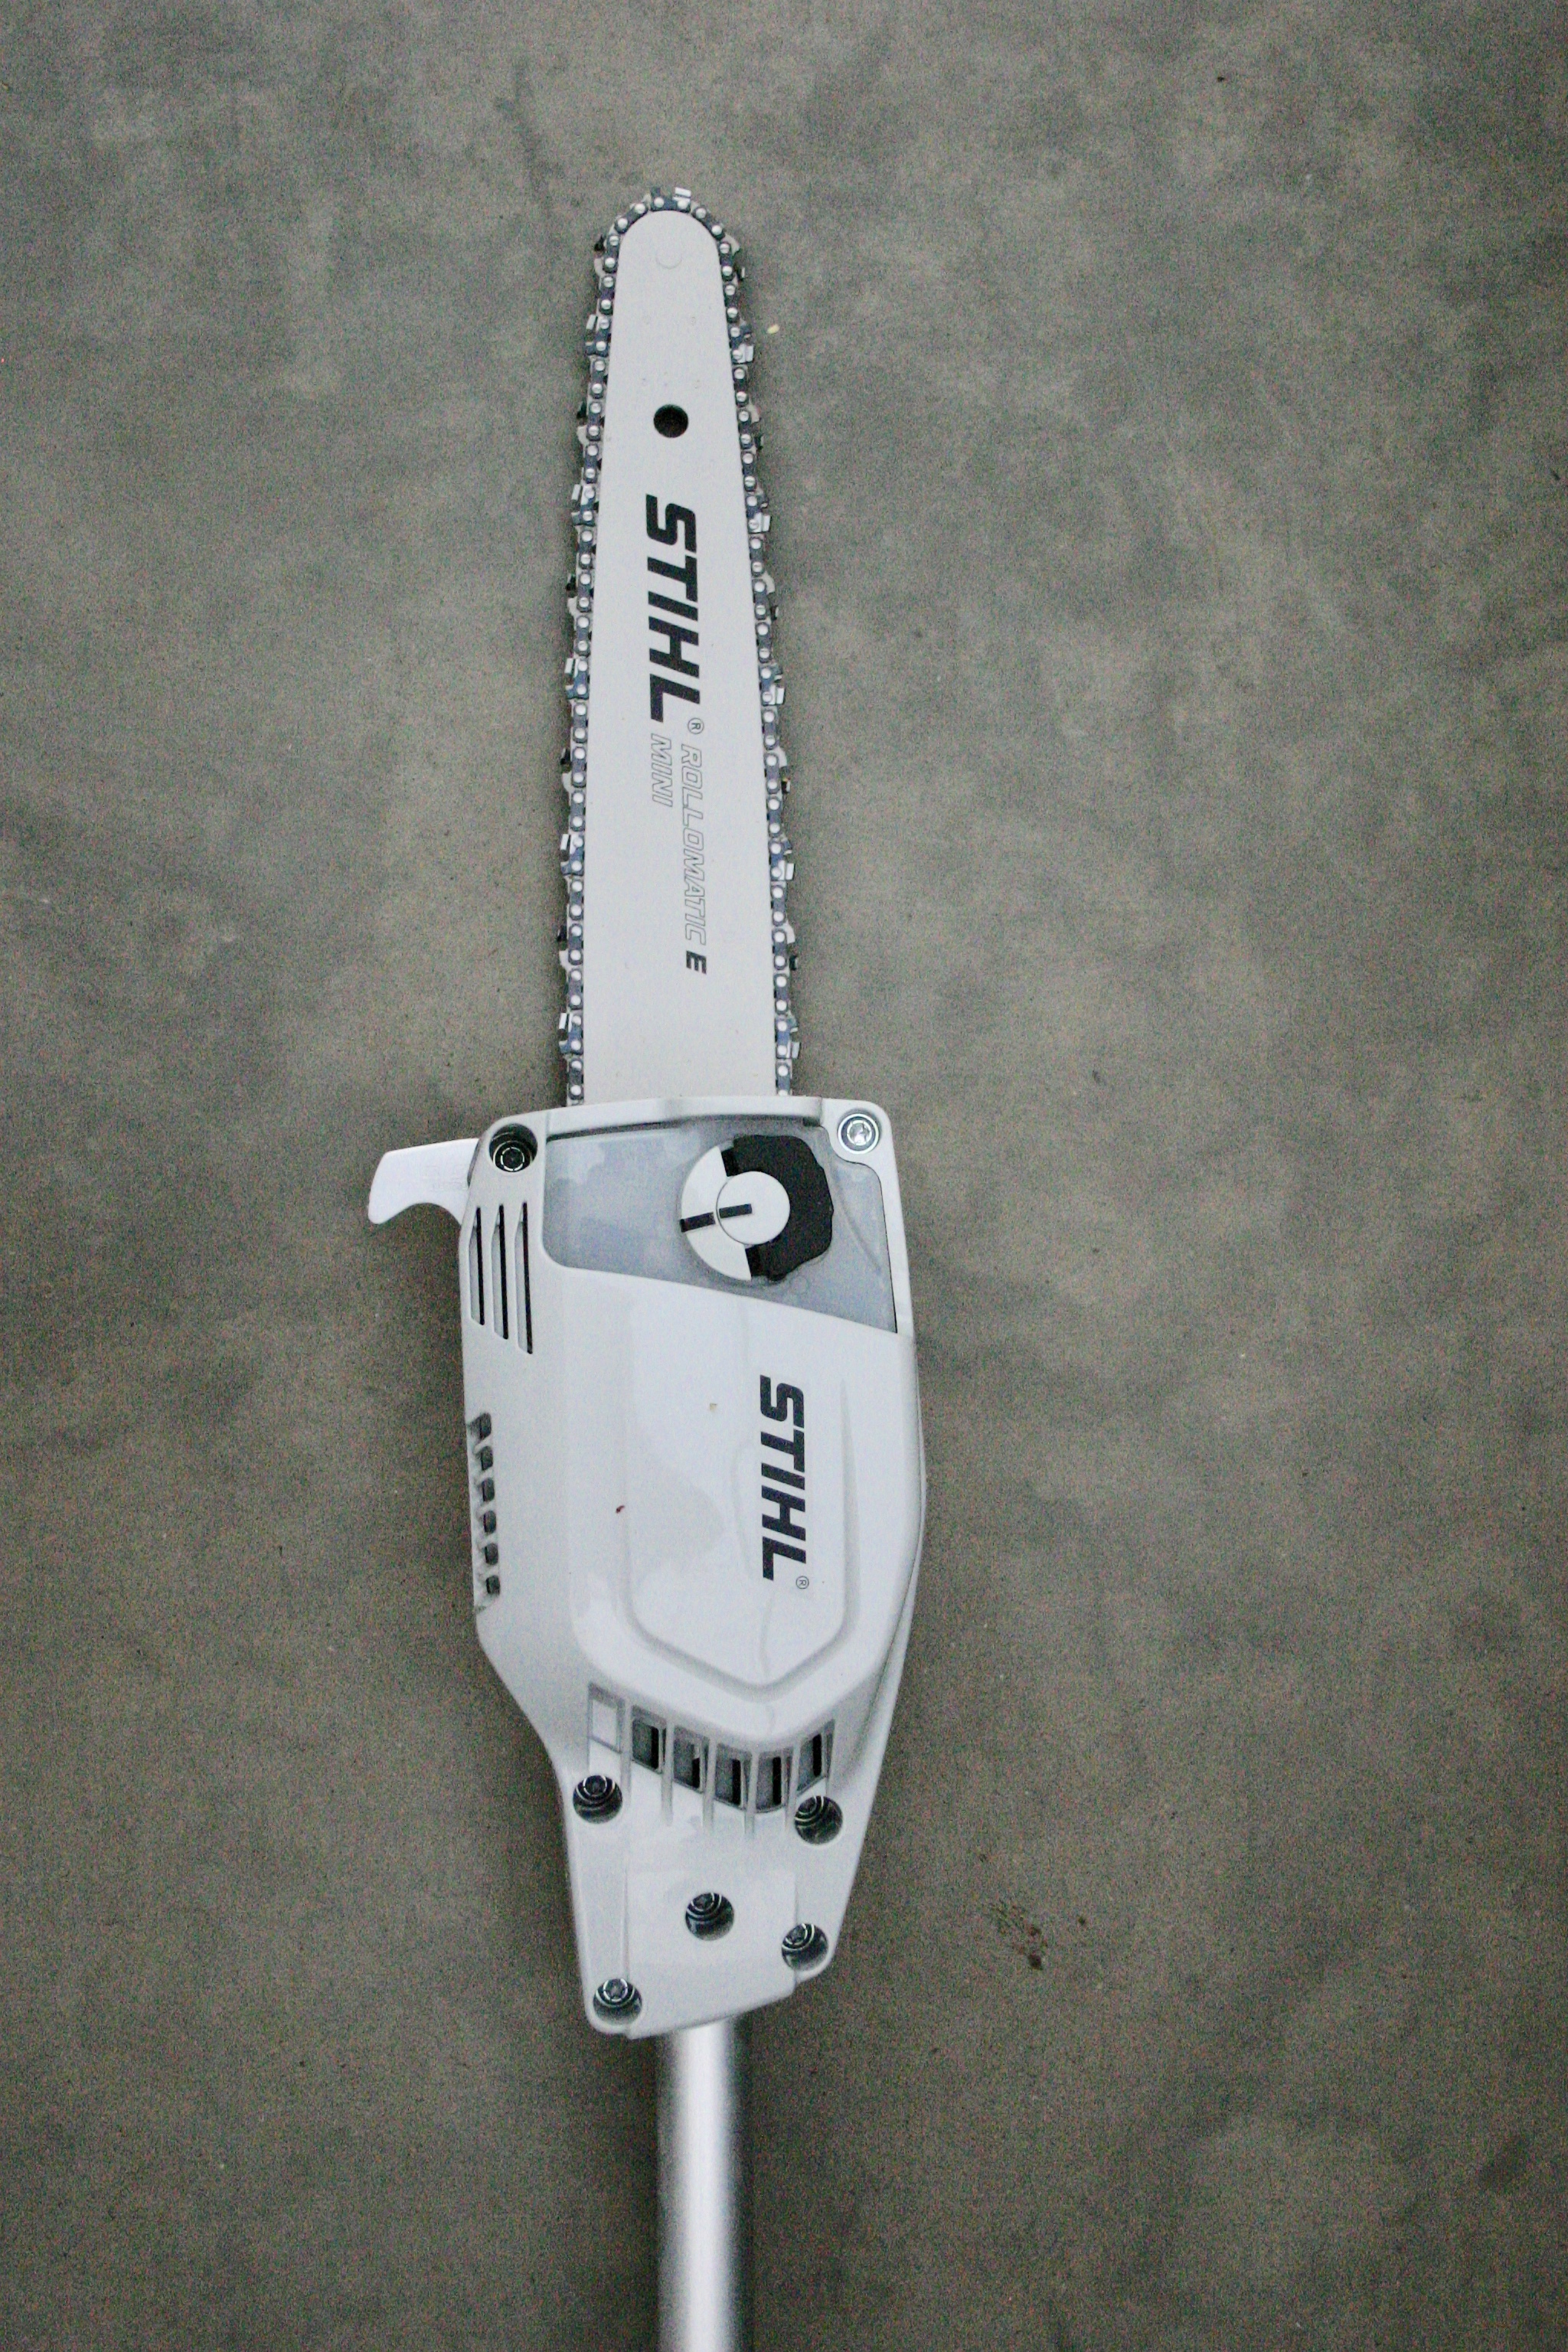
A brilliant piece of equipment for anyone needing to get at thick branches, high up, but unless you are in charge of vast swathes of orchard or woodland, then it would obviously be better to borrow one of these than to buy one.
Important information:
The above equipment were kindly gifted to me by Stihl. These items were not given to me in exchange for a review. I am reviewing them in response to lots of requests after I posted some Instagram stories about them. I’m not being paid for this review, but writing it because so many of you wanted to know about these products. This is not a comparison either - other chainsaws are available! Hope that’s all clear!
xx Laetitia