At this time of year, we are usually full of inspiration and renewed conviction that this is going to be the year when we make our garden gorgeous. But this whole gardening caper isn’t easy is it? Eleventy billion books and the entire internet, full of conflicting advice on how to do the very simplest things, not to mention the fact that unlike our parents, many of us have no childhood experiences of gardening.
Those of us in our 30s and 40s, (many of us with two parents working full-time), are a generation of lost gardeners. I may have known what a foxglove looked like, but I certainly never gleaned any horticultural knowledge from loitering next to my mum or granddad while they did the gardening; yes, it would have been confidence building, but it’s absolutely not essential. In fact, not knowing anything about plants allowed me to plunge straight into the flowerbed, unfettered by the limitations imposed by gardening ‘rules’, which (in my humble opinion) are mostly better broken.
So if you’re inspired to go out and have a go, here are ten things you can do in your outside space which will not only improve its appearance, but teach you something about gardening into the bargain.
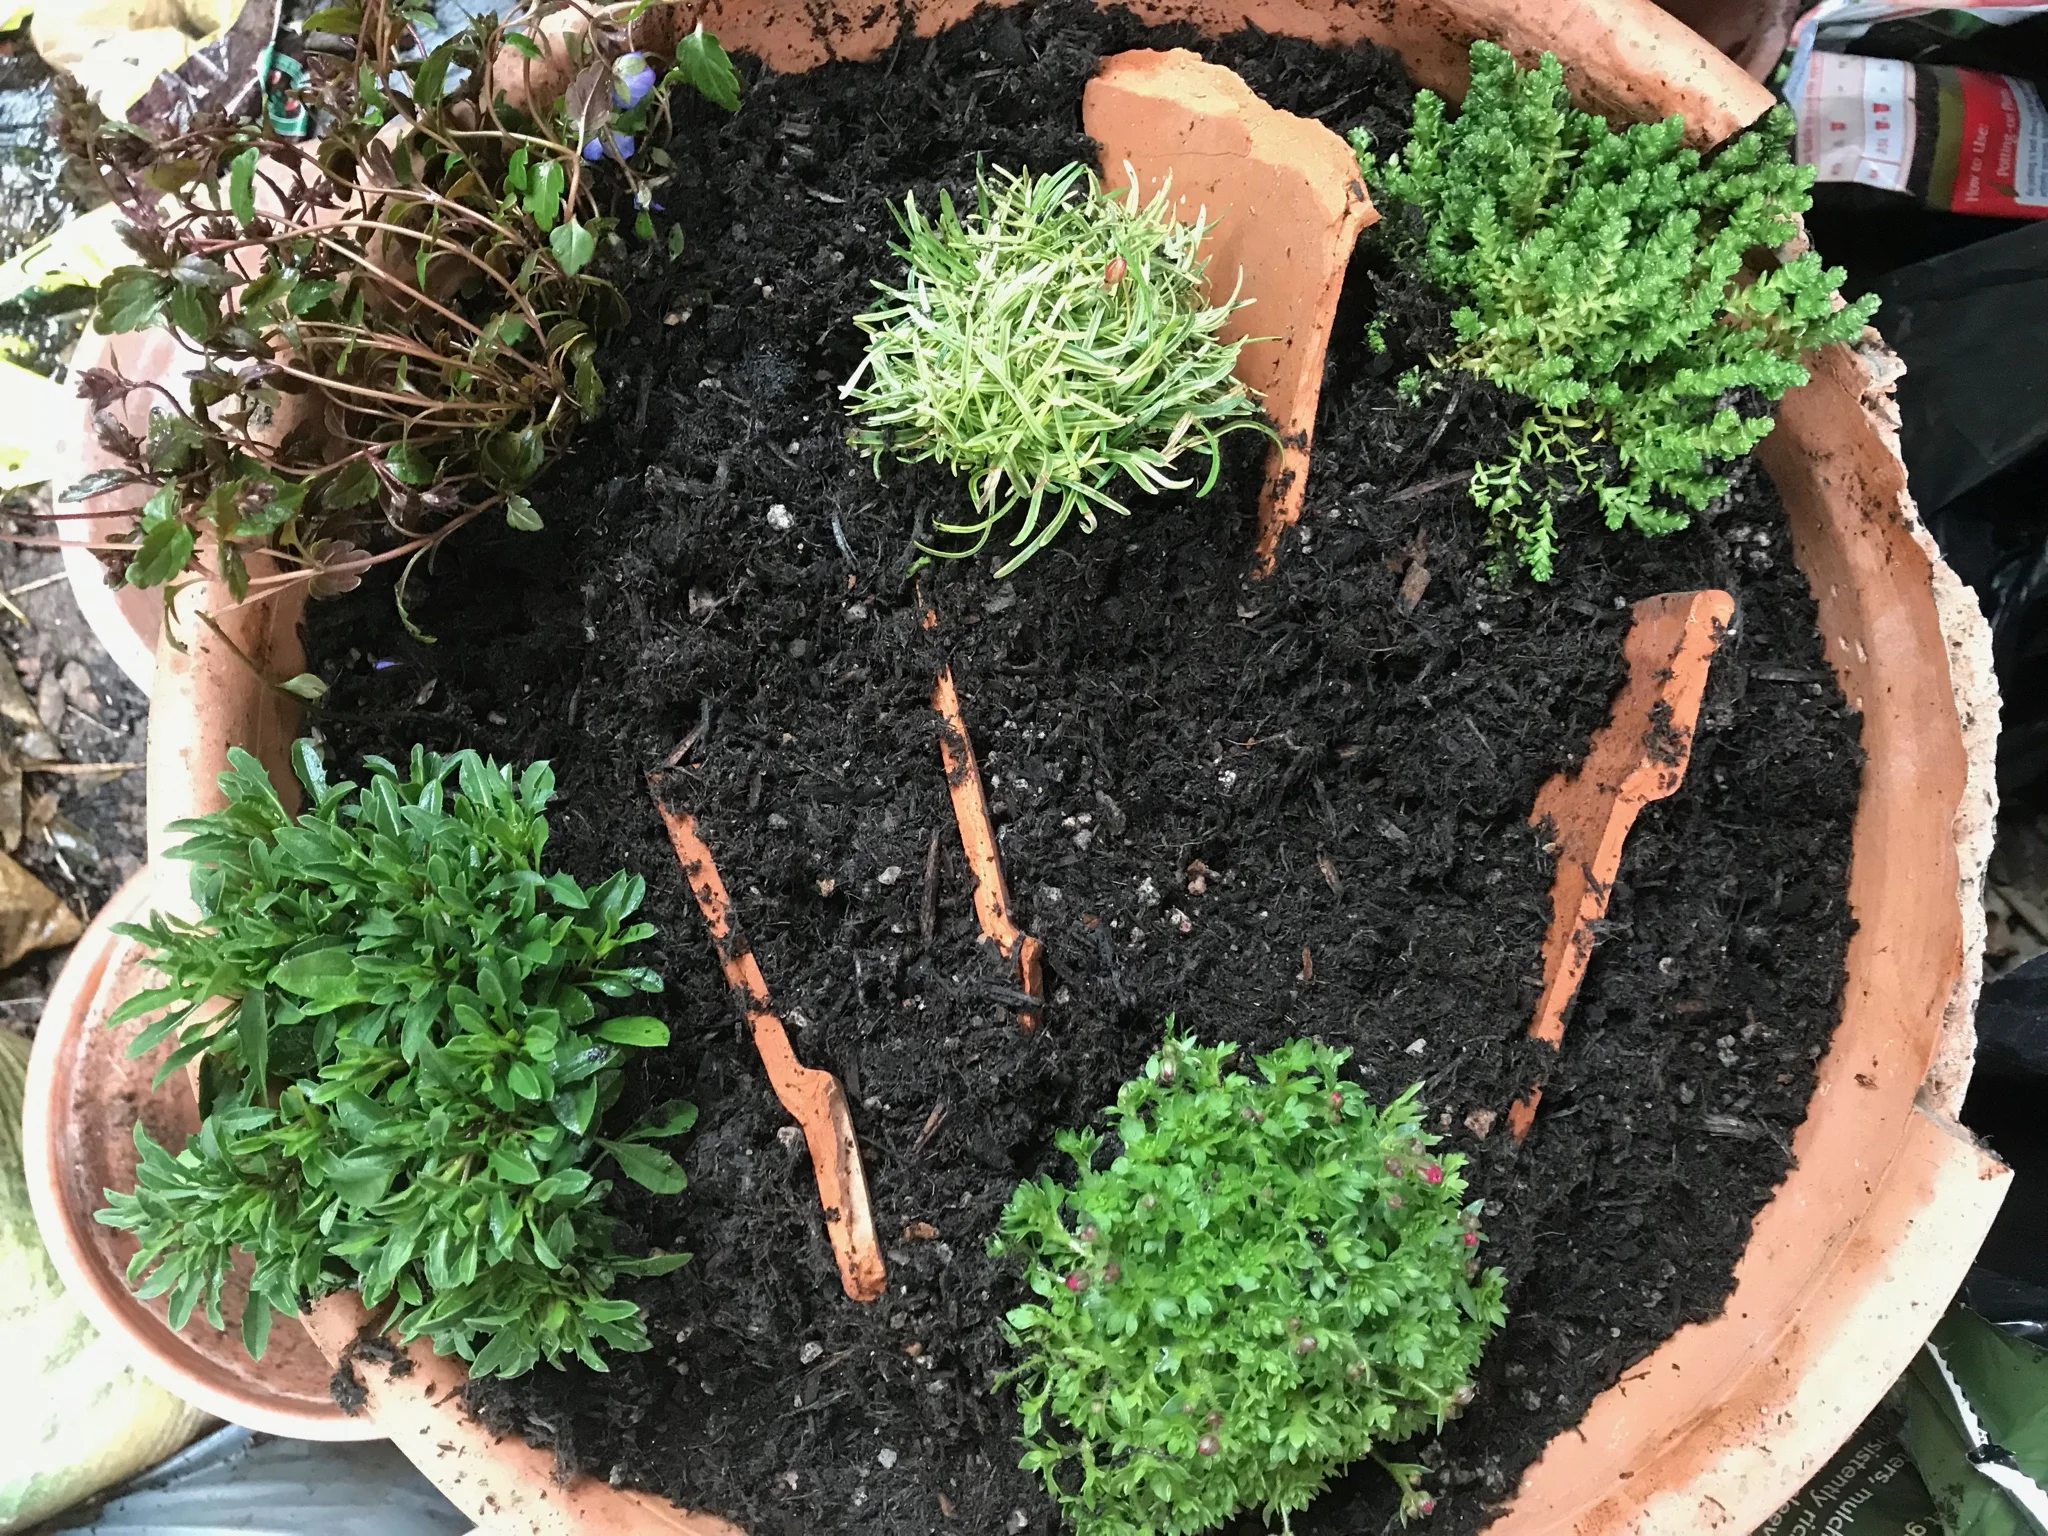
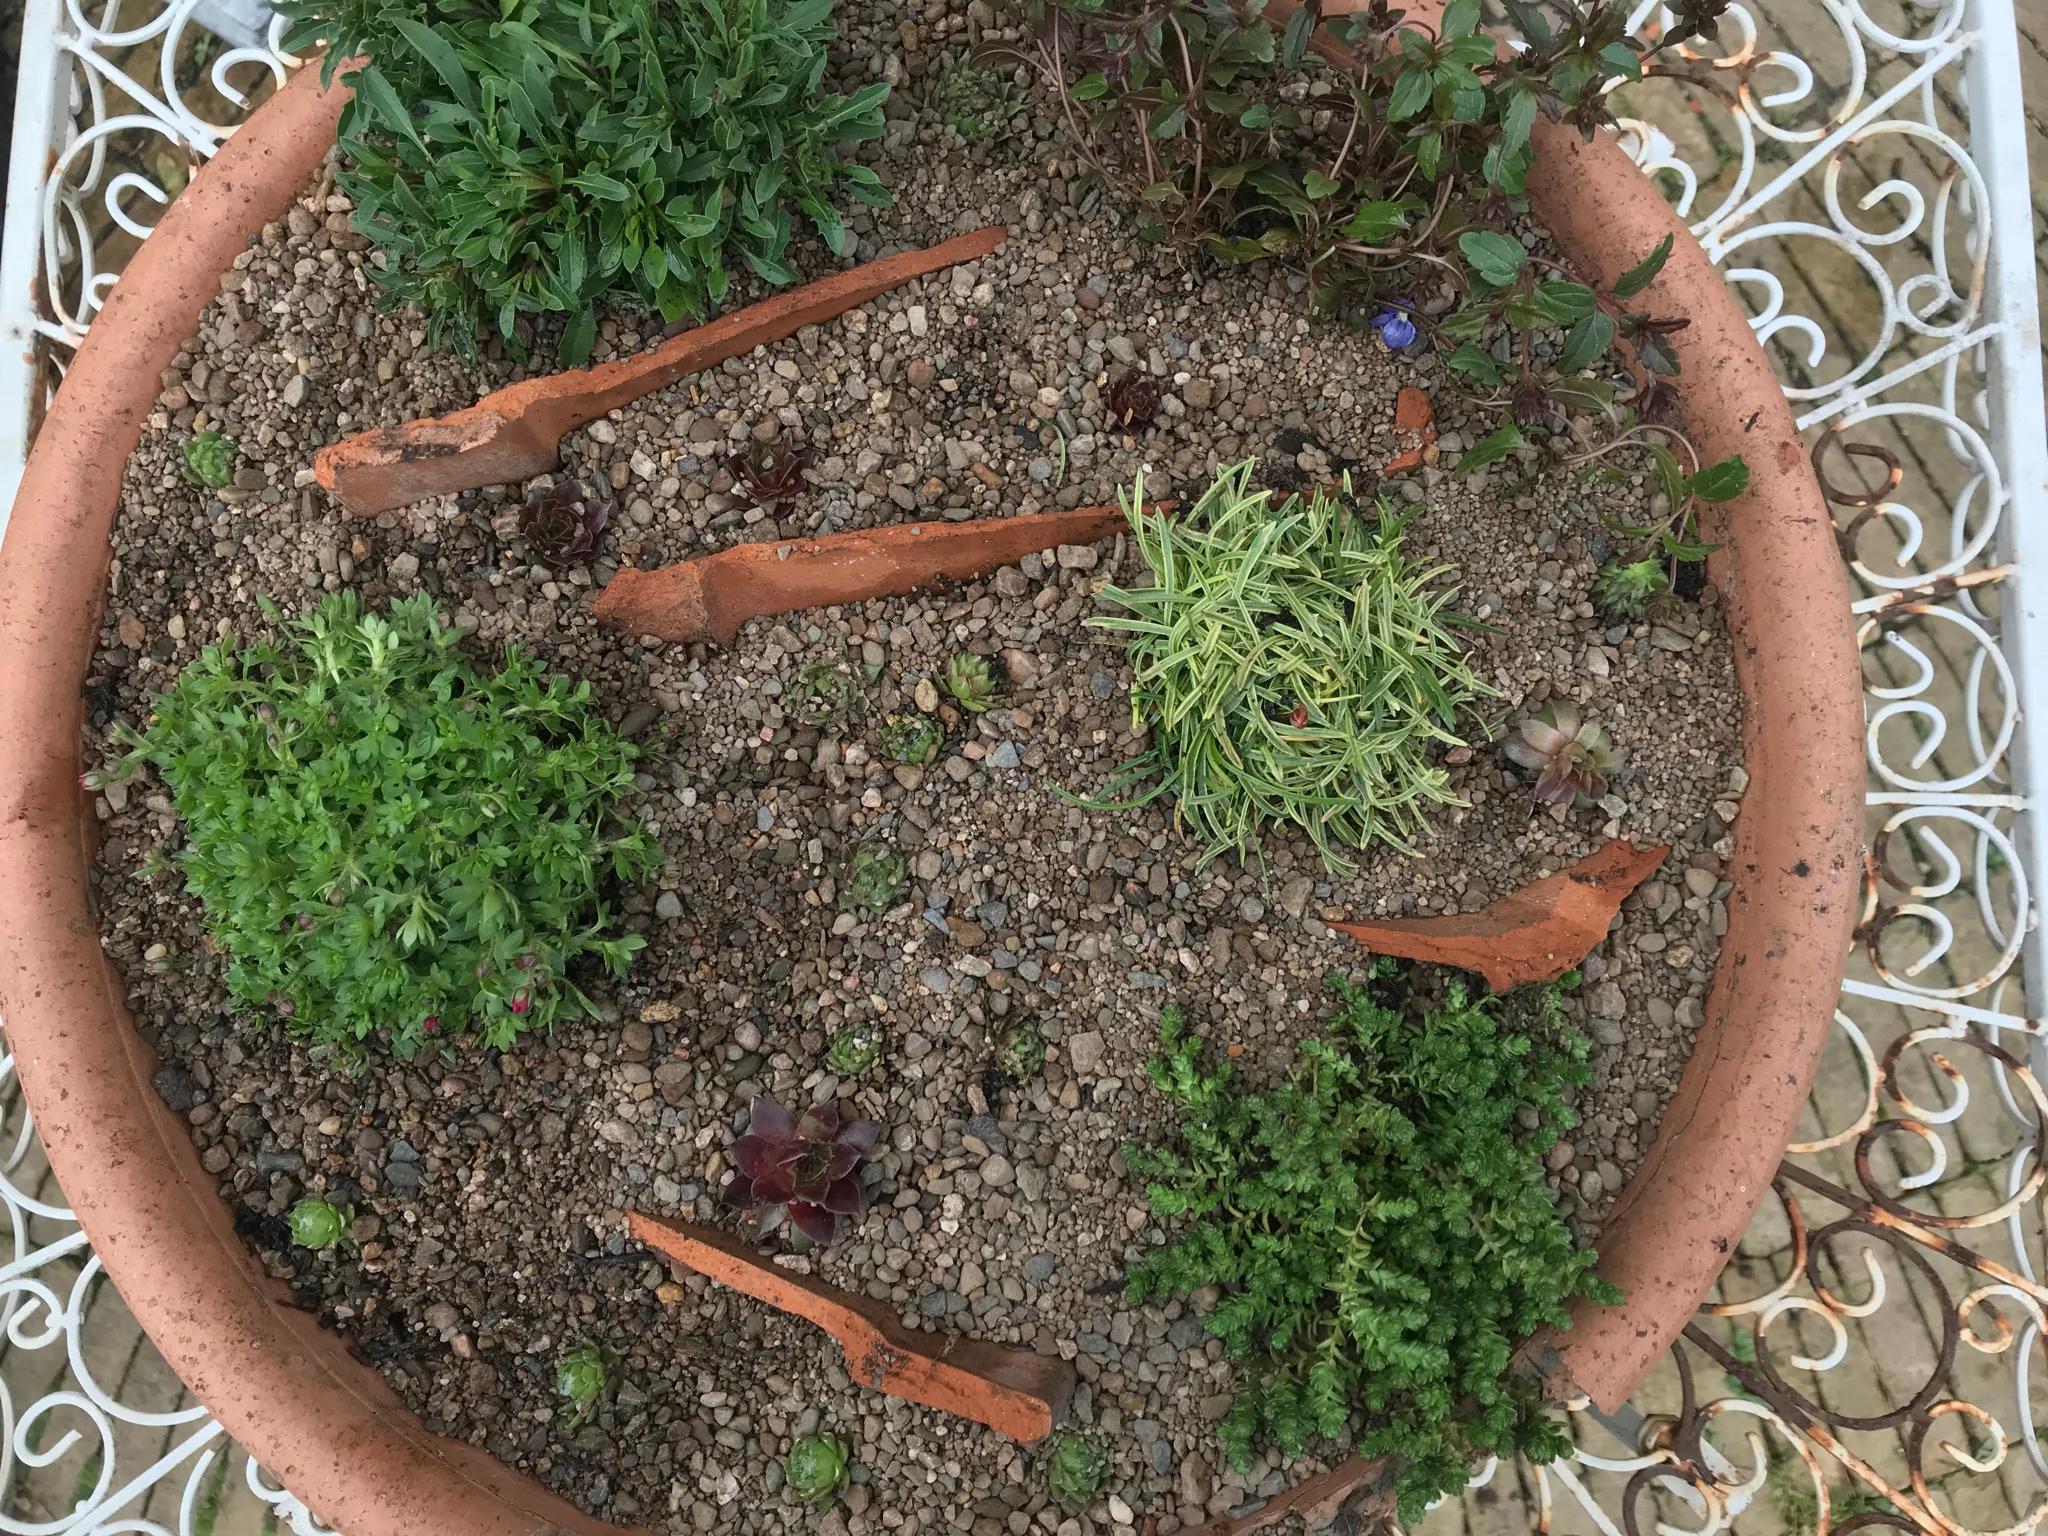
Clear some space.
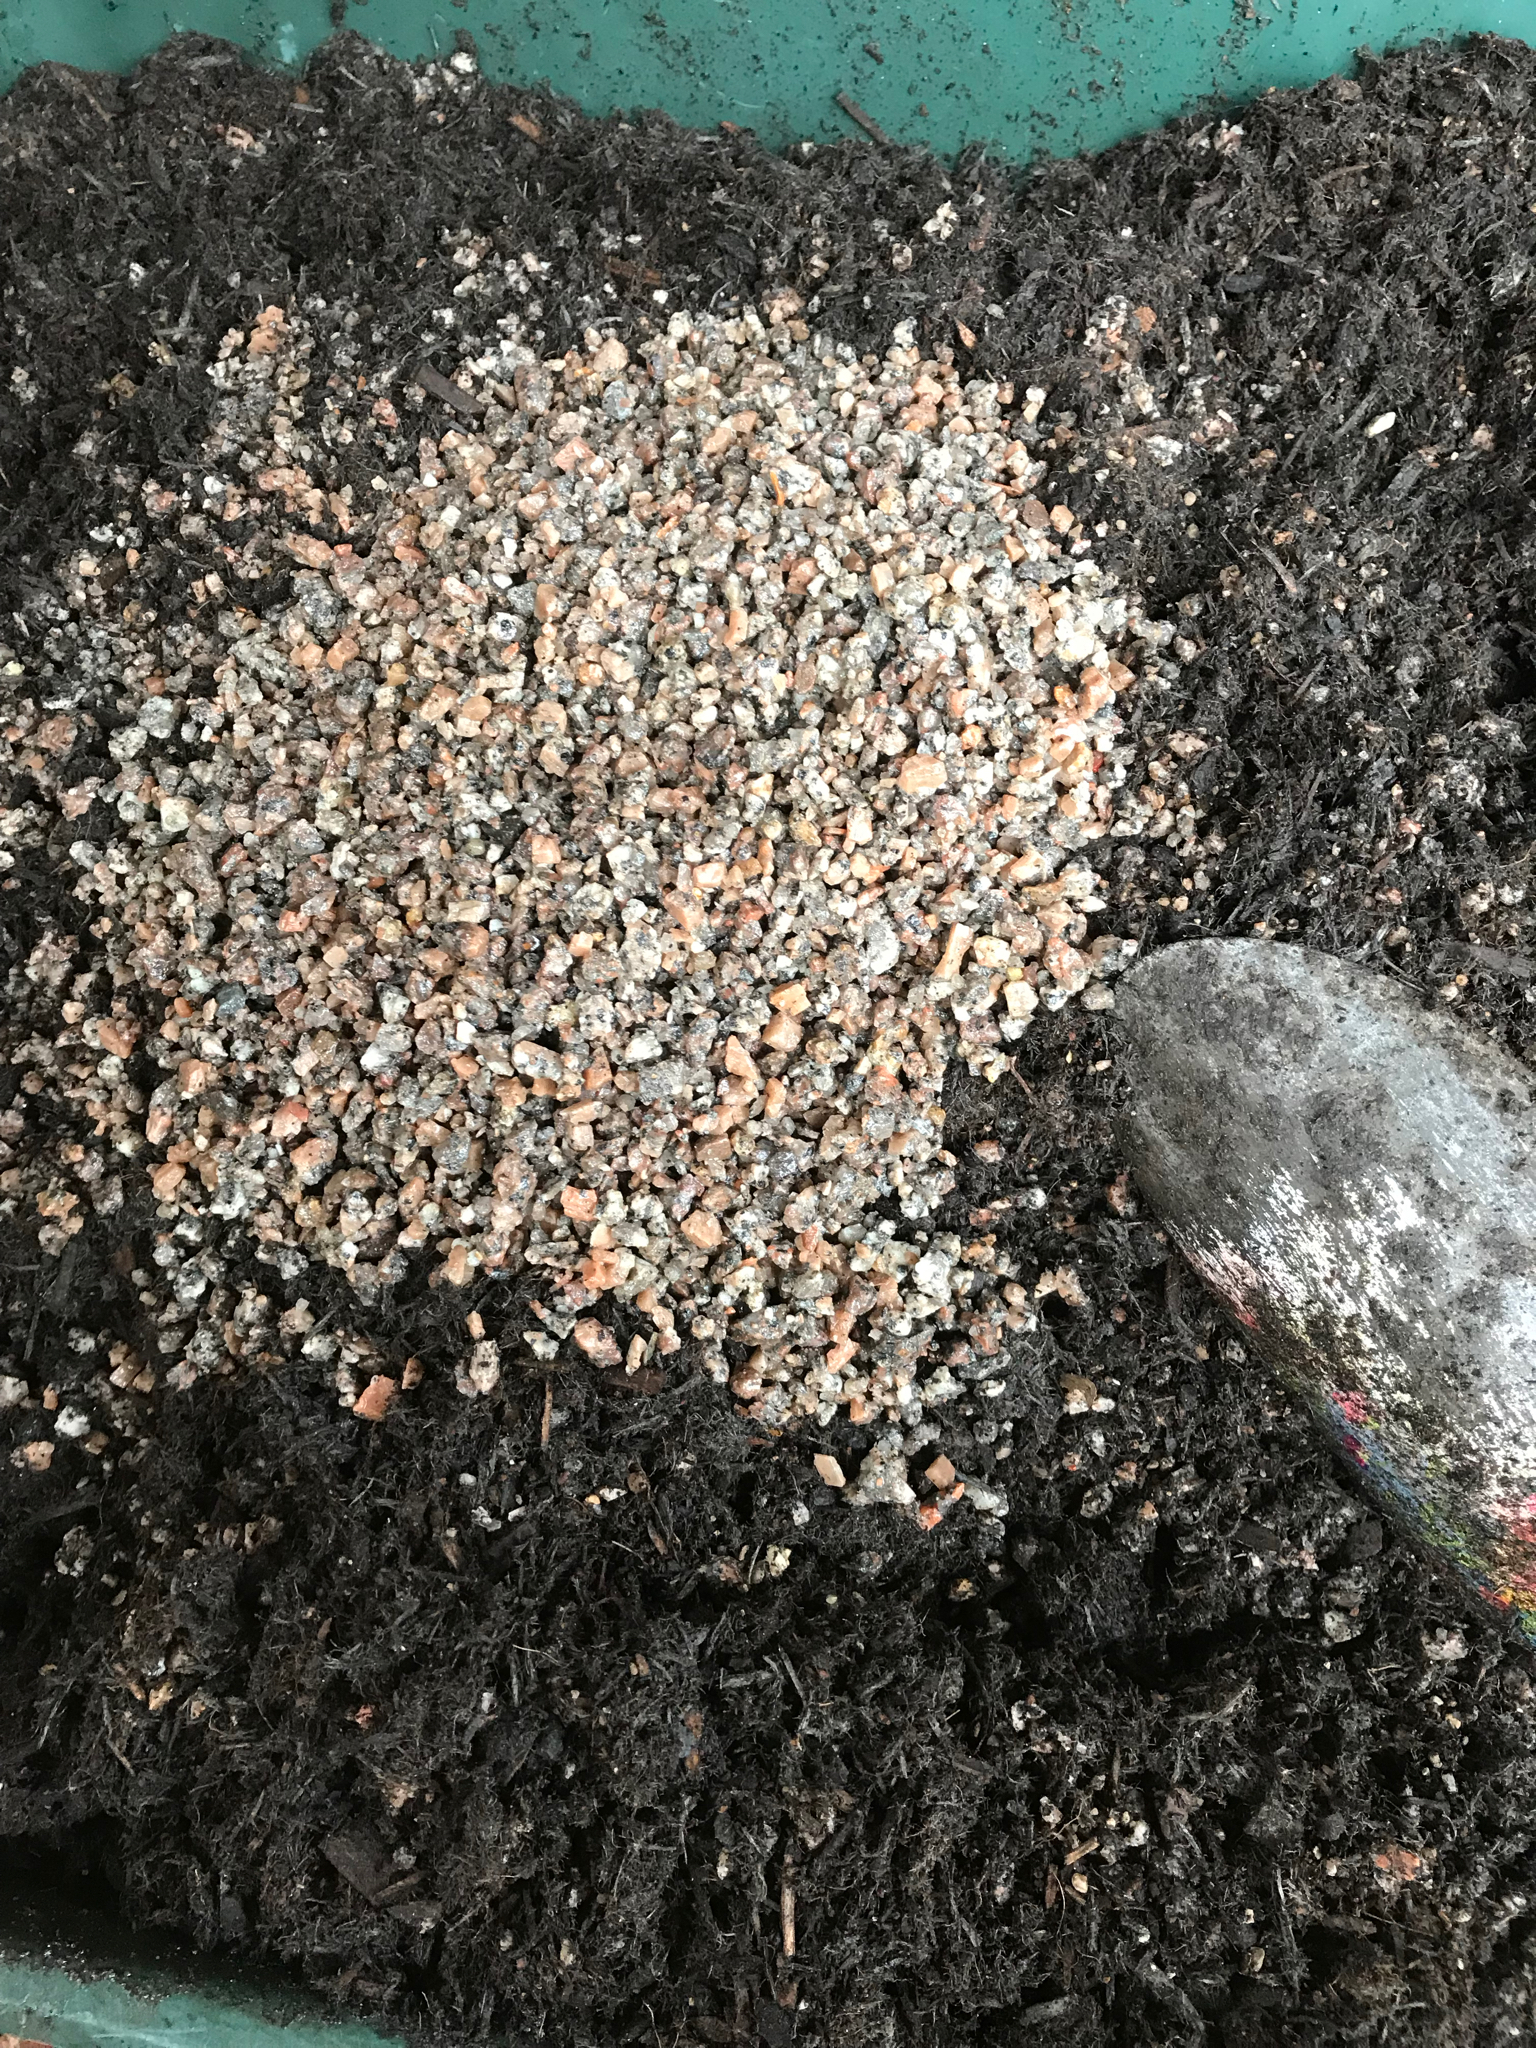
You may have ambitious plans to overhaul your entire outside space, or you may simply have been inspired to plant a shrub here and there. Either way, you’re about to get acquainted with your soil. Pick up a handful and give it a squeeze - you’ll instinctively know if it’s good, and not just because it’s crumbly but sticky at the same time, with a sweetish smell, but because the plants in it are looking healthy (even if they are weeds). Anything too dry, or hard, or sticky or stony, or cloddy needs attention, and again, the answers are obvious - add something moist and rich (manure or soil improver) to very dry or sandy soils, and something dry and gritty (like sand) to very sticky soils. Pull up all the weeds and dig, plunging a spade vertically down into the ground, levering the stuff up and turning it over, breaking it up by bashing it a bit, and then forking in any additions. It’s properly hard work but you’ll burn a vast amount of calories and end up with something fabulous at the end.
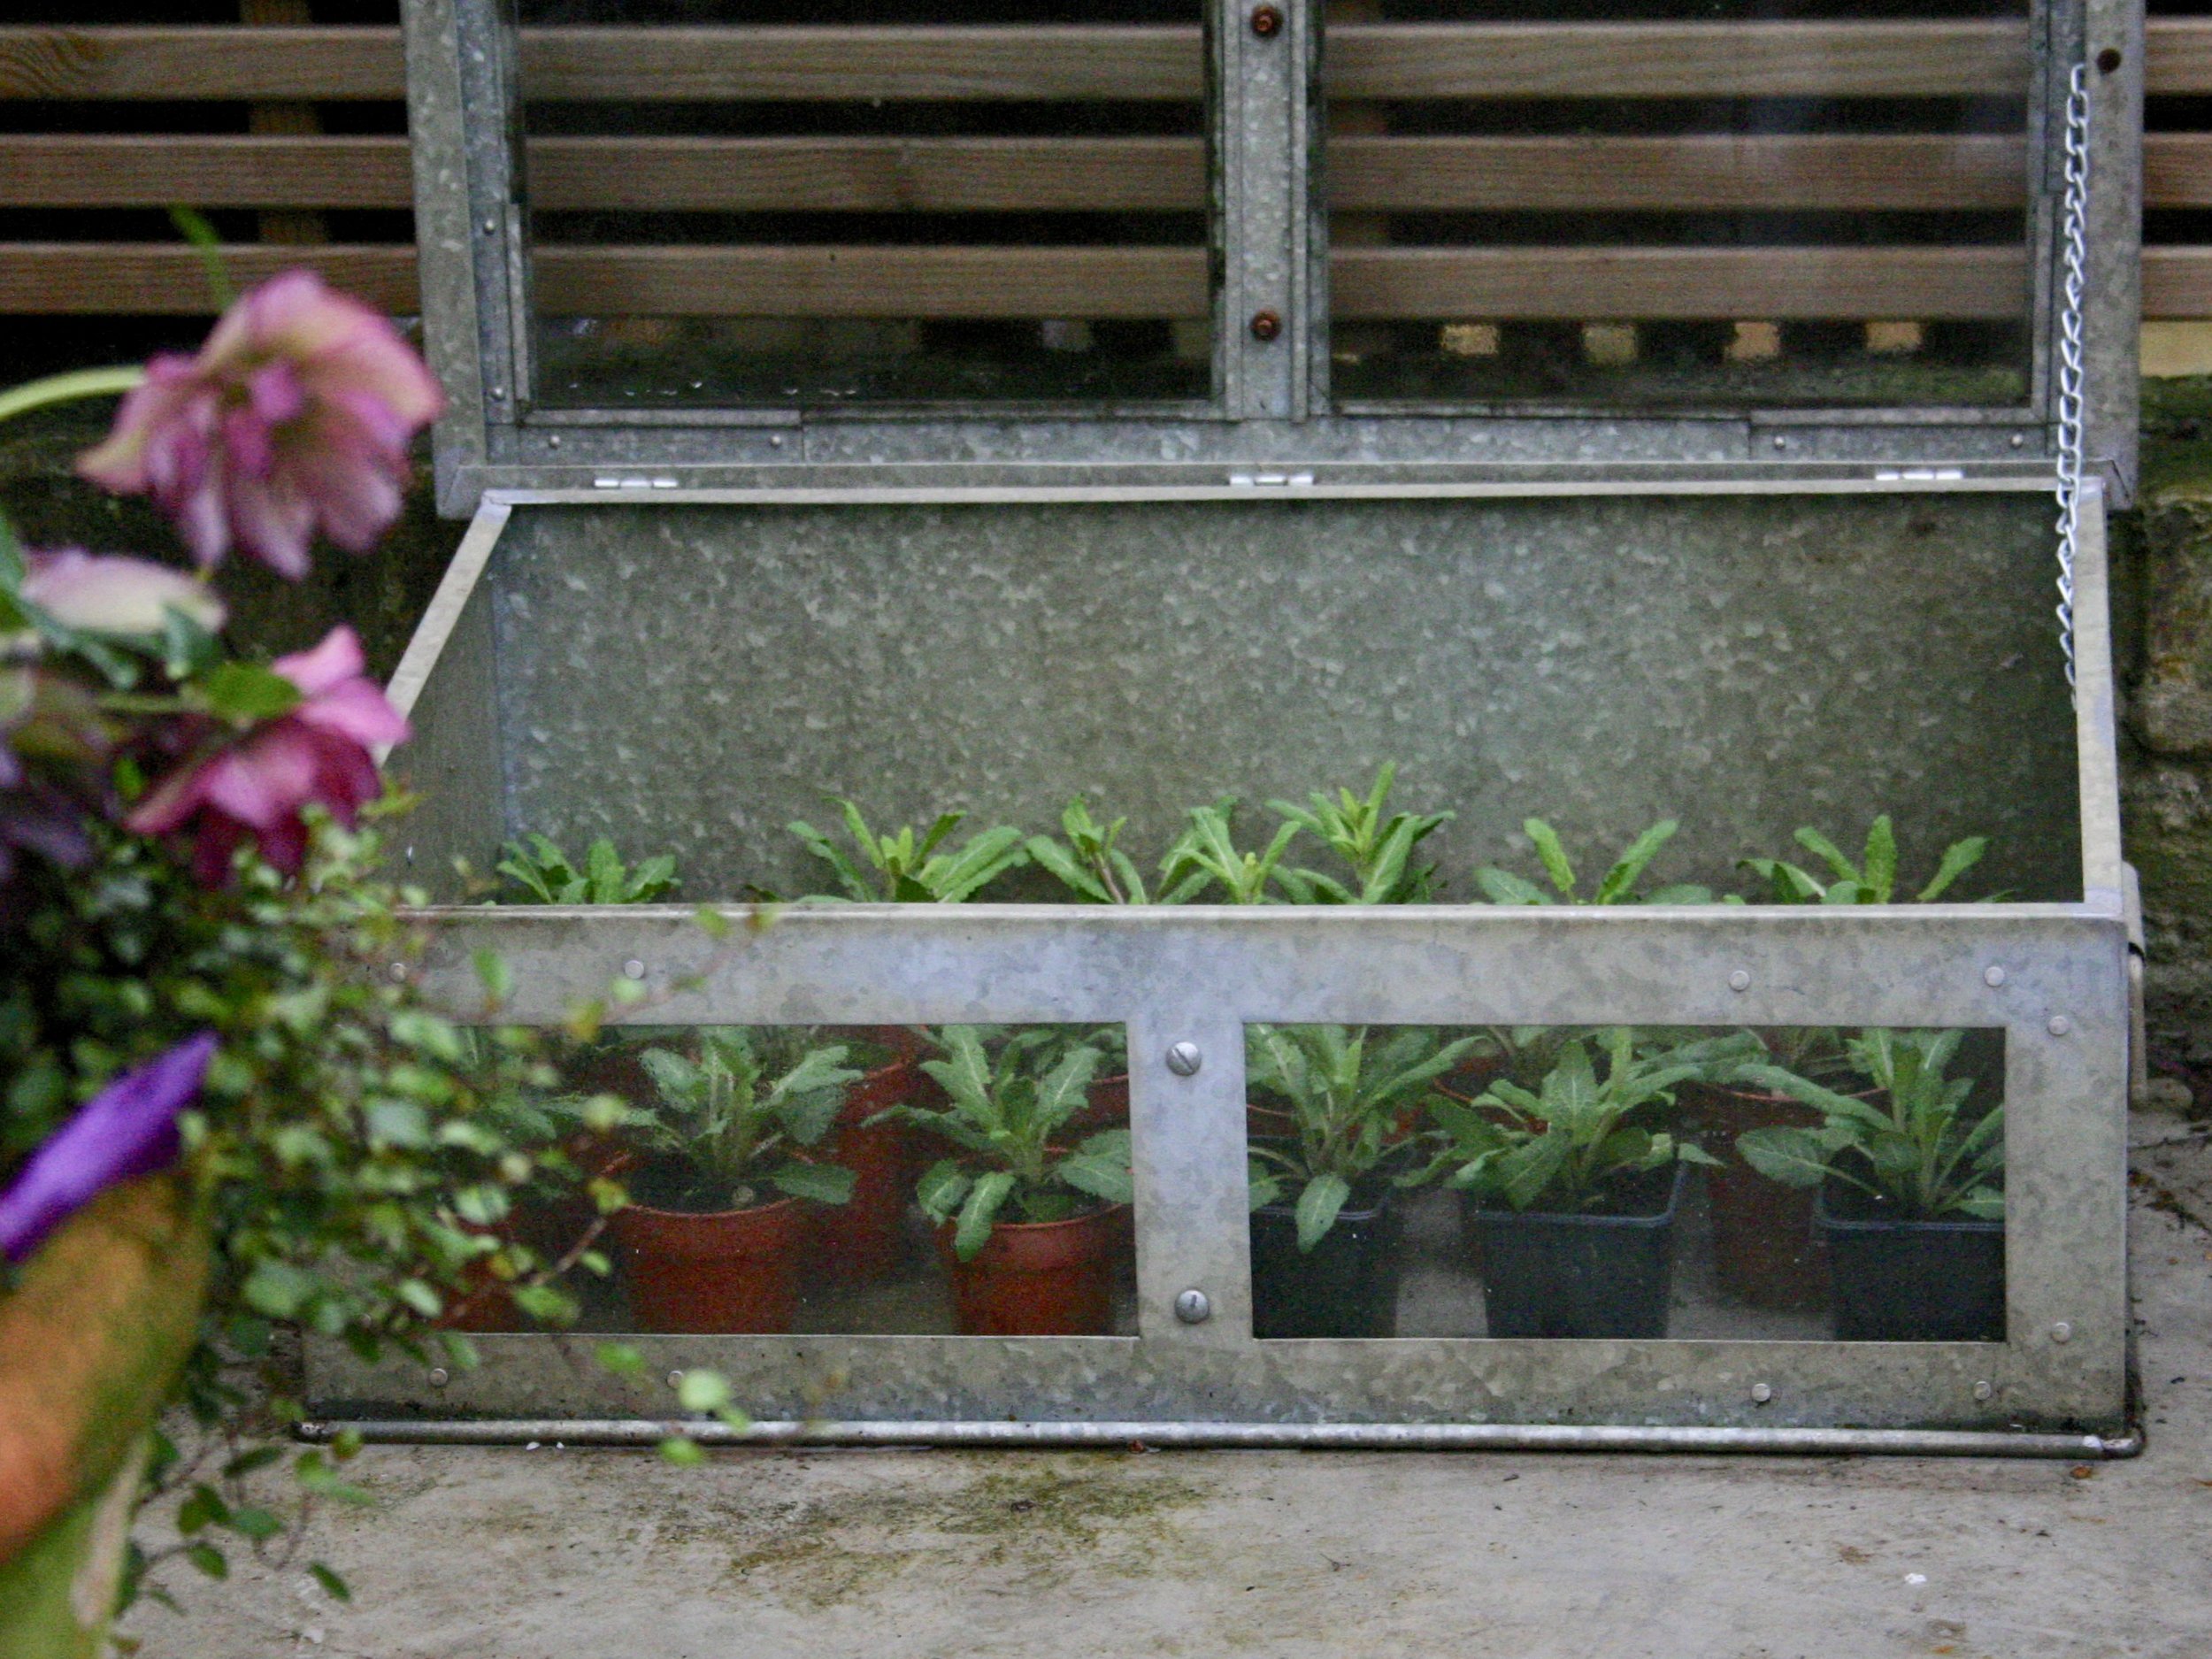
2. Plant some ready-grown flowers that you like.
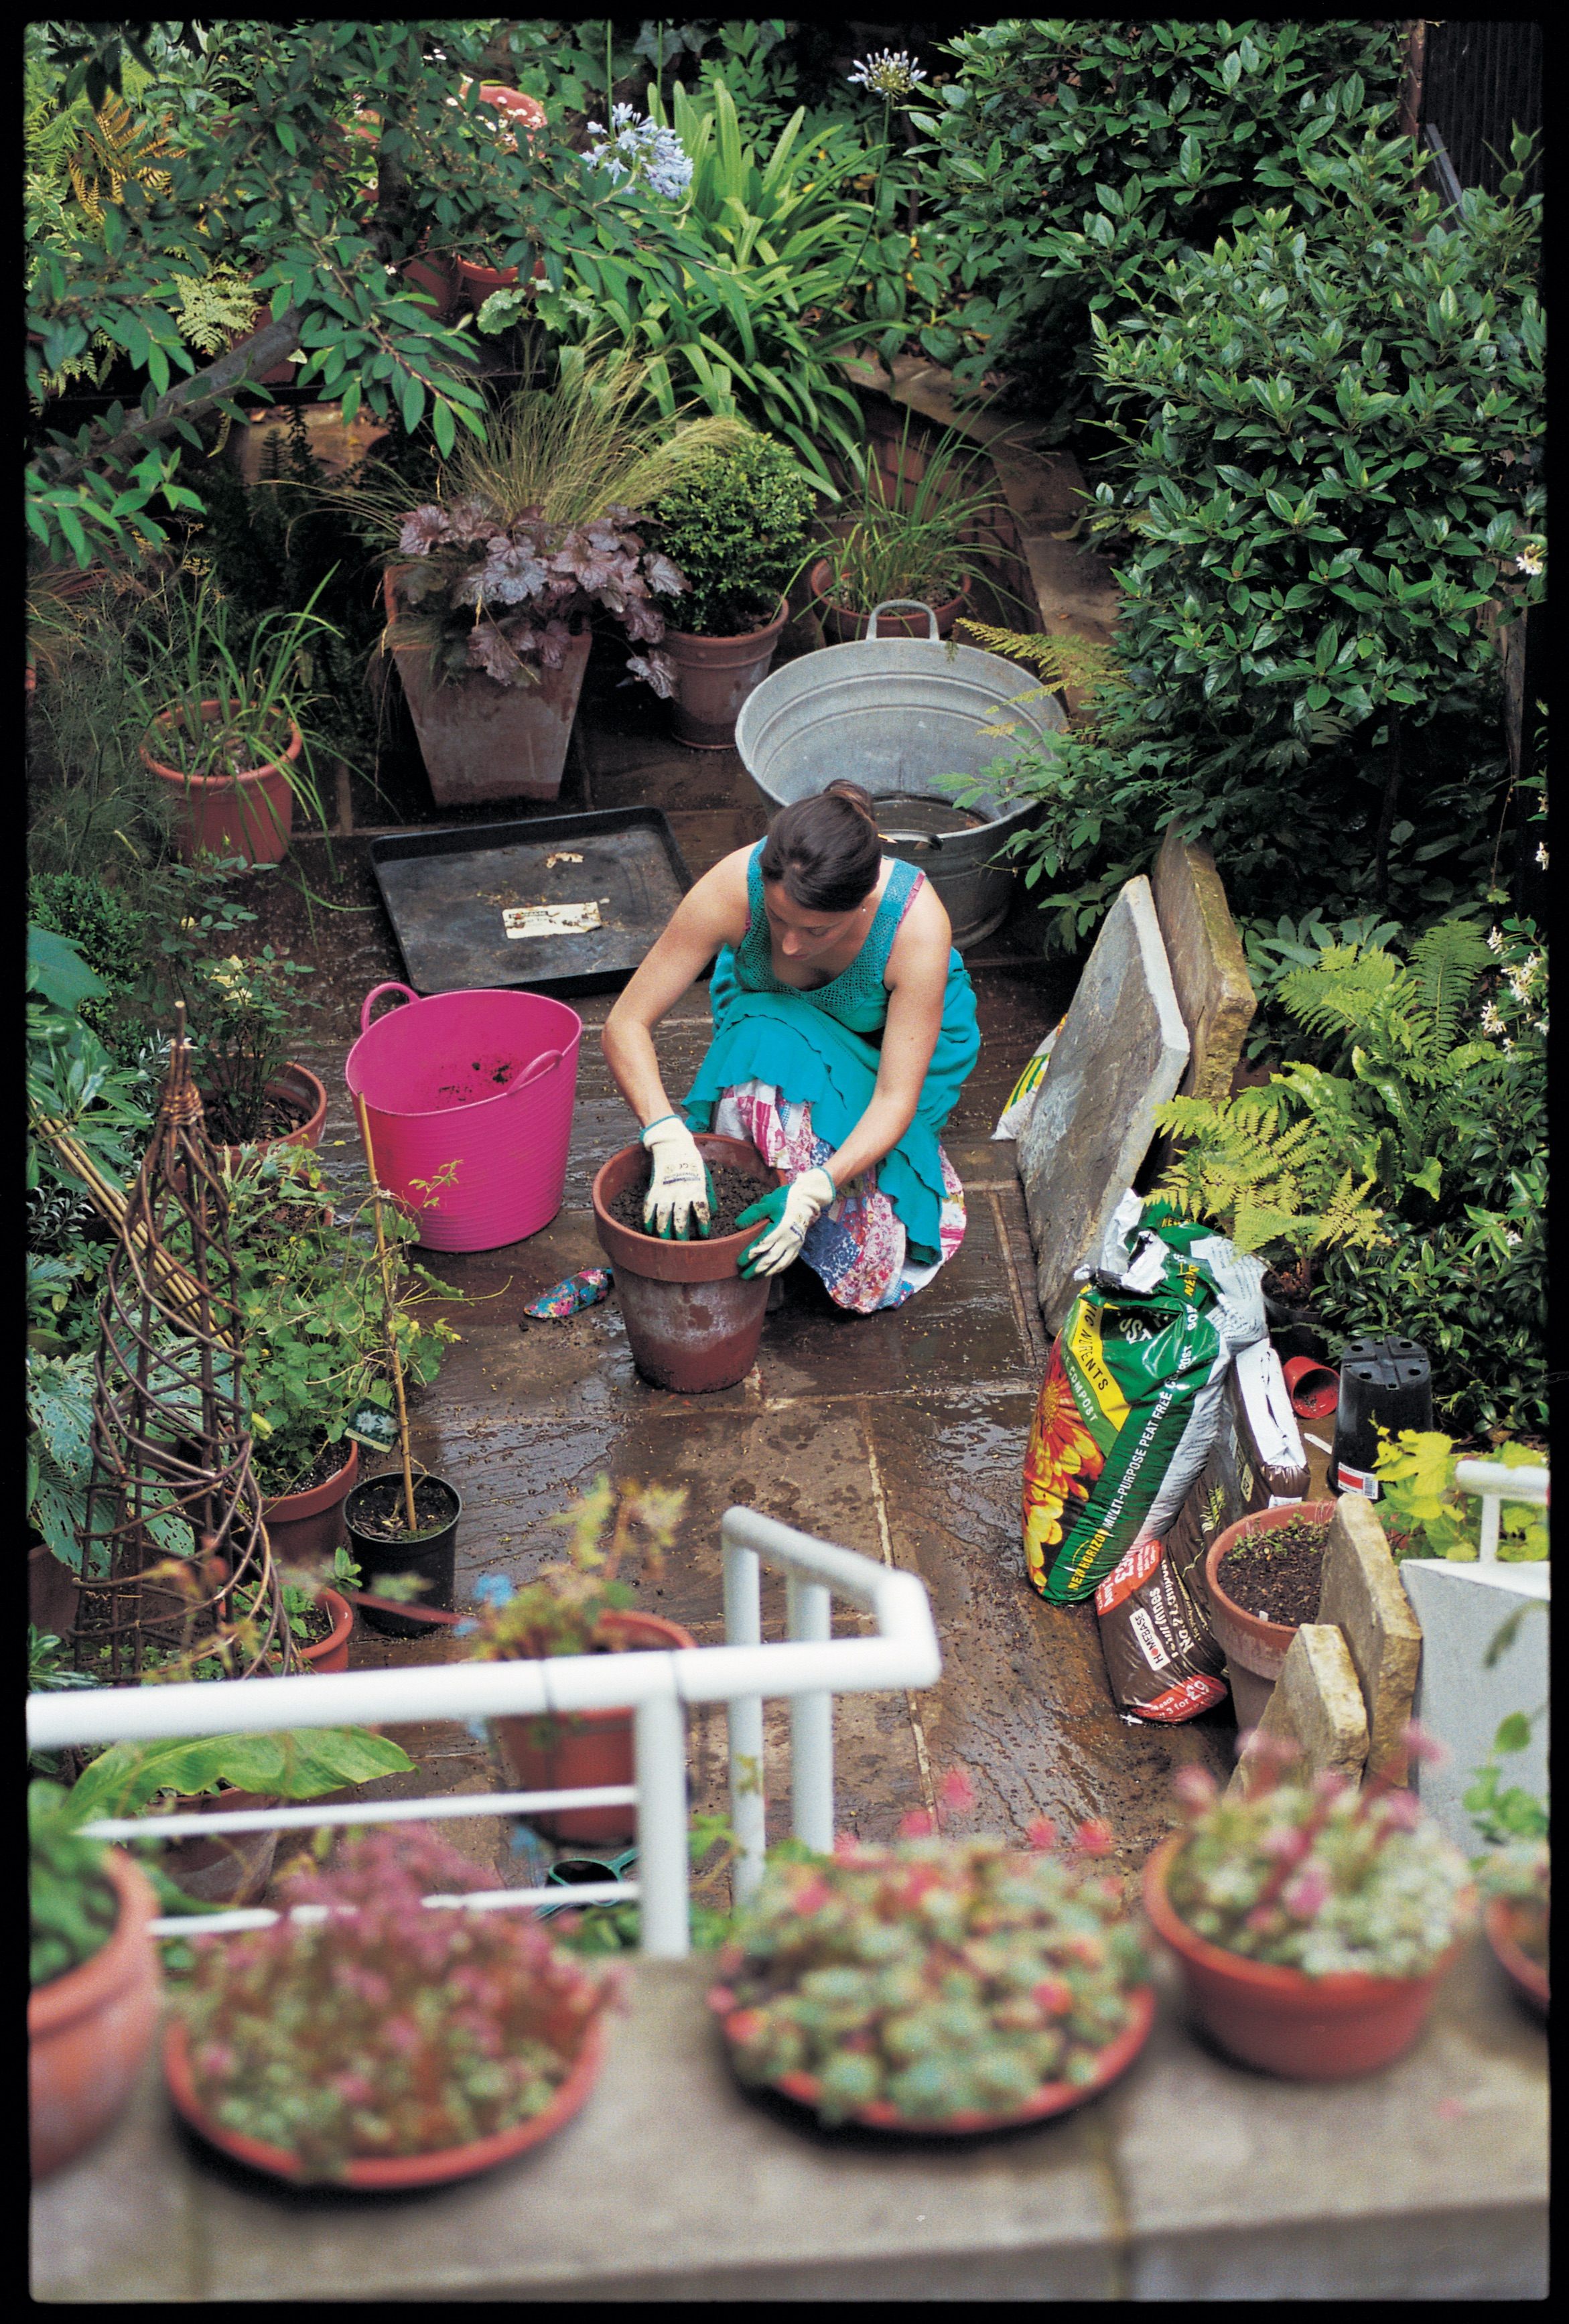
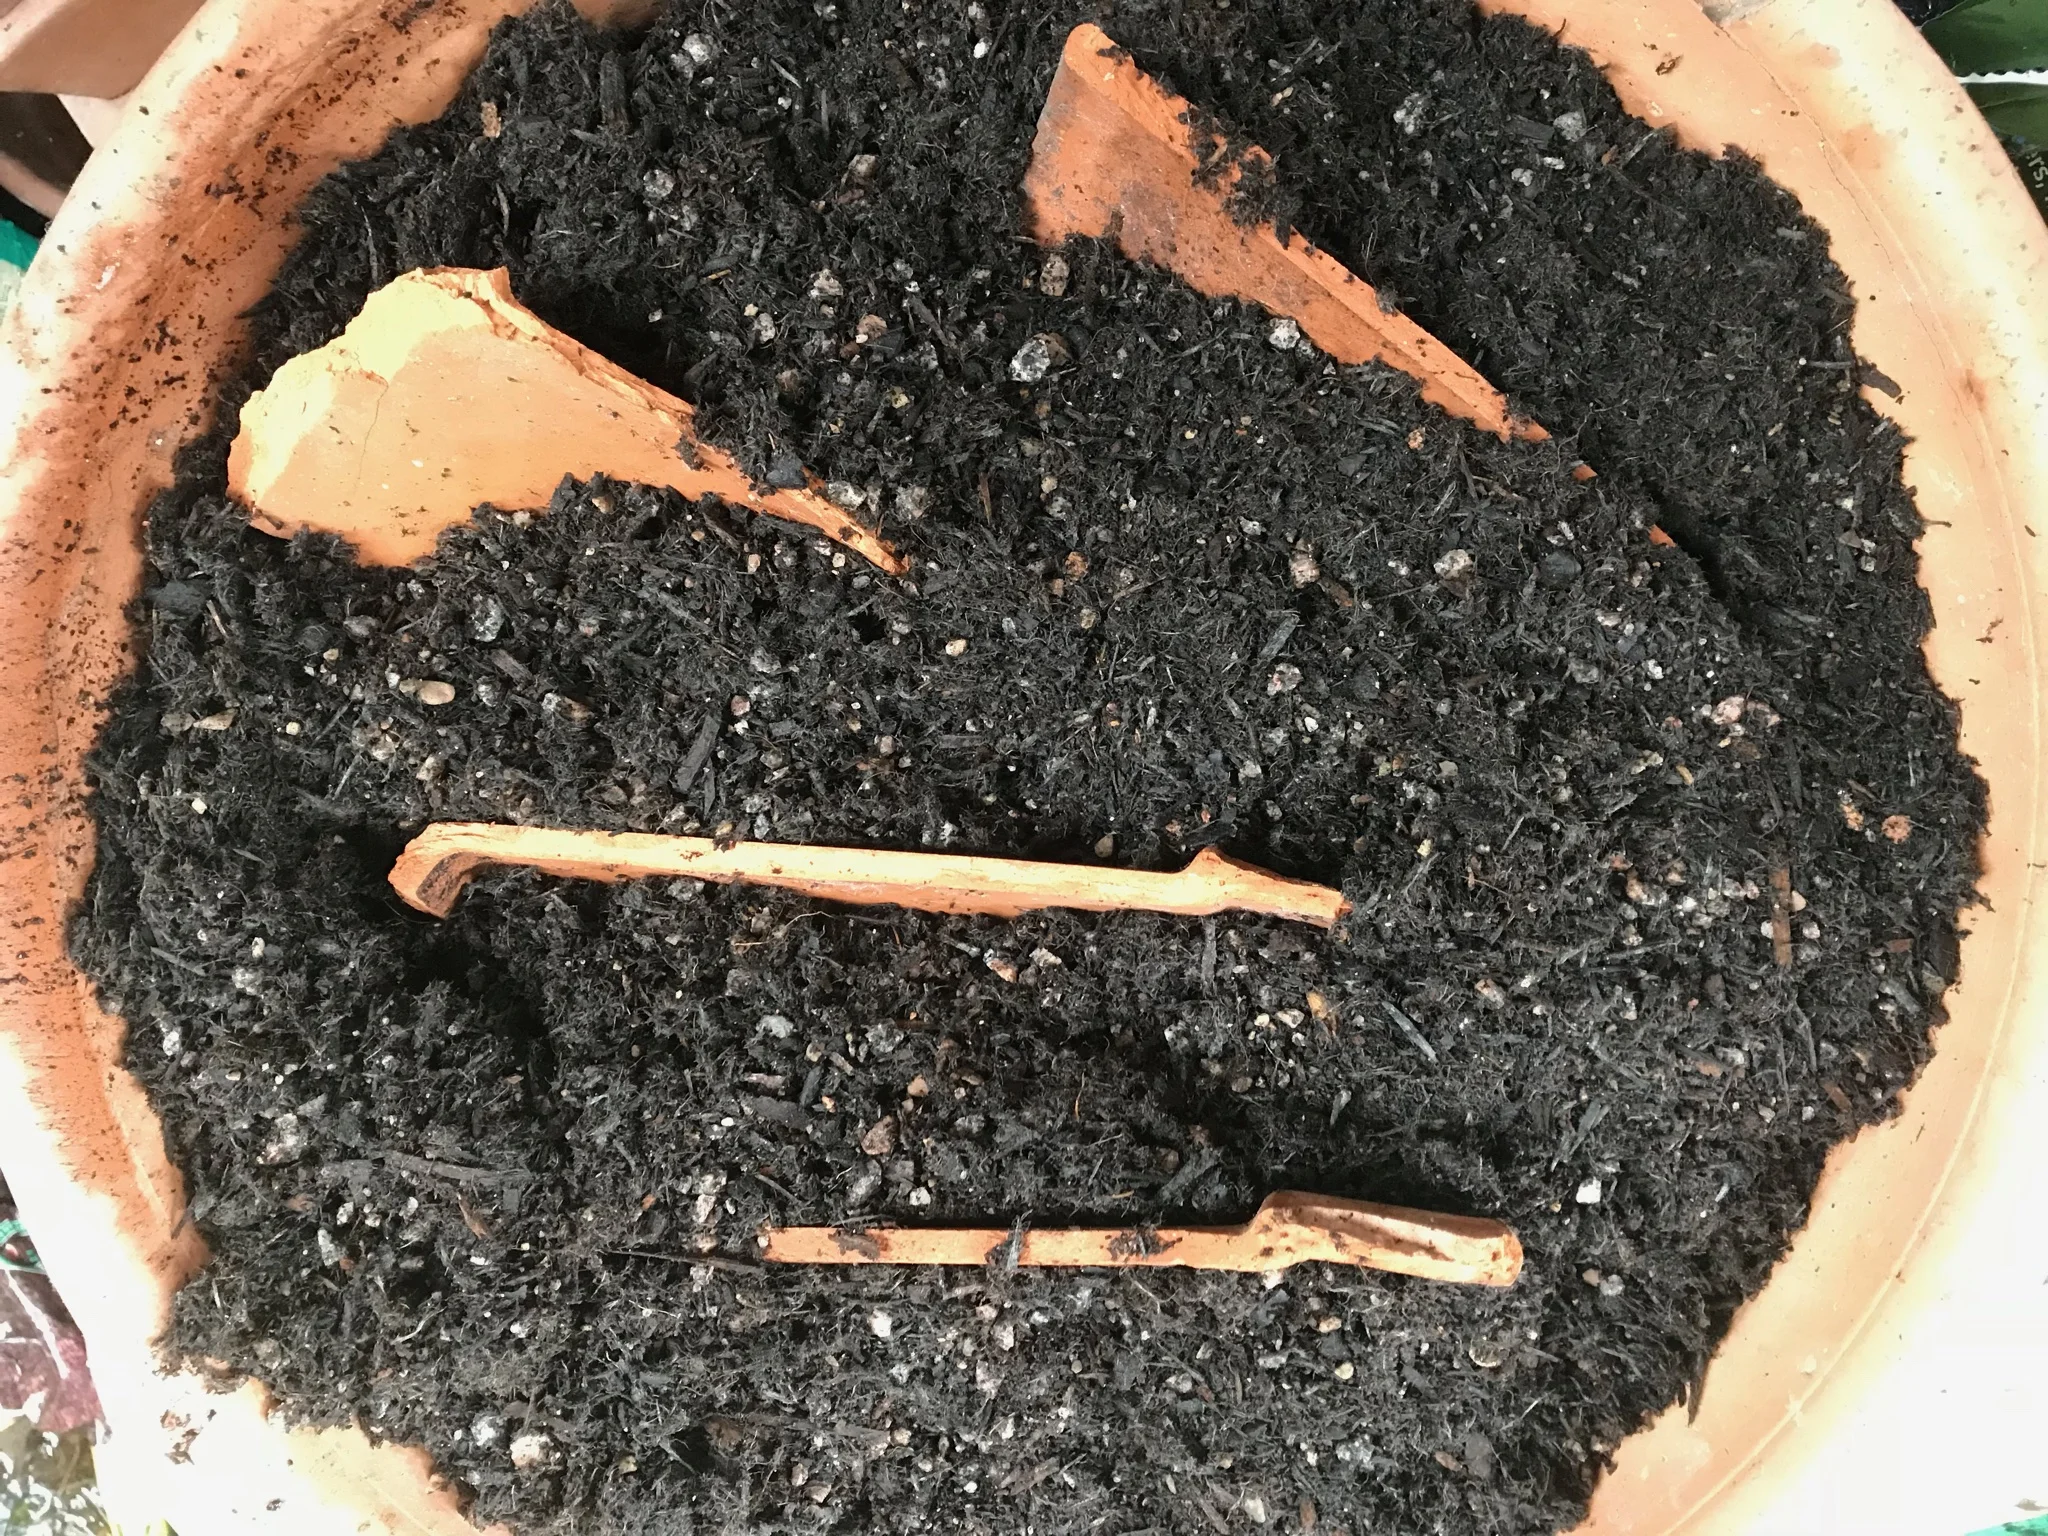
Now you’re ready to plant, it pays to practice with something dispensable, so go to the garden centre and pick some cheap bedding plants that make you smile. Don't give yourself too long, or overthink this choosing stage. Don’t get bogged down with reading too many labels; these are temporary plants. Take them out of their plastic pots and rub the sides of the compost a bit, so that the roots know it’s okay to start spreading out, rather than growing round and round in a circle. Dig a hole, a bit deeper than you think you need, place the plant in the hole, and replace the soil around it so there aren't any gaps. Firm the whole thing down gently with your hands or a foot, and water liberally. That’s all.
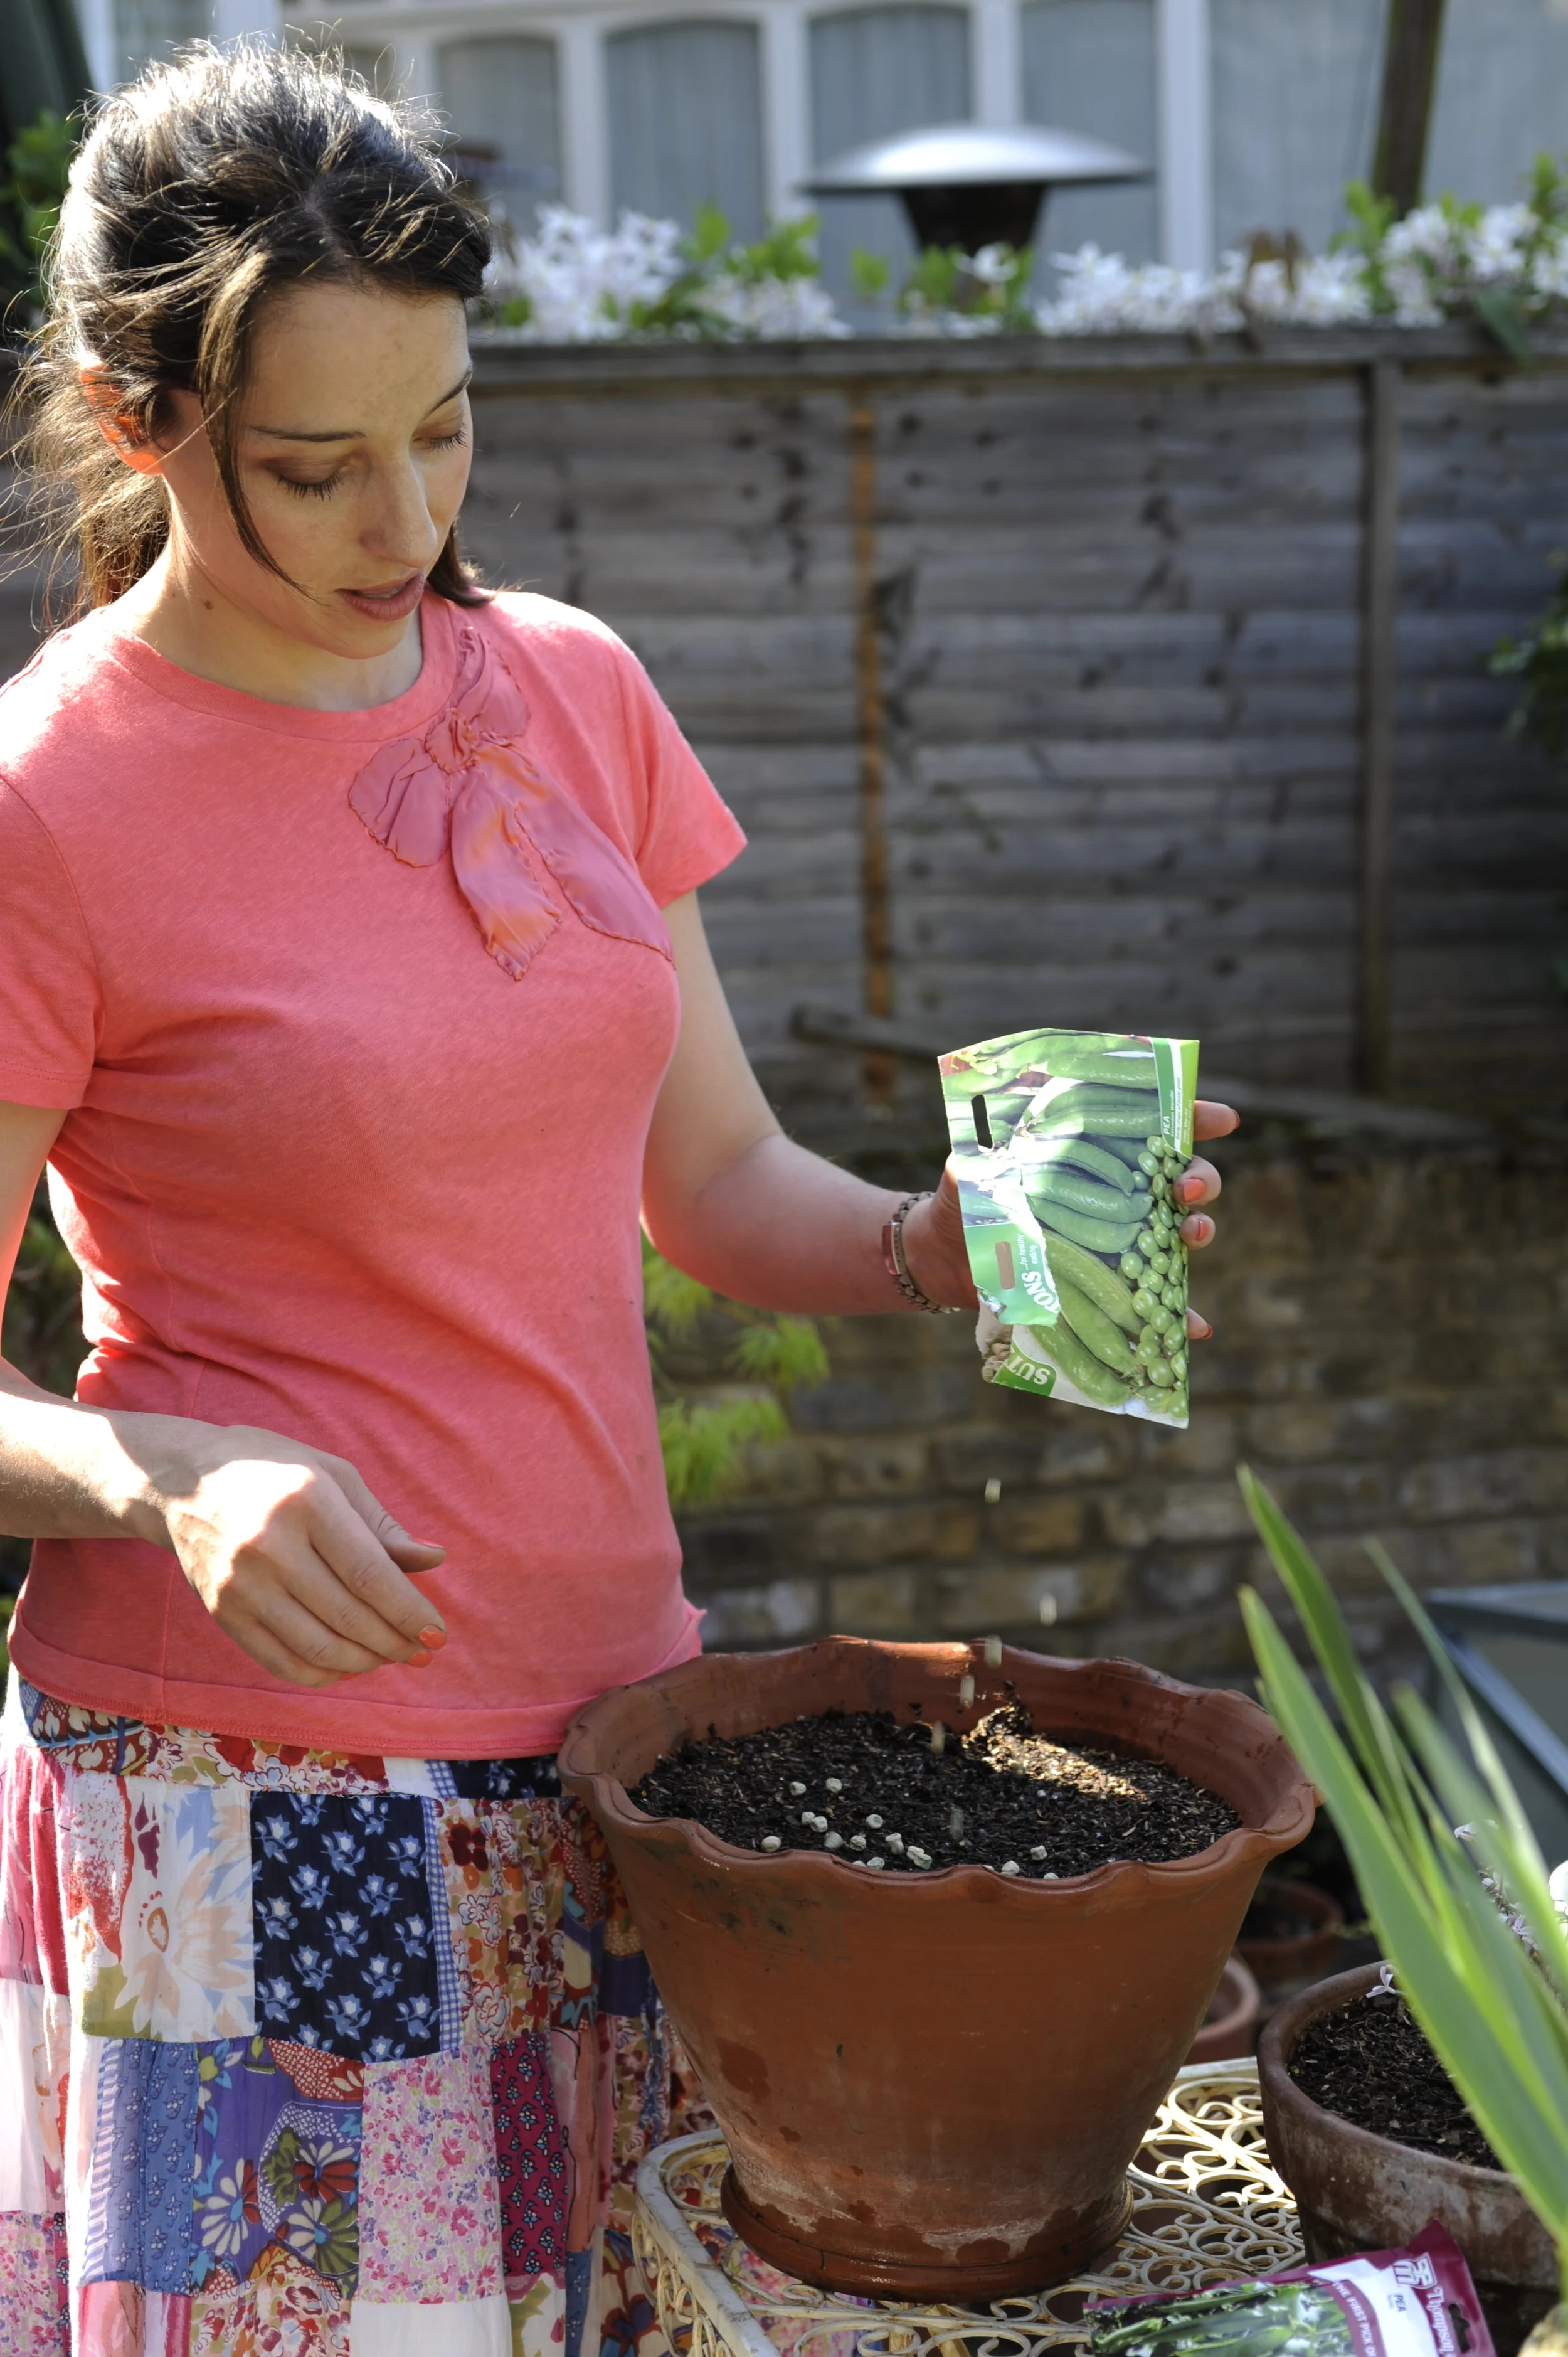
3. Sow some seed
If you’ve never done it before, prepare to be thrilled. Don’t read the label, or the internet, or any books. Just go and get some easy, large seeds (nasturtiums are a good one to start with), fill a container, like a window-box, with multi-purpose compost from a bag, water the compost and push a few seeds into the soil - just a fingernail’s depth. Squidge the soil back over the seed and leave the whole thing somewhere you’ll be able to see it daily, so that you can make sure the soil doesn’t dry out. Unbelievably soon, you’ll see shoots appearing. Keep watering and watching and being amazed. Repeat.
4. Remove something you dislike
Whether it’s a tiny back yard, or a balcony, or a large garden, this is your space. If you’ve inherited plants that don’t make you happy, it might be time to ask yourself what on earth you’re keeping them for. Yanking stuff out that isn’t right is just as fruitful and effective as putting stuff in - it’s all gardening, and you’ll be amazed at what a jolly good purge can create in terms of views and vistas and general feelings of liberation.
5. Prune something that’s overgrown
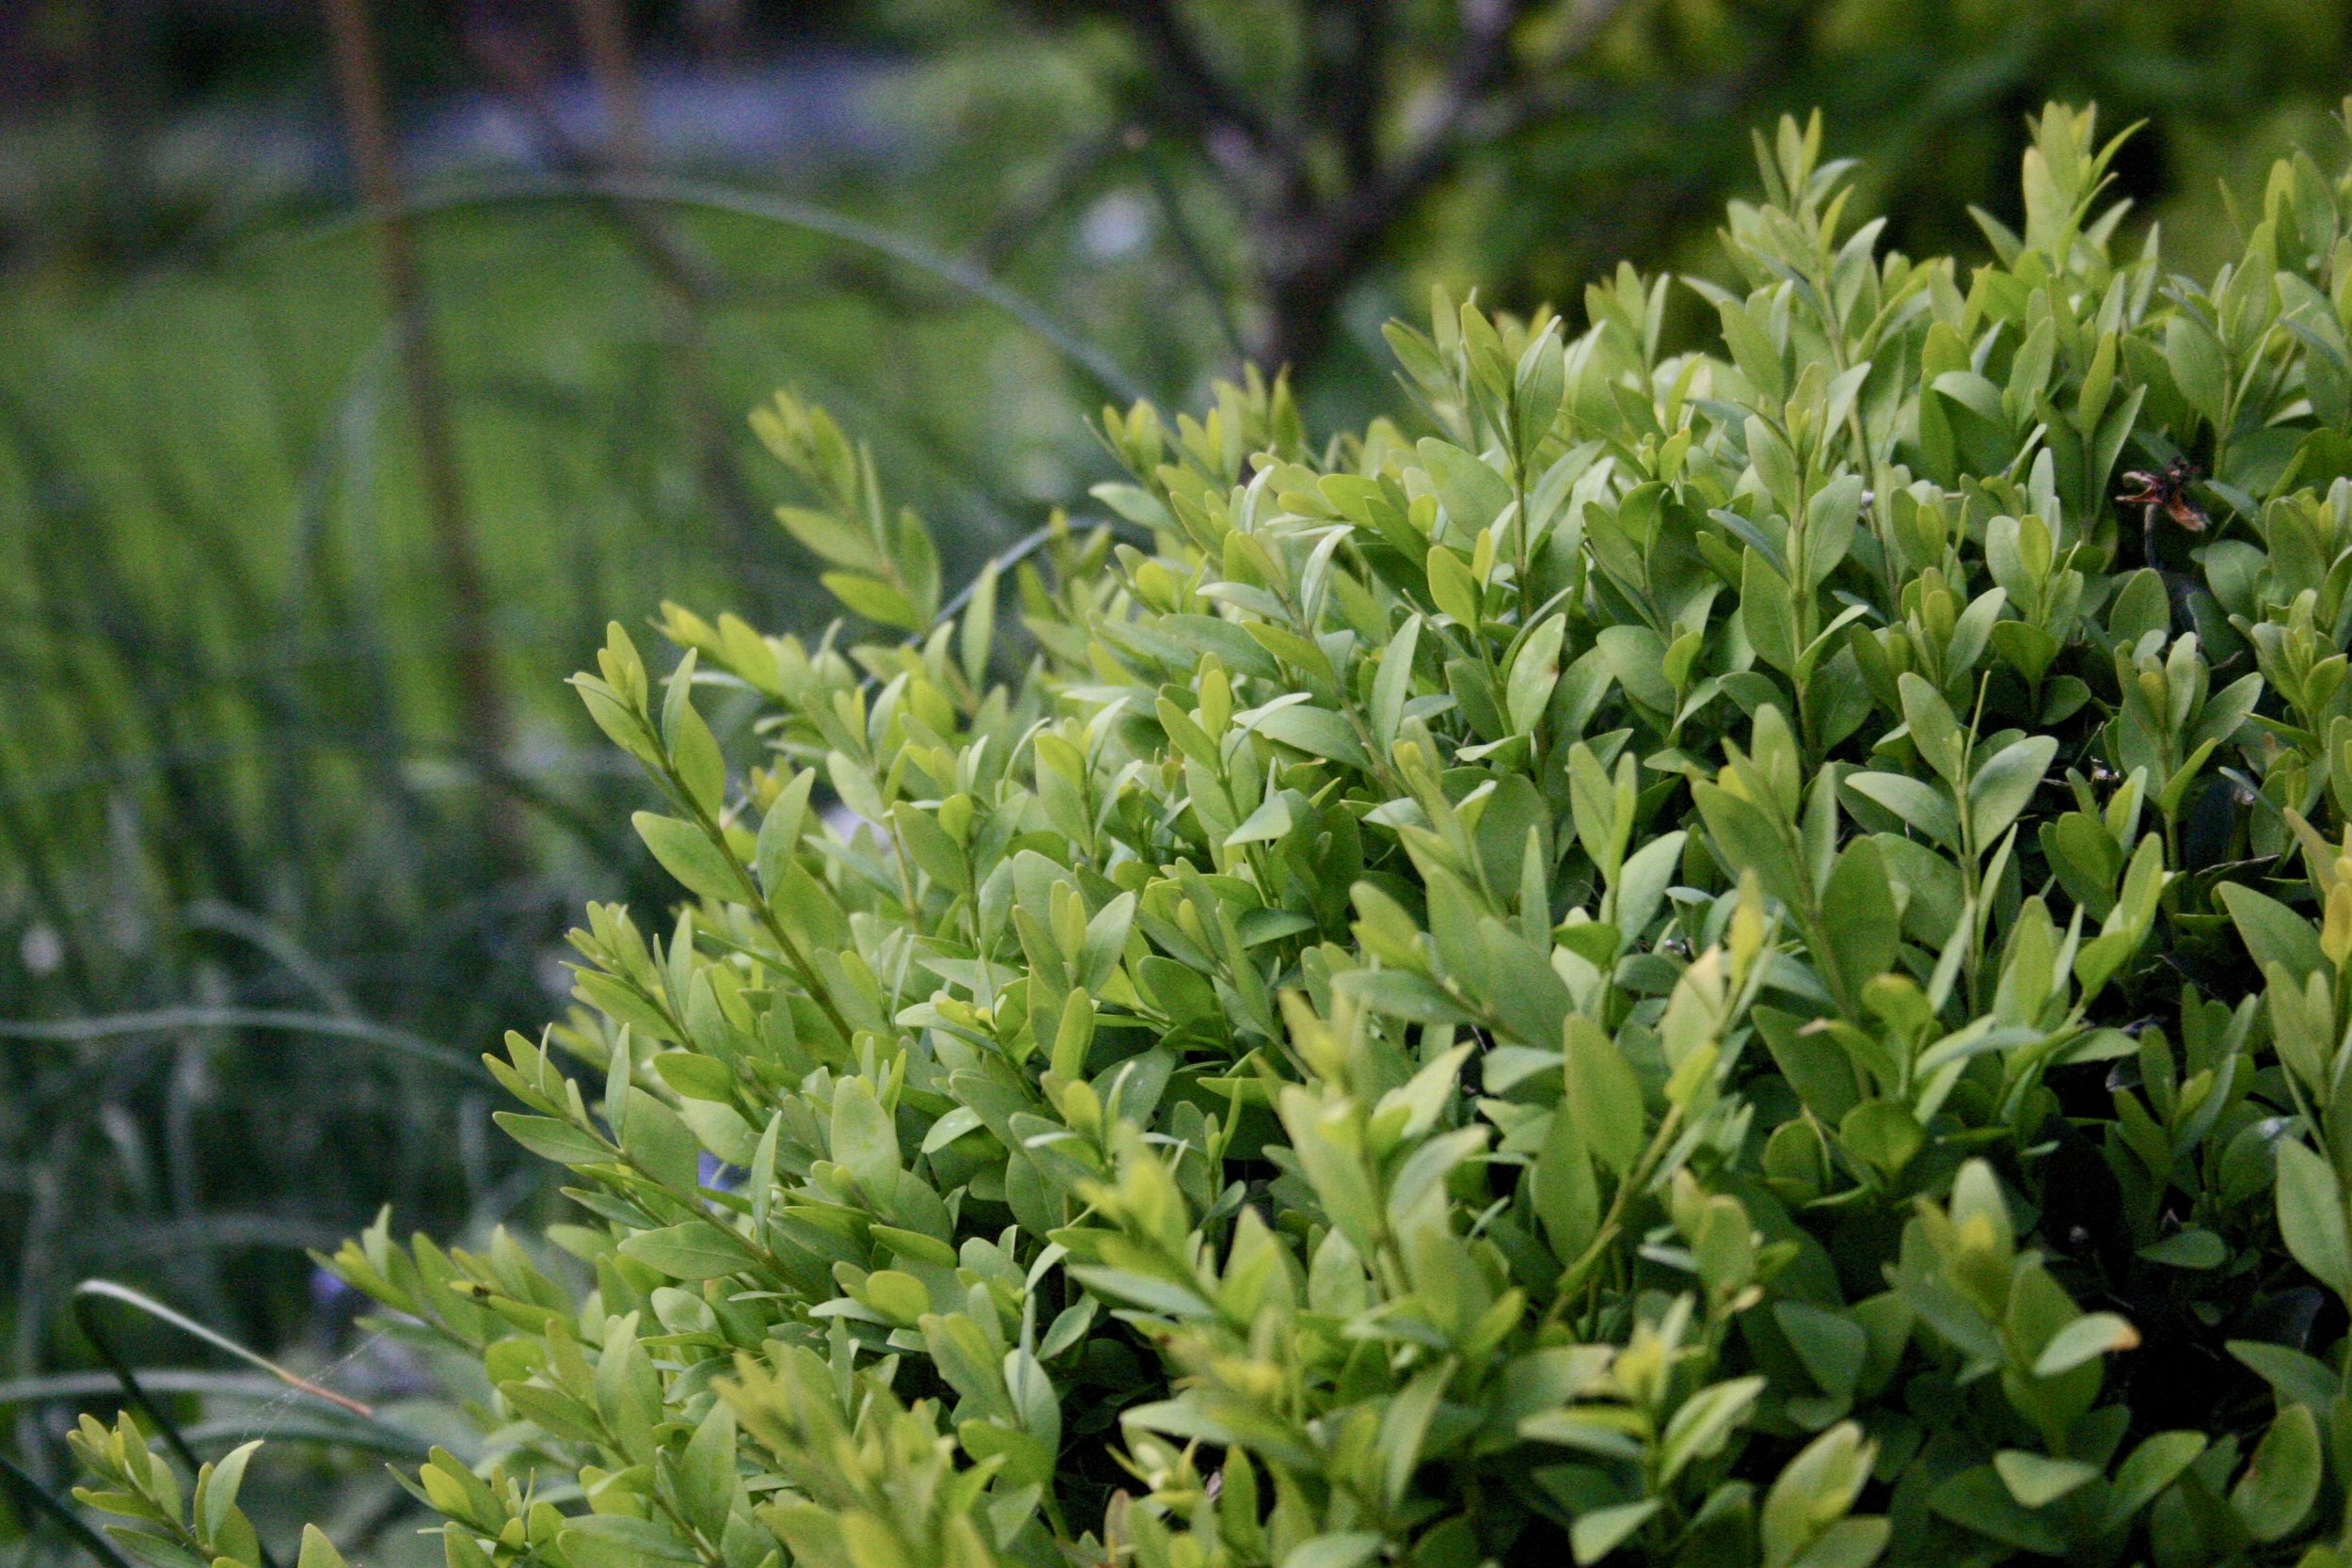
Following on from pulling out unwanted plants, look at your shrubs and trees and think about improving they way they look and perform in your space by lopping off some of the foliage or branches. Most people in inherited gardens have overgrown shrubs which can be absolutely transformed by a judicious haircut. Start by identifying the plant and establishing the best time to prune, but beyond that, trust yourself and go at it, slowly and gently, stepping back after each cut to look at what you’ve done from a distance. Evergreen shrubs like box, privet, yew can be pruned into all sorts of wonderful shapes. Large shrubs that take up huge amounts of ground can be ‘lifted’ by chopping off all the foliage to leave bare stems, allowing you to underplant the space below with shade-loving plants.
Hope that was helpful. There’ll be five more suggestions coming up next.
x Laetitia