If you follow me on Instagram you’ll know that I’ve been doing a little pruning project on my apple tree.
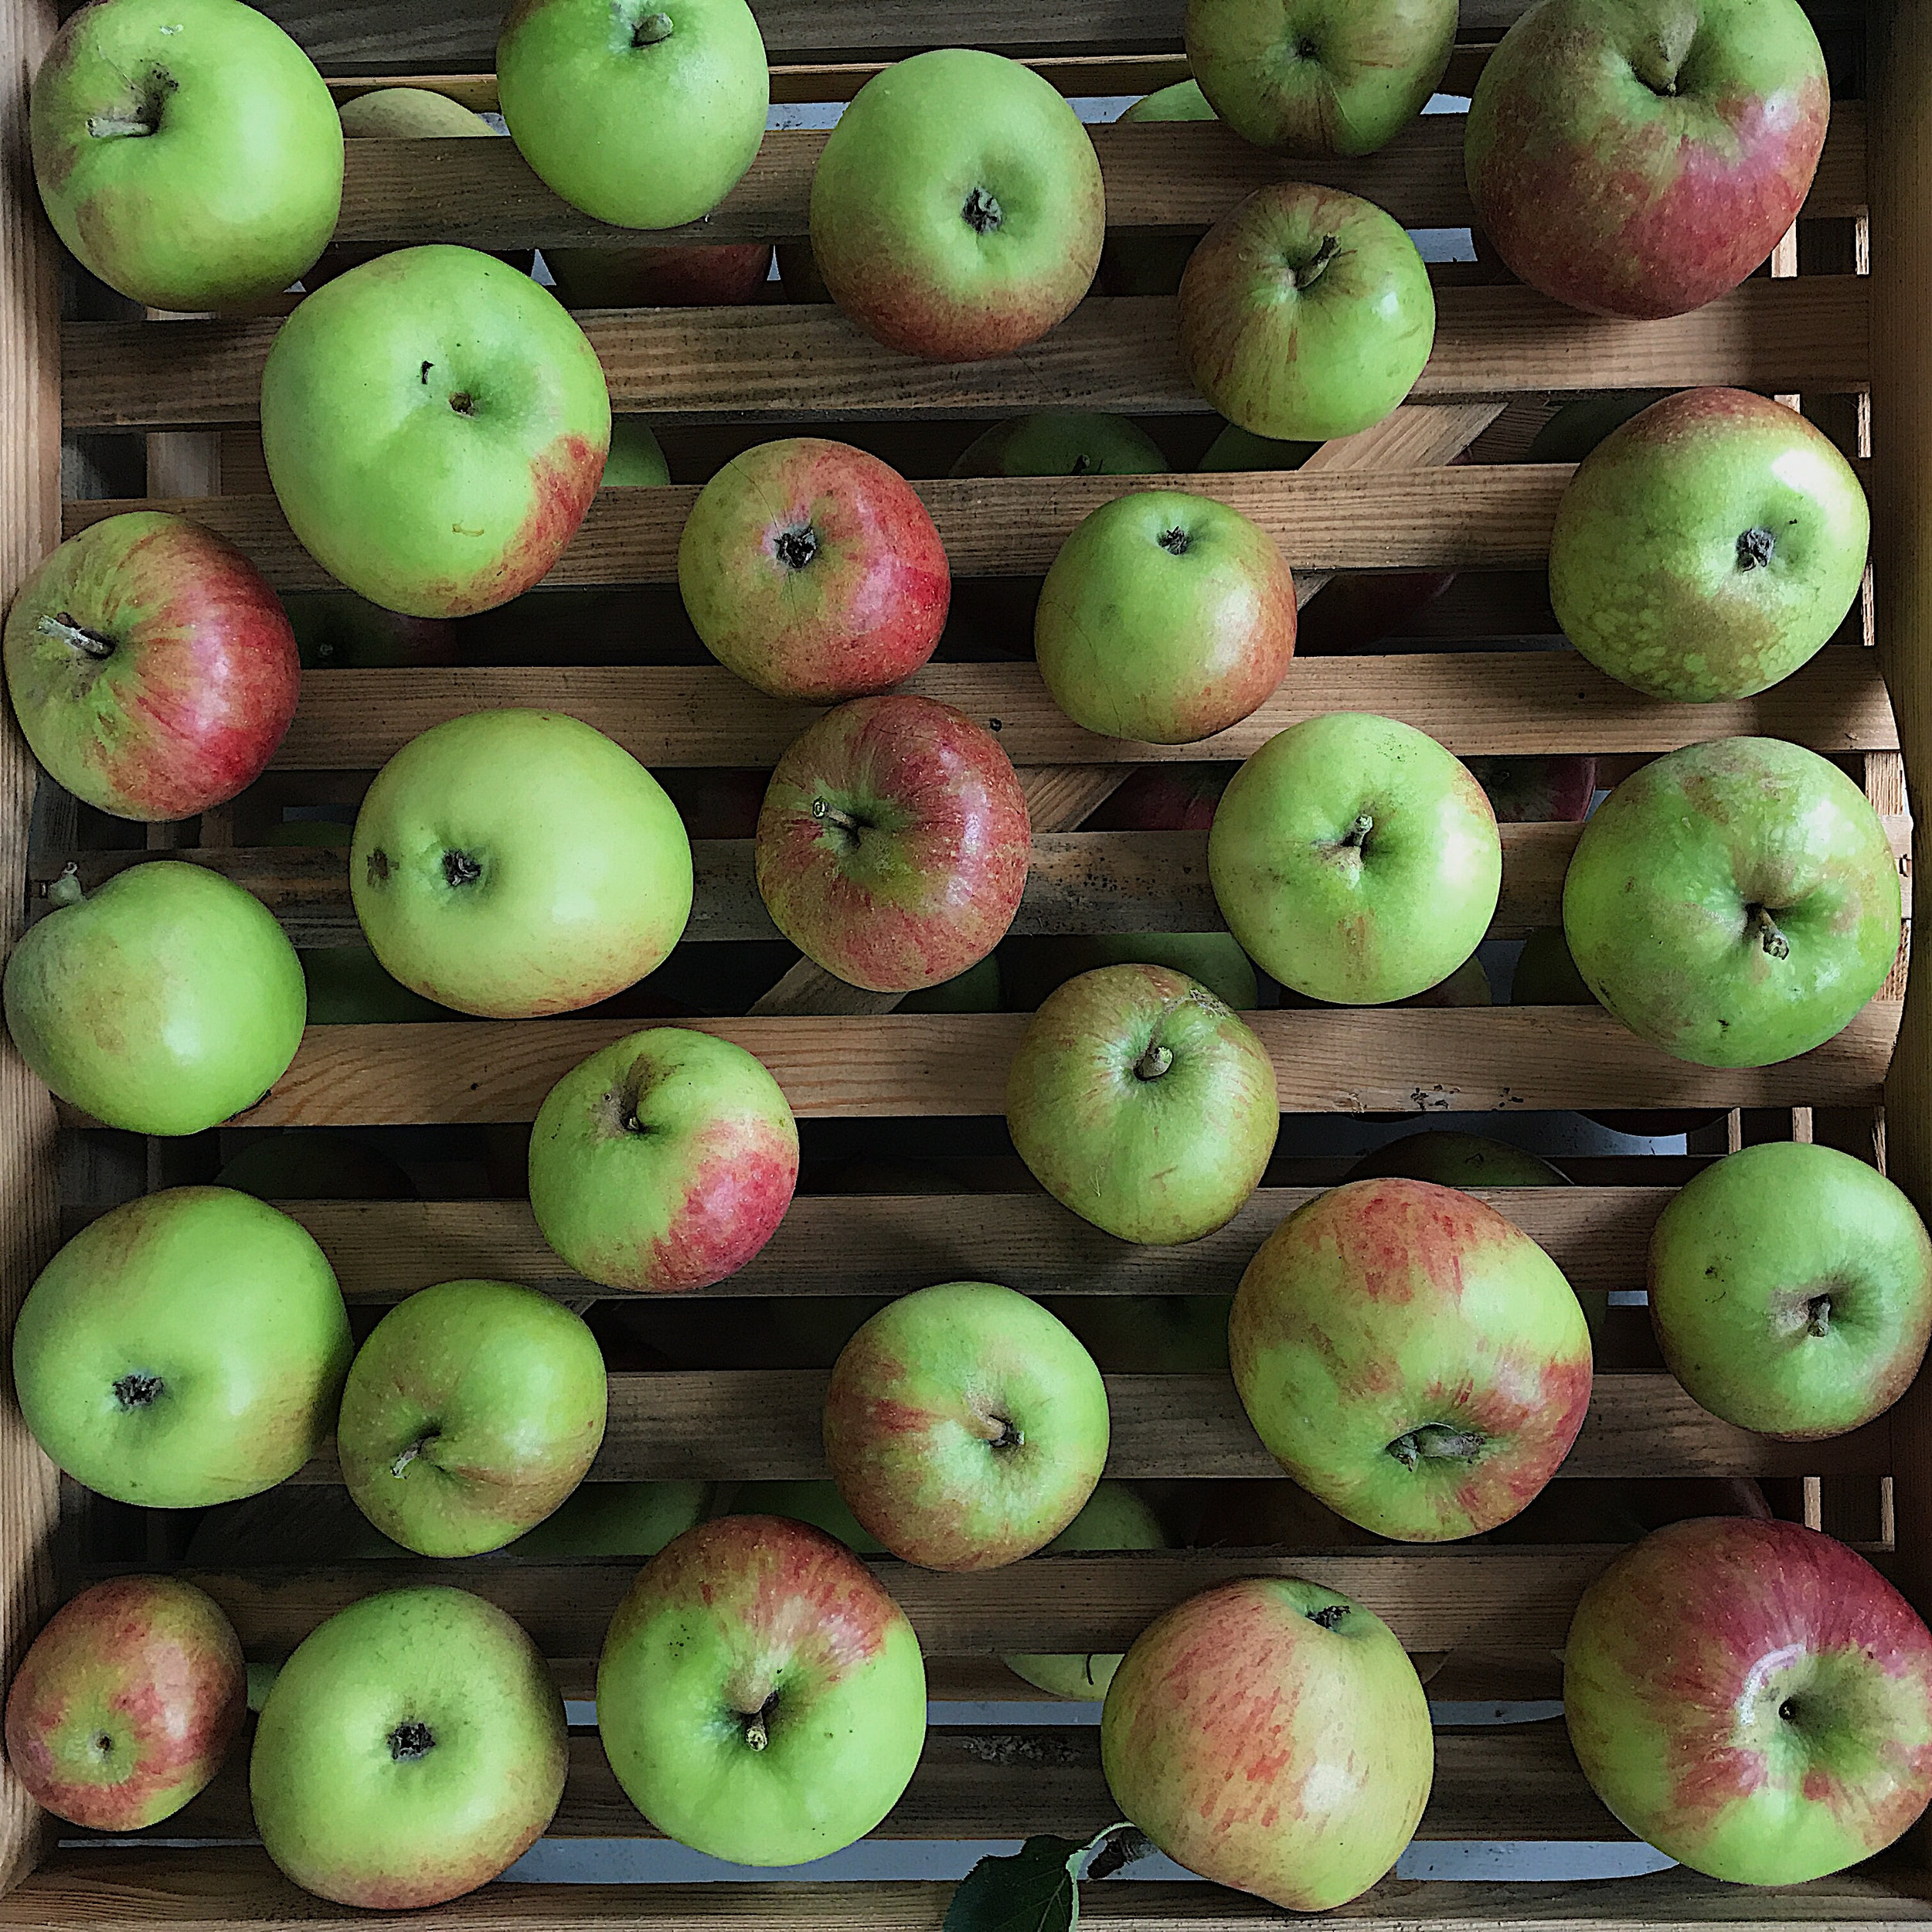
Gorgeous looking…not so gorgeous eating!
The tree was pruned last year, very badly (my own fault… I didn’t use a professional and I left him to it). When I returned, he had given my tree a general ‘haircut’ – i.e. cut about a third of the crown off from the outside. This has resulted in a squillion small upright shoots (or ‘water shoots’) rocketing skyward, both ruining the look of what was once a lovely gnarly old tree, and crowding the crown out, which has the effects of increasing the likelihood of disease and an over-production of small fruit.
Personally I couldn’t care less about the fruit here – the apples are cookers and not very good ones at that…but I do love the tree, and its blossom and I want it back to its best, so the other day I took my secateurs and began pruning. It’s a bit of an endeavour that’ll have me doing small amounts over a sustained period of time, but here are the rules I’ll be following, which I found on the PTES website.
1. I’ll be removing any dead wood, and any wood that looks diseased. Just as I would do with any pruning job.
2. I’ll be looking for any branches that are crossing together and rubbing. This rubbing damages the bark and again, allows disease to get in and take hold.
3. I’ll be looking at the general shape of my tree, and removing any branches that don’t contribute to the shape that I want. With fruit trees the general rule of thumb is that you want an open shape – a ‘goblet’ really, so that there’s really great air circulation, and you don’t have lots of branches shading out those below. This means that branches growing towards the middle of the crown should generally be removed. There’s an old saying that you should be able to throw your hat through the crown, and it’s a useful image for the shape I’m after.
4. Once I’ve done the above, I’ll tackle my water shoots. This is something I’ll be doing cautiously, because I don’t want to shock my tree by removing the whole lot in one go. I’ll start in the centre of the crown and remove a third of the total number of shoots. This will, I hope allow air and light into the centre of the tree. I’ll repeat the process next year, and in 2021, with a little summer pruning thrown in, to deal with any new shoots produced by each winter’s cuts.
Not a five minute project, by any means, but one that can definitely be done in five minute bursts, and it’s something that excites me tremendously, because I get to watch and learn.

Watershoots of doom
As for the prunings, I’ll be using them for staking, kindling, and I’ll also be creating several small piles of them in different areas of the garden, for insects.
A note on tools.
I lost my pruning saw a while back (something I mean to rectify soon!). Secateurs are very good for the small water shoots where I can reach them. For larger branches, and for chopping the resulting wood, I’ll been using a little battery-powered chainsaw, and a telescopic lopper, both kindly gifted by Stihl. Reviews of these tools (and an update on the pruning) coming soon.
In the meantime, I’d love to hear your thoughts on the above. Any tips and tricks I should know about? Please let me know! I’m a novice at this and, as the loving custodian of a beautiful apple tree I want to do the best I can for it!
x Laetitia