Night scented stars

Let’s speculate that there are balmy nights ahead shall we? That we will be out there, chinking glasses in the twilight. Have any of these scented plants where you’ll be sitting for instant luxurious feels.

Photo by Annie Spratt on Unsplash

First up, easy peasy stock. Use multi-purpose compost in a pot, or a well-prepared area of ground with plenty of sun and sow an eighth of an inch deep, on watered compost. Once the seedlings appear begin thinning out, tentatively at first, but then with more gusto until you have healthy, beefy little plants about 12 inches apart. Variety wise, I always go for unassuming and rather raggedy Matthiola bicornis but they all have that delicious, weighty scent.

Nicotiana alata in the border

Nicotiana alata in the border

Nicotiana is another winner, and doubly useful in the border or pots because of its height. N. alata or N. sylvestris are the loveliest in my humble opinion. Sow the tiny seed in containers indoors or buy ready-grown seedlings if you lack the space or time.

Photo by Annie Spratt on Unsplash

Photo by Annie Spratt on Unsplash

I’ve ordered an pergola, and I’m planning to cover it with evening scented climbers, to create layers of delicious scent. Don’t be afraid to mix them up; honeysuckle (I love evergreen ‘Halliana’) and jasmine (including trachelospermum) together is never not a good idea. Throw in a bit of chocolate scent, with some Akebia quinata (I love this ‘Amethyst’ variety) and you’re transported to heaven.

Lastly (and best) with the strongest evening scent I have ever had the pleasure of sniffing, is the table-top star Zaluzianskya ovata, of which you can order small plants, or sow in June; put it on your outside table and prepare for a long night ahead because nobody will want to leave its heady embrace.

x Laetitia

Pea shoots for children (and adults too)

Pea-shoots for your budding little gardeners

This post was originally written for Mamalina - the brilliant blog by Emma Ross. She writes about all things zero-waste and has a wonderful, no-nonsense, realistic approach to how we can each make a difference, making small (and large) meaningful changes.

You can be really pretty slapdash! All pics here by Jill Mead from my book ‘Sweet Peas for Summer’

You can be really pretty slapdash! All pics here by Jill Mead from my book ‘Sweet Peas for Summer’

 Do your kids eat salad greens? If they do, then lucky you, but if, like most of us, you’re desperate to introduce the delights and textures of raw saladings to your little refuseniks, then you could do much worse than try out this little project, Not only is it the easiest and most gratifying seed-sowing escapade for doing with little ones, but the ensuing pea-shoots are sweet and yummy, just like peas; the perfect gateway to rather more challenging raw green things.


You will need:

A packet of seeds. These are just dried peas, and you can get a big box really cheaply at the supermarket. If you like trying different varieties though, find a few packets from your local nursery.

A shallow, wide pot or a window-box – the more surface area the better. Obviously you can grow these in the ground too if you like.

Some peat-free multi-purpose compost

peashoots

Method:

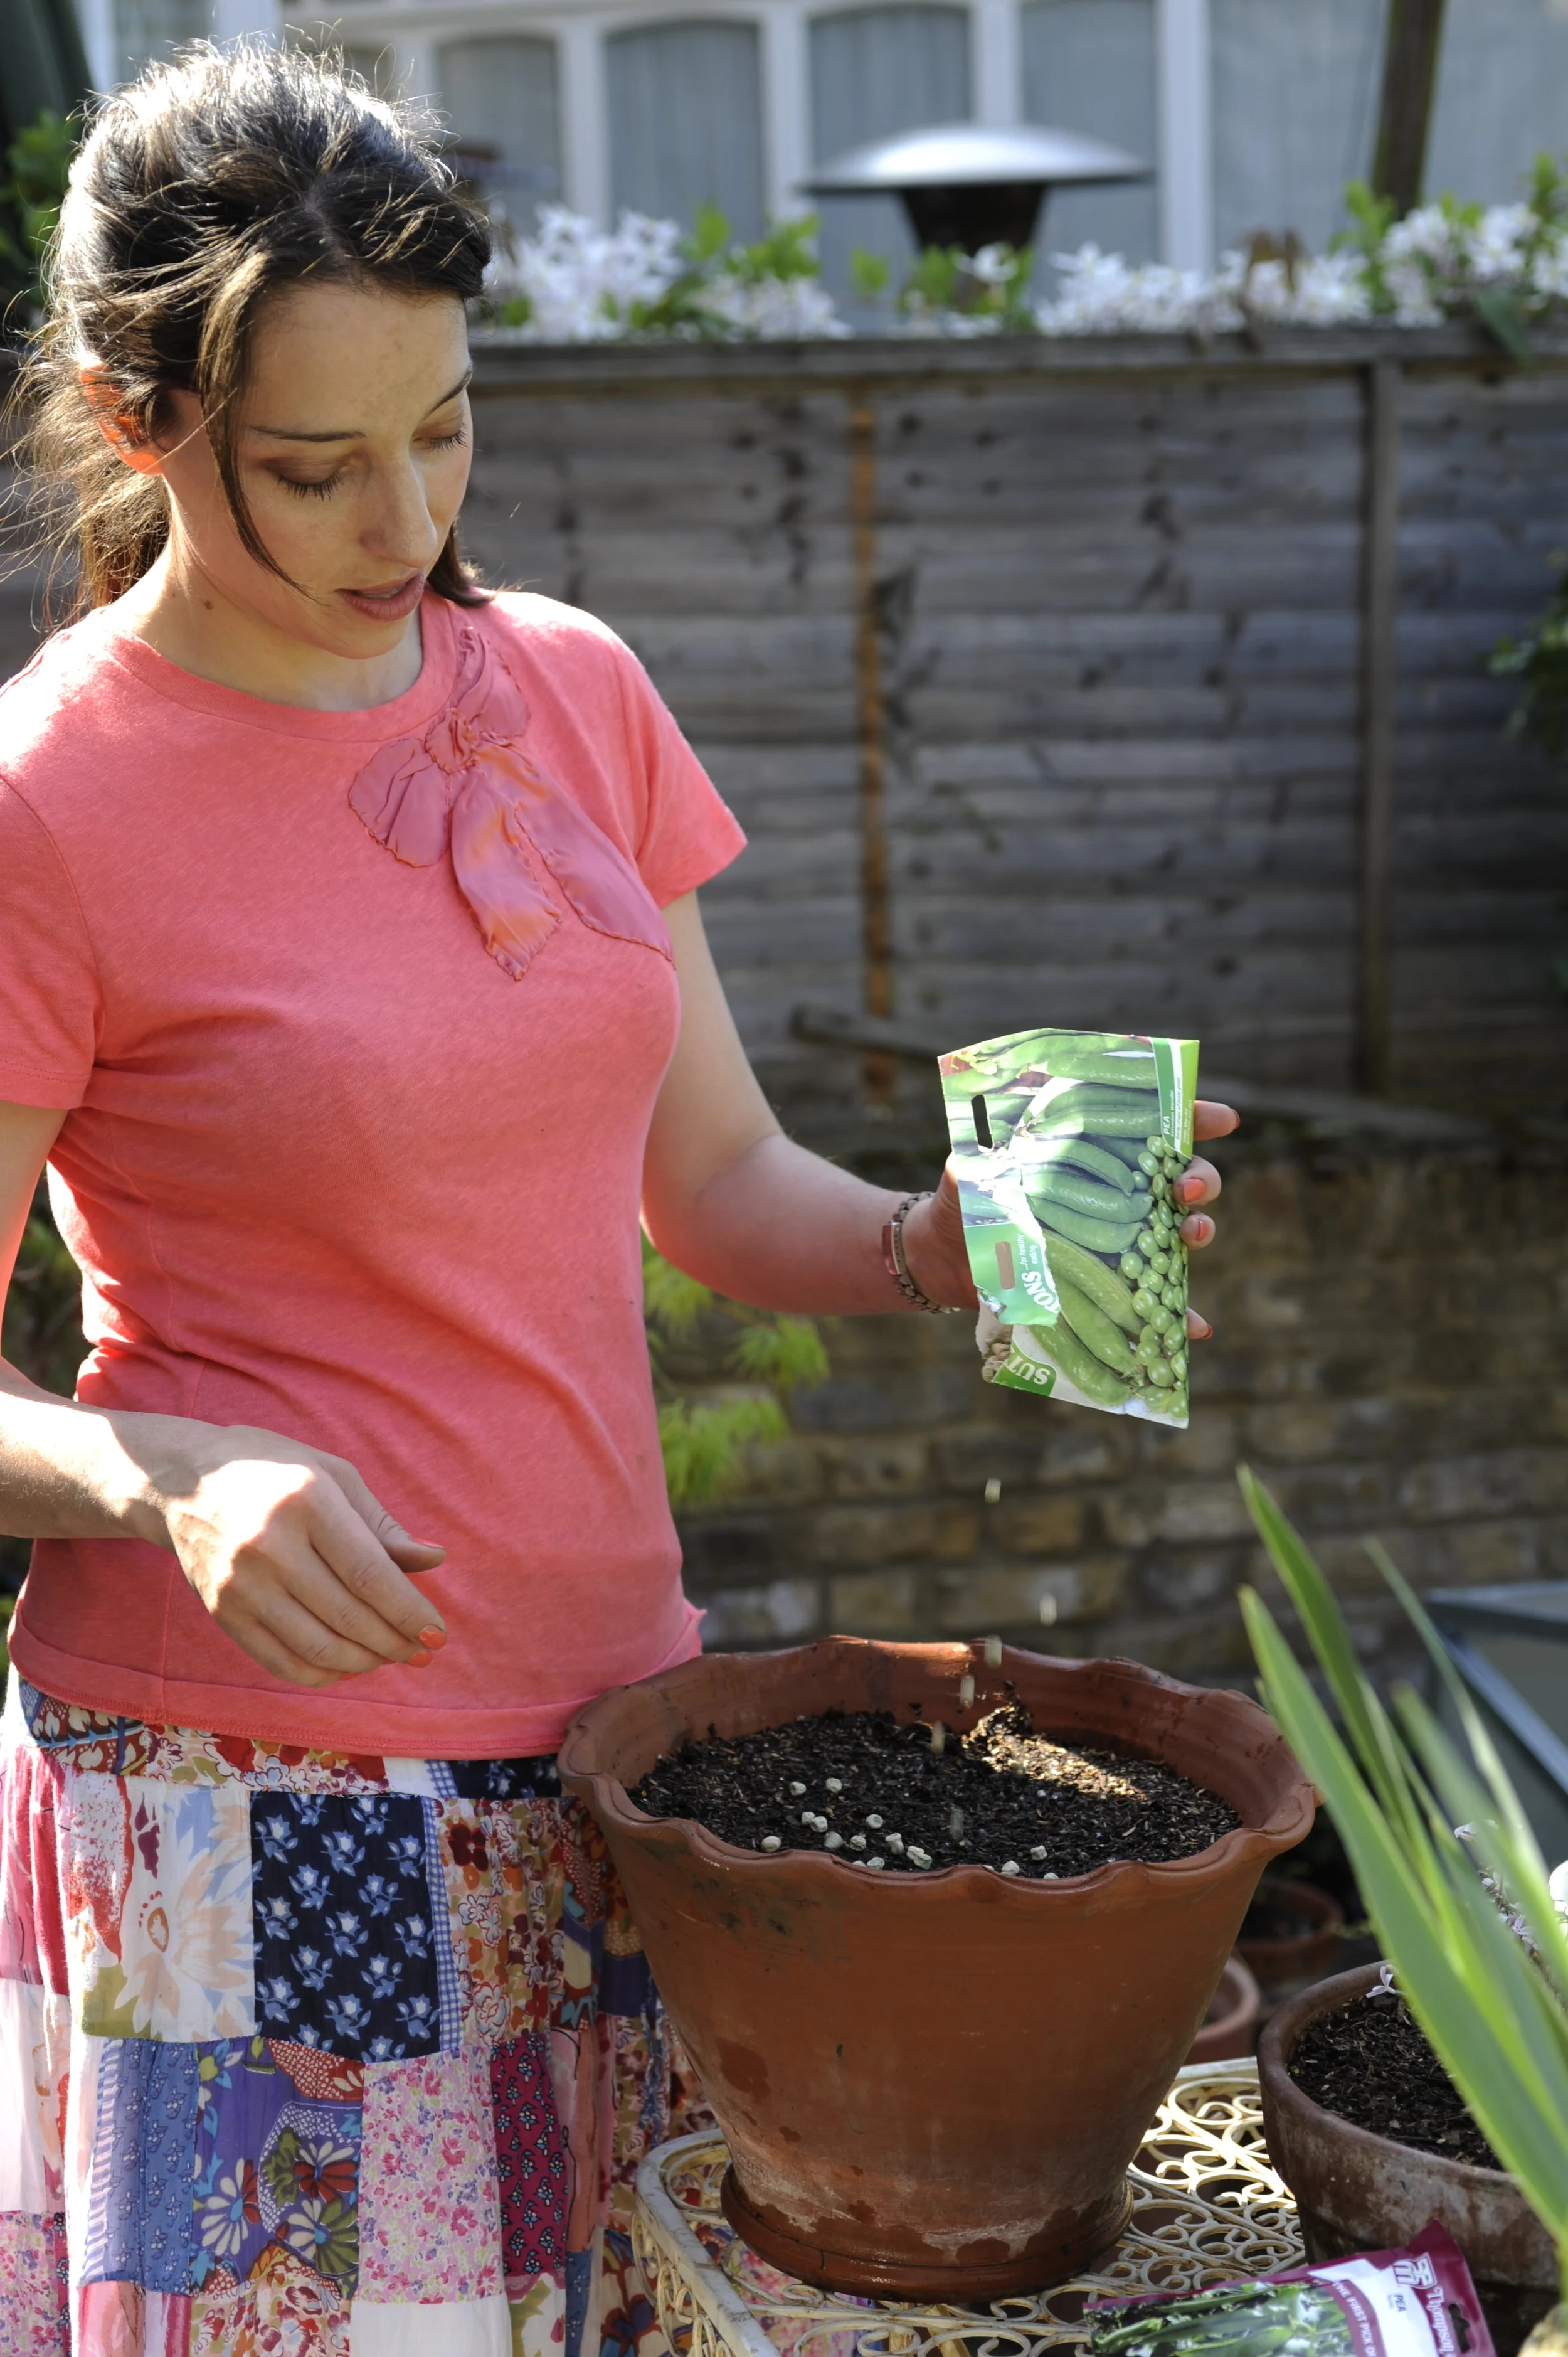
Fill your pot with the compost so that it comes about 5cm shy of the top of the container. Water, and sprinkle the seeds all over the damp surface of the compost. The beauty of this is that you can let your child do this; the seeds can be touching each-other – no need for spacing. So make a layer of seeds, and then sprinkle over more compost, making sure there are no lumps in it. 2cm should be fine.

Water daily, and you should see action very soon. The green shoots will peep up. You may have to prod the soil down between them a bit if it raises up, or just give the pot a good water and the compost should break up and sink down.

Harvest whenever you think the shoots taste best. I like them to have a few curly tendrils attached because they look pretty. You can either snip them just above the compost, or pull the whole lot up, wash and serve with seed attached. 

chuck them in!

chuck them in!

Even if your kids still hate greens after this, your sense of achievement should not be dampened one iota: you will still have introduced them to the joys of watching something grow from seed, and that’ll be with them for life, so keep that smug face ON!

xx Laetitia

Spring container care

Do you have permanent pot plants that look like they might be in need of a boost? You might be noticing yellowing leaves, or simply that the plant hasn’t grown as you’d hoped or expected. If so, then now is a good time to consider re-potting it.

container care

Containerised plants sitting in the same compost for more than a two or three years are likely to be needing extra nutrients that (unlike their friends in the flower bed) they cannot access. You can of course provide this with a liquid fertiliser, once the danger of frost has passed, but new compost is a better solution, not only improving the soil structure, but also giving you the opportunity to inspect the roots of the plant and give it a larger pot if necessary.

Begin with long-term plantings as they are always in most need. Remove each plant from its container. If the roots are starting to spiral around the outside of the root-ball then it’s time for a larger pot; if not, then remove old excess soil and replant in the original container.

Ensure that the hole in the bottom of the container doesn’t get blocked up by compost by putting a crock over it, and fill with new compost. I use John Innes number 2 for pretty much everything that isn’t temporary. Gently tease out the roots by giving the root-ball a good rub, and re-plant carefully, making very sure that you’re getting the soil properly into the gap between the sides of the pot and the root-ball. This is time consuming work, so if you really cannot face it then top-dressing is an acceptable interim measure until next year, removing the top two inches of soil and replacing it with new. Even this small gesture will be rewarded with happier, revitalised plants.

x Laetitia

How to deter foxes

I used to be a benign person, and then foxes entered my garden, ripping bits of it up, and pooing everywhere. My Rotter and I have turned into Boggis Bunce and Bean all rolled into one, plotting obsessively to thwart them. Success has been gradual but sure, with our cunning plan.

Photo by Maurice Schalker on Unsplash

Photo by Maurice Schalker on Unsplash

Before I begin. I would like to make it clear that although I dislike foxes and do not want them in my garden, I wish them no harm!

How to deter foxes from your garden

1. Switch things up.

Foxes are neophobes; any changes freak them out, so make this your number one weapon. Move things about regularly…pots, garden furniture. They don’t like it and will often avoid changing environments in favour of places that are undisturbed….this is a marvellous excuse to be out in the garden faffing around as much as possible!

2. Keep things clean

Obviously remove any and all sources of food from the garden. Clean up any windfalls daily, and secure bin lids with bricks or clips. Use an enclosed compost bin if possible, and clean up really well if you eat outside.

3. Create noise

Our other strategy is sound. We leave Radio 4 on in the shed all night long, and something called a ‘Zennox barking dog alarm’ which imitates a German Shepherd whenever it detects movement.

4. Sprinkle deterrents

We are dousing and sprinkling areas of the garden every few days with a combination a synthetic animal scent called ‘Scoot’, and lashings of Tabasco sauce. The trick is to keep changing tack, so the foxes never get used to any one thing.

5. Squirt them

The most successful strategy when used in addition to the above, has been a contraption called the ‘Home Defence Scarecrow’, which squirts a strong jet of water out whenever it senses any movement. Using all of these methods together has reduced scat by a good 80%.


Stay sly my friends, and you will prevail.


x Laetitia

Book review: The Flower Garden by Clare Foster and Sabina Ruber

This book landed on my doormat at a time when I was researching for a piece on veg that you can grow in your boarders, and I had to set it aside and not allow myself to peek at it, for fear of being torn away from the job in hand.

Gypsophila ‘Kermesine’ by Sabina Ruber

Gypsophila ‘Kermesine’ by Sabina Ruber


The truth is, I am a flower person, through and through. I WANT to grow veg, and I DO, but nothing comes close to sowing and growing flowers. As regular readers of this blog will know, my problem (some might call it my USP) is lack of time, and this is why I regularly eschew sowing my own flowers and buy them as tiny plugs.

This book though, reminds me of the reasons why I DO sow a few flowers every year, despite not having a huge amount of time to give them…, not just because it saves me money, but because the authors are right, you learn SO much more about gardening and your plants by raising them from seed.

All the pretty things

All the pretty things

Clare Foster, Garden Editor at House and Garden Magazine, together with Sabina Ruber, acclaimed flower and garden photographer, began an exciting project back in 2012; to grow as many annual flowers from seed as they could. I love that Clare got stymied in this endeavour, as life got in the way while she moved house, and yet she began again…this somehow speaks to me - the real-life stuff…the things that don’t go to plan. It didn’t matter though…she picked up and carried on, and this glory of a book was born.

The flower garden: how to grow flowers from seed

Clare has divided it up into seven sections; Cottage garden favourites, Filigree Fillers, Bold and Beautiful, Sweetly Scented, Exotic beauties, Edible flowers and herbs, and Bee-Friendly flowers. This makes it incredibly easy to choose which flowers to have a go at sowing, particularly if you suffer from option paralysis…the hardest part is always choosing what to grow. She has also marked ‘easy’ plants (i.e. nigella) with a special symbol - so that’s another way you could pick, if you’re a beginner.

aquilegia

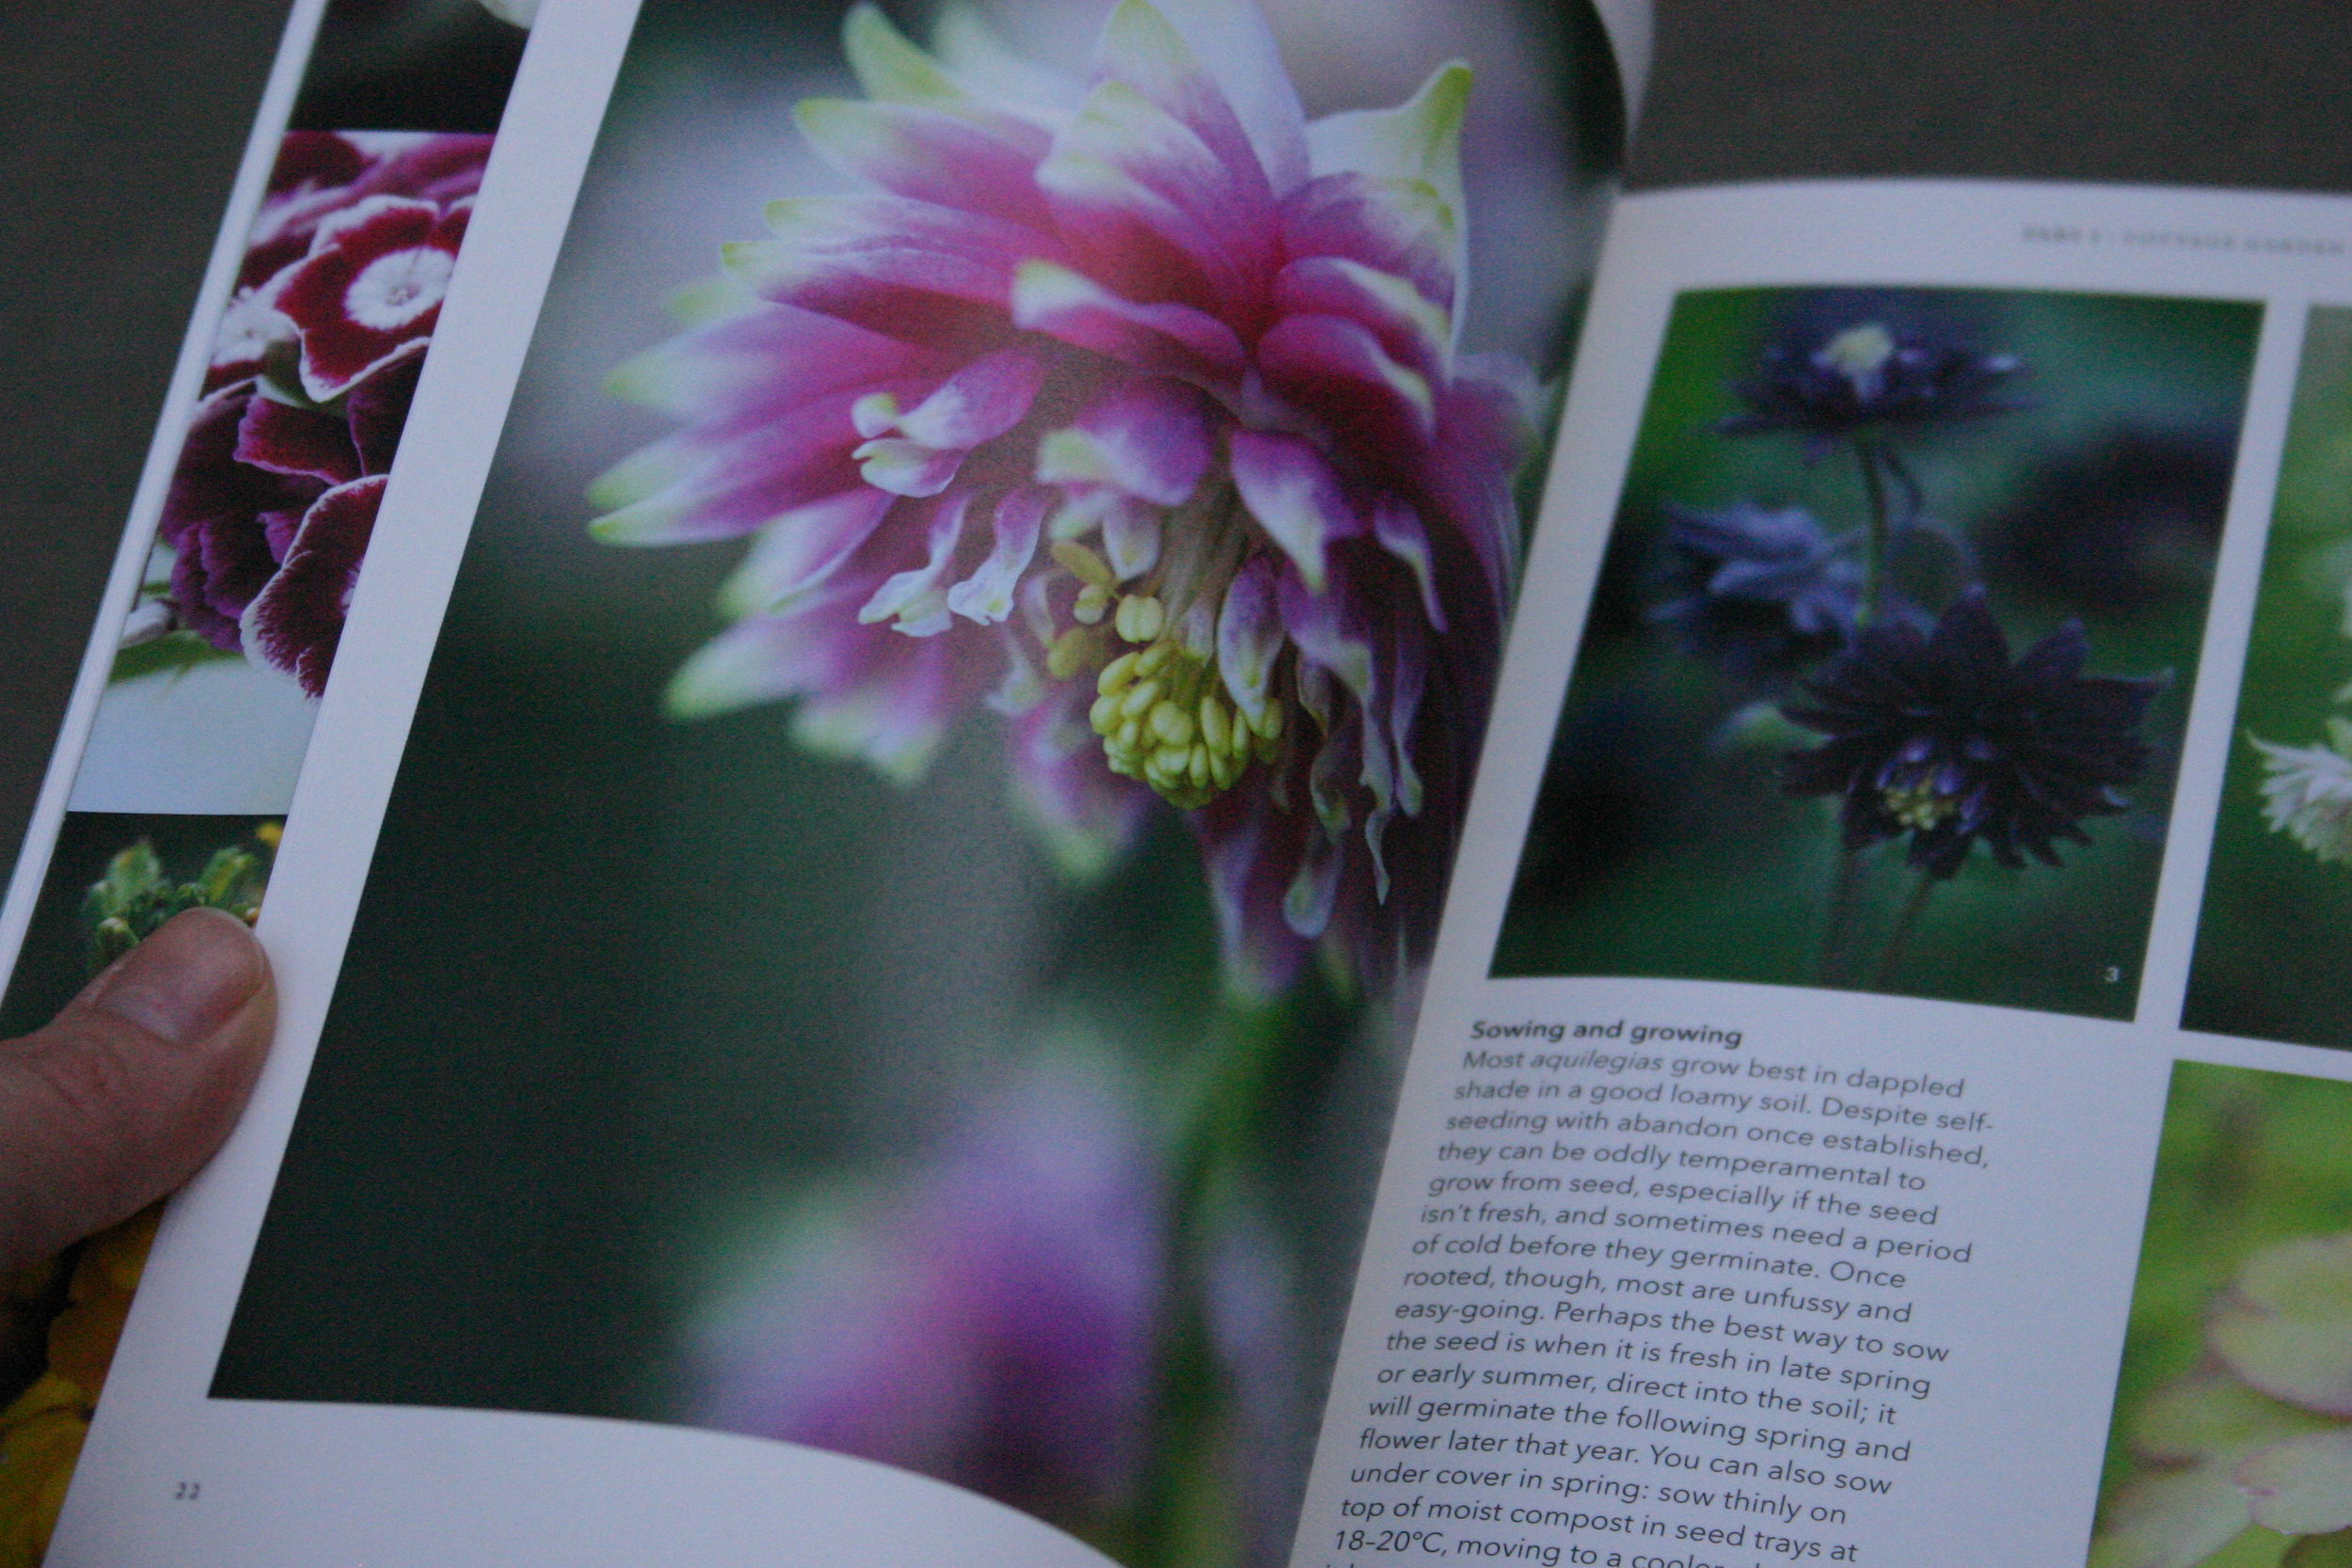
There is also a beautifully comprehensive, NON-SCARY section on sowing and growing. Gardening is so full of grey areas, and there are MANY different ways of doing the same thing, so I am drawn to advice that is instructional but doesn’t get too technical. Intuitiveness is key in gardening. We simply need a springboard for starting off, and this is a very good one.

sowing seeds

The last part of the book contains some ideas on how to use your flowers - how to make a sweet pea arch, for example, and how to create your own cutting patch. These are simple, one-page inspiration hits that appeal to me, as a time-pressed person, and obviously come naturally to Clare as a magazine editor.

Beautiful cobaea scandens in a vase - How to sow cobaea scandens

Beautiful cobaea scandens in a vase - How to sow cobaea scandens

This book had me at hello with its GOLDEN spine and utterly stunning photographs. Sabina Ruber’s close ups are mesmerising, but the thing that sets this one apart is the fact that it’s NOT encyclopaedic. It’s obvious that every single plant here has been sown and grown by the authors, tried and tested. I love the fact that they stipulate specific cultivars, and that each one is photographed. What an absolutely gorgeous, useful book; I think it’s only a matter of time before its pages are crinkled and smeared with compost.

Highly recommended.

The Flower Garden by Clare Foster and Sabina Ruber is out next month

x Laetitia

How to sow Cobaea scandens (cup and saucer vine)

Cobaea scandens (cup and saucer vine) is hands down my favourite annual climber and I sow some every year, not really knowing where they’re going to go, but safe in the knowledge that they’ll go somewhere, and I’ll love them to bits. If you’re looking for an easy-to-grow climber that looks fabulous, this is the one for you.

Cobaea scandens growing up a willow tipi

Cobaea scandens growing up a willow tipi

Here’s a pic of me in my nighty inside a tipi full of this wonderful plant. Bit silly but we made this pic to underline the fact that if you stand still long enough this plant would probably climb all over you quite happily. I used to grow it in my kitchen, letting it climb the walls up towards a skylight..so yes, it’s perfectly happy in a pot.

This is one of those plants whose seeds are large enough to make sowing a double joy. The other reason I love them is that they are self-clinging, meaning I can be super-lazy and let them bomb off up whatever I give them to climb without worrying about tying in.

Here’s a how-to video I did for Cobaea five years ago, and nothing has changed in the way I do it. Two things I do forget to mention (because videoing yourself is a bit befuddling) is that I SOAK the seeds for a few hours before planting, and I put these little pots inside a tray with a plastic lid (as with most seeds) to keep the atmosphere humid and aid germination

Have fun with these!

x Laetitia

I write a little newsletter once a week, which is much more personal than my blog, and charts all of my five minute endeavours each day. People say it inspires them to get out in the garden. People also say it makes them feel better about NOT getting out into the garden. Anyway, you can sign up below if you think it might appeal, or just email me with your email address and I’ll add you to the list.


Bulb protection techniques


Protecting bulbs from squirrels, cats and kids

Bamboo cloches

In gardening, as in life, abundance is everything, so the idea that some of your bulbs may come under attack, whether from squirrels, mice or foxes is rather a good thing, because you will deliberately plant more than you may think you need.

This may be the best course of action for the wider garden, where a lost tulip or two won’t necessarily cause much gnashing of teeth. But what of your precious pots, lovingly filled with exquisite beauties, sitting there, prone to vandalism?

Begin with a cloche. I like bamboo ones, which, pushed tightly over pots, keep undesirables out and (I think) look beautiful. The largest one (linked above) can be jammed even over my 60cm diameter pots. It’s important to remember that these will wear over time. They become darker of course, with exposure to wet and sun, and eventually the bamboo will become brittle. This is fine by me, but its something to bear in mind before buying. Crocus also stocks similar ones here. They are less useful in the ground, as they don’t really jam into the earth properly. If you want something for your veg patch, then these are both beautiful and brilliant. I had some on loan for a while to try out and they were amazing.

Secondly, Tabasco, sprinkled liberally around the edges of the pot actually does work. It’s a faff because you have to keep re-applying, and take obvious precautions by keeping the containers well away from children.

Some gardeners actually place all their pots in a wire cage (a rabbit run would do) until the plants have emerged.

I’ve had anecdotal evidence that baby powder, sprinkled liberally over the top of the compost is an effective deterrent, although again, I think you’d have to be sure to reapply after every rain shower.

Also, planting your bulbs together with a couple of garlic cloves is apparently a good trick (although surely the critters would have to have dug the things up in order to be freaked out by the garlic….perhaps they can smell the stuff from above and know not to dig there…worth a go?

The most work-intensive but least visually bothersome tactic is to place bulbs inside home made wire mesh baskets. A good compromise is to use a flat piece of mesh, with holes at least 1 inch wide, and bury it just above your bulbs, curling the edges around and down so that the mesh is rammed tightly inside the pot.

If you can’t be bothered with any of this, simply planting slightly deeper than you would normally, and being obsessively careful to clean up after yourself, removing any and all evidence of bulb planting works well.

Let me know in the comments if you have any clever tricks? I’m all ears! Also love to hear your suggestions for protecting seed beds and newly-planted areas from animals - I’ll be writing something on that soon!

xx Laetitia

PS I write a newsletter once a week - it’s a bit more personal than my blog and details my five minute endeavours each day. Do take a peek if you’re interested in the full knowledge that you can always unsubscribe if you loathe it!


February: Three garden things you can practically do from bed this month

Okay okay I know I do this five minutes a day thing, but that’s because I get a kick out of it and I’m telling you honestly, that most of what I do in the garden in January and February centres around tidying away errant leaves and bringing order to my potting bench and garden shed. There’s very little actual, down-on-your-knees stuff, unless the day is exceptionally mild and I can weed without fear of my fingers turning blue.

The truth is that too much messing about in the garden can do more harm than good at this time of year, particularly if you trample all over your soil (compaction) or sow too many seeds (sure fire way to depressive anxiety), so here are a few productive but harmless things you can do this month, without even going outside.


1. Order some colour

Nicotiana with geranium in an old border of mine… photo by Jill Mead

Nicotiana with geranium in an old border of mine… photo by Jill Mead

If you’ve not yet thought carefully about how you’re going to ’style’ your garden this year, then this is a great time to sit down with the internet and make some lists of bedding plants you’d like to fill gaps in with, or seeds you’d like to sow in order to CREATE gap-fillers, (like the nicotiana in this picture) or plants for containers or hanging baskets on your terrace. Stick to one or two plants and buy a tray-full to create a generous, cohesive look. You can find my shopping list here. Same thing if you love to sow from seed; stick to one or two plants and grow lots of them. It looks better and is easier to deal with. Swear.

2. Have a little houseplant clinic

Fiddle leaf fig (probably in need of a wipe!)

Fiddle leaf fig (probably in need of a wipe!)

Check moisture levels and water if necessary (your central heating is mighty drying you know) and also wipe down any shiny leaves gently, (see pic above with LOTS of dust!) with a damp cloth. If you notice growth, then perhaps put the merest suggestion of some food into the water. Check to see if any of your plants’ roots are congested (just tip the thing out of its pot and have a look). If you see lots of roots running frantically round and round the edge of the compost, it’s probably time to go a size up.

3. Plan your chill-out zones

Very glorious recycled outdoor textiles from Weaver Green

Very glorious recycled outdoor textiles from Weaver Green

Remember last summer when you wished that table and chair was over there, to catch the evening sun, or when you could never quite enjoy sitting in your favourite spot because it was just too darn hot and you didn’t have a parasol? Now is the time to make sure this is dealt with darlings. I’m going to say it again, because I don’t think it goes in sometimes, but LOUNGING ABOUT WITH YOUR FRIENDS AND FAMILY HAVING PARTIES AND PICNICS OR READING GREAT BOOKS OR RUNNING ABOUT HYSTERICALLY SPRAYING EACH-OTHER WITH THE HOSE IS WHAT YOUR GARDEN IS ACTUALLY FOR! The ‘gardening’ (in my humble opinion) is the thing that makes all of that stuff possible - it is not the END, but the means to an end. So invest in those beautiful cushions, or that lovely parasol. Think about how you can put the table where you actually need it to be, and do the necessary to make that happen. 

xx Laetitia

How to get a carpet of snowdrops


… or indeed, a mini-carpet in a pot

Snowdrops. Photo by Jill Mead

Do you have a carpet of snowdrops luring you outside right now?

I say this explicitly, because one or two snowdrops just aren’t going to do it are they? So while it’s very easy to get caught up in galanthophilia, spending precious hours and money on special varieties, none of that obsessiveness is going to get you a carpet without plenty of planting, lifting and dividing at this end of the year, and that carpet is going to look glorious, no matter how expensive the variety. With that in mind, make sure you have the essential conditions (shade and damp) – if you don’t have trees then between shrubs in the border is good, and volume is the important thing here, so buy as if you were a Russian oligarch on a binge. To this end (and because I’m presuming you’re no such thing) go for ordinary good old favourites that are large and sumptuous. G. ‘Magnet’ is my number one choice, followed closely by G. ‘S. Arnott’ and G. ‘Atkinsii’, and begin with just a few… Or a simple, much cheaper job lot of nivalis (you can see these three types in my shopping list post here). They’ll arrive by the beginning of March, looking worse for wear; this is what’s called ‘in the green’ and it’s the best time to plant. Add lots of humus-rich compost or soil improver and plant six inches deep. Existing large clumps that are looking congested can be lifted out of the ground and gently teased apart once the flowers begin to go over. Replant as before and keep things random by putting some closer together than others.

This is certainly a labour of love rather than a five minute fling, but I’ll tell you what… I’ve been growing snowdrops in containers since my balcony days and I think they are JUST as heart-stopping. You just need good multi-purpose compost, and the addition of some lovely leaf mould every year.

I’ll be planting the beauties I’ve ordered in my lawn (will they love it? I don’t know!) as soon as they arrive, in the knowledge that I’ll have to be patient and let them take their own sweet time to spread.


x Laetitia

ps if you want a much more personal run-down of all my five minute forays, I write a newsletter every week which drops on a Saturday or Sunday. It’s full of the rather messier, more real, and, let’s face it, rather less pin-worthy stuff that life throws at me, and it’s the thing I enjoy writing most of all. Hit the button below if you want to have a go…and know that you can unsubscribe any time if it’s not for you!


How I'm pruning my apple tree this winter

If you follow me on Instagram you’ll know that I’ve been doing a little pruning project on my apple tree. 

Gorgeous looking…not so gorgeous eating!

Gorgeous looking…not so gorgeous eating!

 The tree was pruned last year, very badly (my own fault… I didn’t use a professional and I left him to it). When I returned, he had given my tree a general ‘haircut’ – i.e. cut about a third of the crown off from the outside. This has resulted in a squillion small upright shoots (or ‘water shoots’) rocketing skyward, both ruining the look of what was once a lovely gnarly old tree, and crowding the crown out, which has the effects of increasing the likelihood of disease and an over-production of small fruit. 


Personally I couldn’t care less about the fruit here – the apples are cookers and not very good ones at that…but I do love the tree, and its blossom and I want it back to its best, so the other day I took my secateurs and began pruning. It’s a bit of an endeavour that’ll have me doing small amounts over a sustained period of time, but here are the rules I’ll be following, which I found on the PTES website.


1.    I’ll be removing any dead wood, and any wood that looks diseased. Just as I would do with any pruning job.

2.    I’ll be looking for any branches that are crossing together and rubbing. This rubbing damages the bark and again, allows disease to get in and take hold. 

3.    I’ll be looking at the general shape of my tree, and removing any branches that don’t contribute to the shape that I want. With fruit trees the general rule of thumb is that you want an open shape – a ‘goblet’ really, so that there’s really great air circulation, and you don’t have lots of branches shading out those below. This means that branches growing towards the middle of the crown should generally be removed. There’s an old saying that you should be able to throw your hat through the crown, and it’s a useful image for the shape I’m after.

4.    Once I’ve done the above, I’ll tackle my water shoots. This is something I’ll be doing cautiously, because I don’t want to shock my tree by removing the whole lot in one go. I’ll start in the centre of the crown and remove a third of the total number of shoots. This will, I hope allow air and light into the centre of the tree. I’ll repeat the process next year, and in 2021, with a little summer pruning thrown in, to deal with any new shoots produced by each winter’s cuts.


Not a five minute project, by any means, but one that can definitely be done in five minute bursts, and it’s something that excites me tremendously, because I get to watch and learn.

Watershoots of doom

Watershoots of doom

As for the prunings, I’ll be using them for staking, kindling, and I’ll also be creating several small piles of them in different areas of the garden, for insects.


A note on tools.

I lost my pruning saw a while back (something I mean to rectify soon!). Secateurs are very good for the small water shoots where I can reach them. For larger branches, and for chopping the resulting wood, I’ll been using a little battery-powered chainsaw, and a telescopic lopper, both kindly gifted by Stihl. Reviews of these tools (and an update on the pruning) coming soon.


In the meantime, I’d love to hear your thoughts on the above. Any tips and tricks I should know about? Please let me know! I’m a novice at this and, as the loving custodian of a beautiful apple tree I want to do the best I can for it!


x Laetitia

Winter container garden hacks

As you might expect, Petersham Nurseries does winter rather well, seamlessly sailing through the bleak season without any of the bald patches from which we mere mortals seem to suffer.

Of course, this is partly to do with their gorgeous stock and legions of staff to make things gorgeous, but that’s not the whole story. There are some very simple hacks they’ve employed to keep things lovely with minimum upkeep. Here are their tricks:

  1. Go big or go home

fullsizeoutput_4fb0.jpeg

Everything here is on a grand scale. It’s a very good idea, especially if you are time-poor, as it creates instant impact with very little work over the summer months in terms of watering. Paperwhite narcissi here are crammed into a gigantic urn; the bulb fibre covered with moss and sticks plunged around the edge to keep things from flopping. It’s a classic idea but on a big scale, and it would work even in a small room. Use an urn, and you have an instant layering effect, with the added bonus of not having sacrificed any table space.

Paperwhite narcissi in an urn at Petersham

Paperwhite narcissi in an urn at Petersham

2. Use erigeron everywhere.

fullsizeoutput_4fb5.jpeg

You’ll have heard me go on about this plant enough, but seriously, let me tell you one more time about the wonders of this Erigeron Karvinskianus. Not only does it soften and relax every hard corner or line, and self-sow itself politely around into the tiniest cracks and crevices, it will also cover up a multitude of sins (bareness really) at the base of any permanent planting. But most of all, it will continue flowering pretty much all year round, so whilst your deciduous shrub languishes in its twiggy bareness over the winter, this little darling will give you something lovely to look at.

3. Use muehlenbeckia everywhere else

Bare deciduous shrubs in pots? No problem with cascading muehlenbeckia

Bare deciduous shrubs in pots? No problem with cascading muehlenbeckia

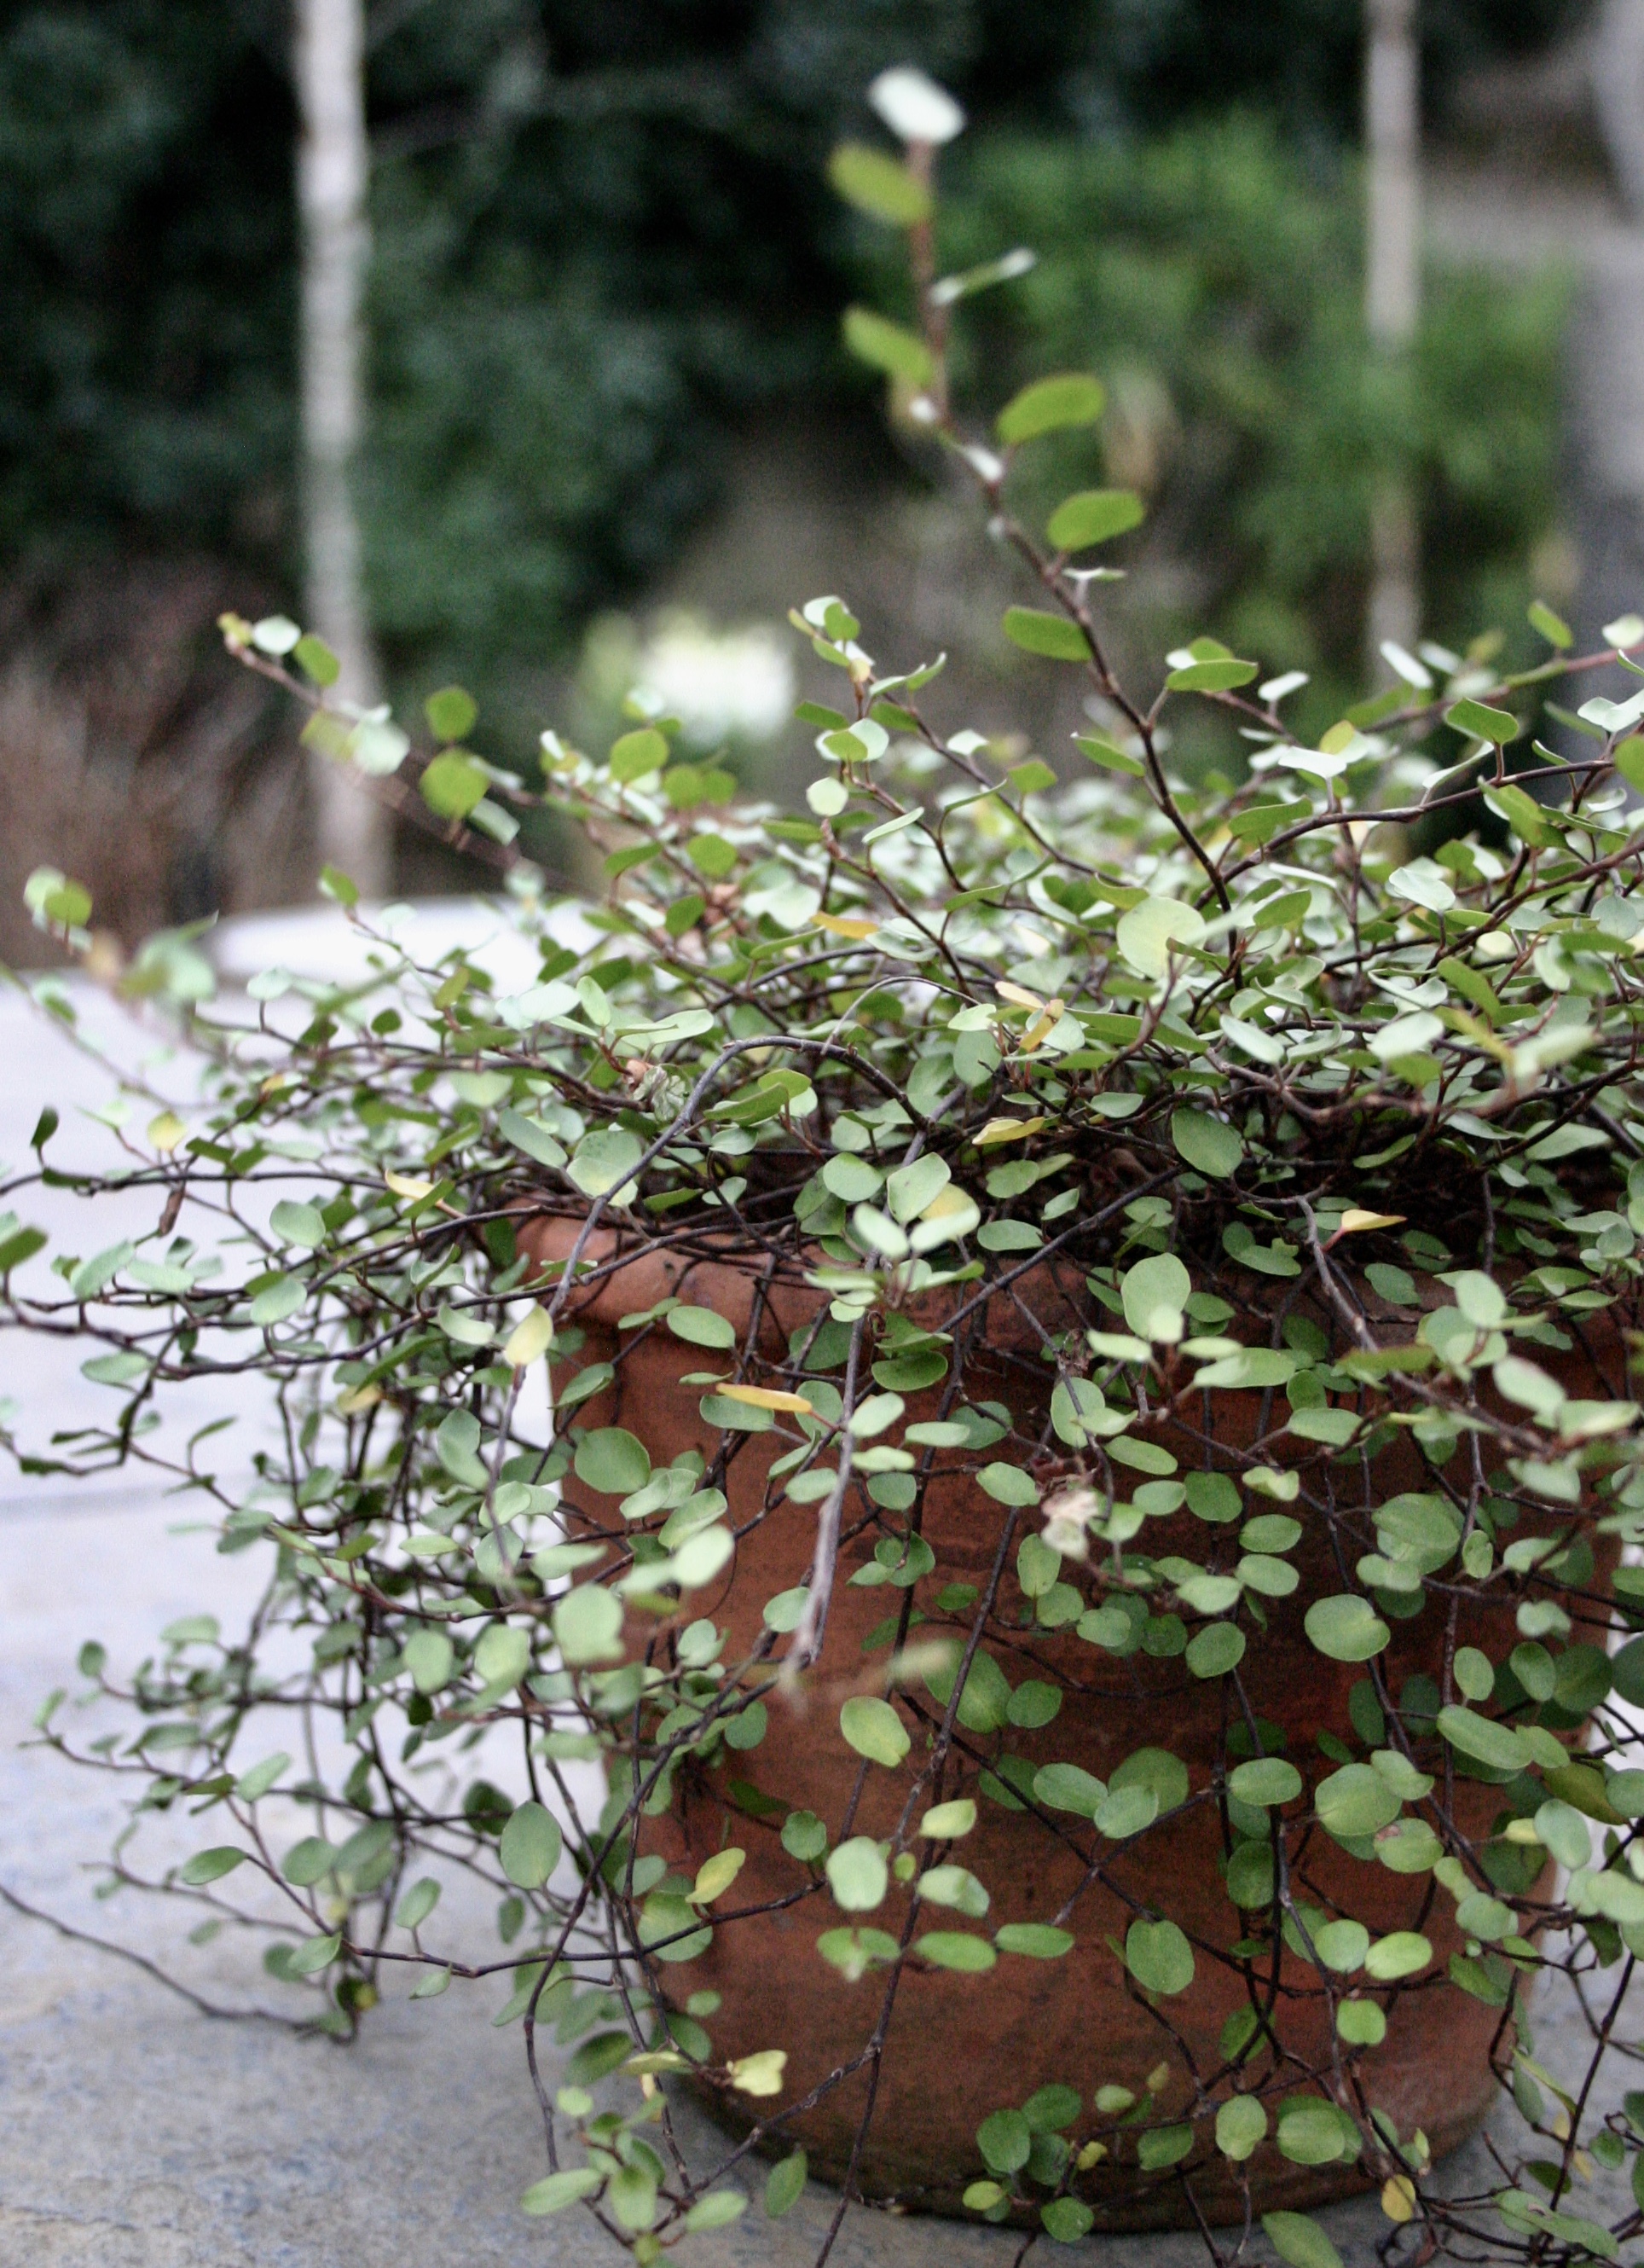
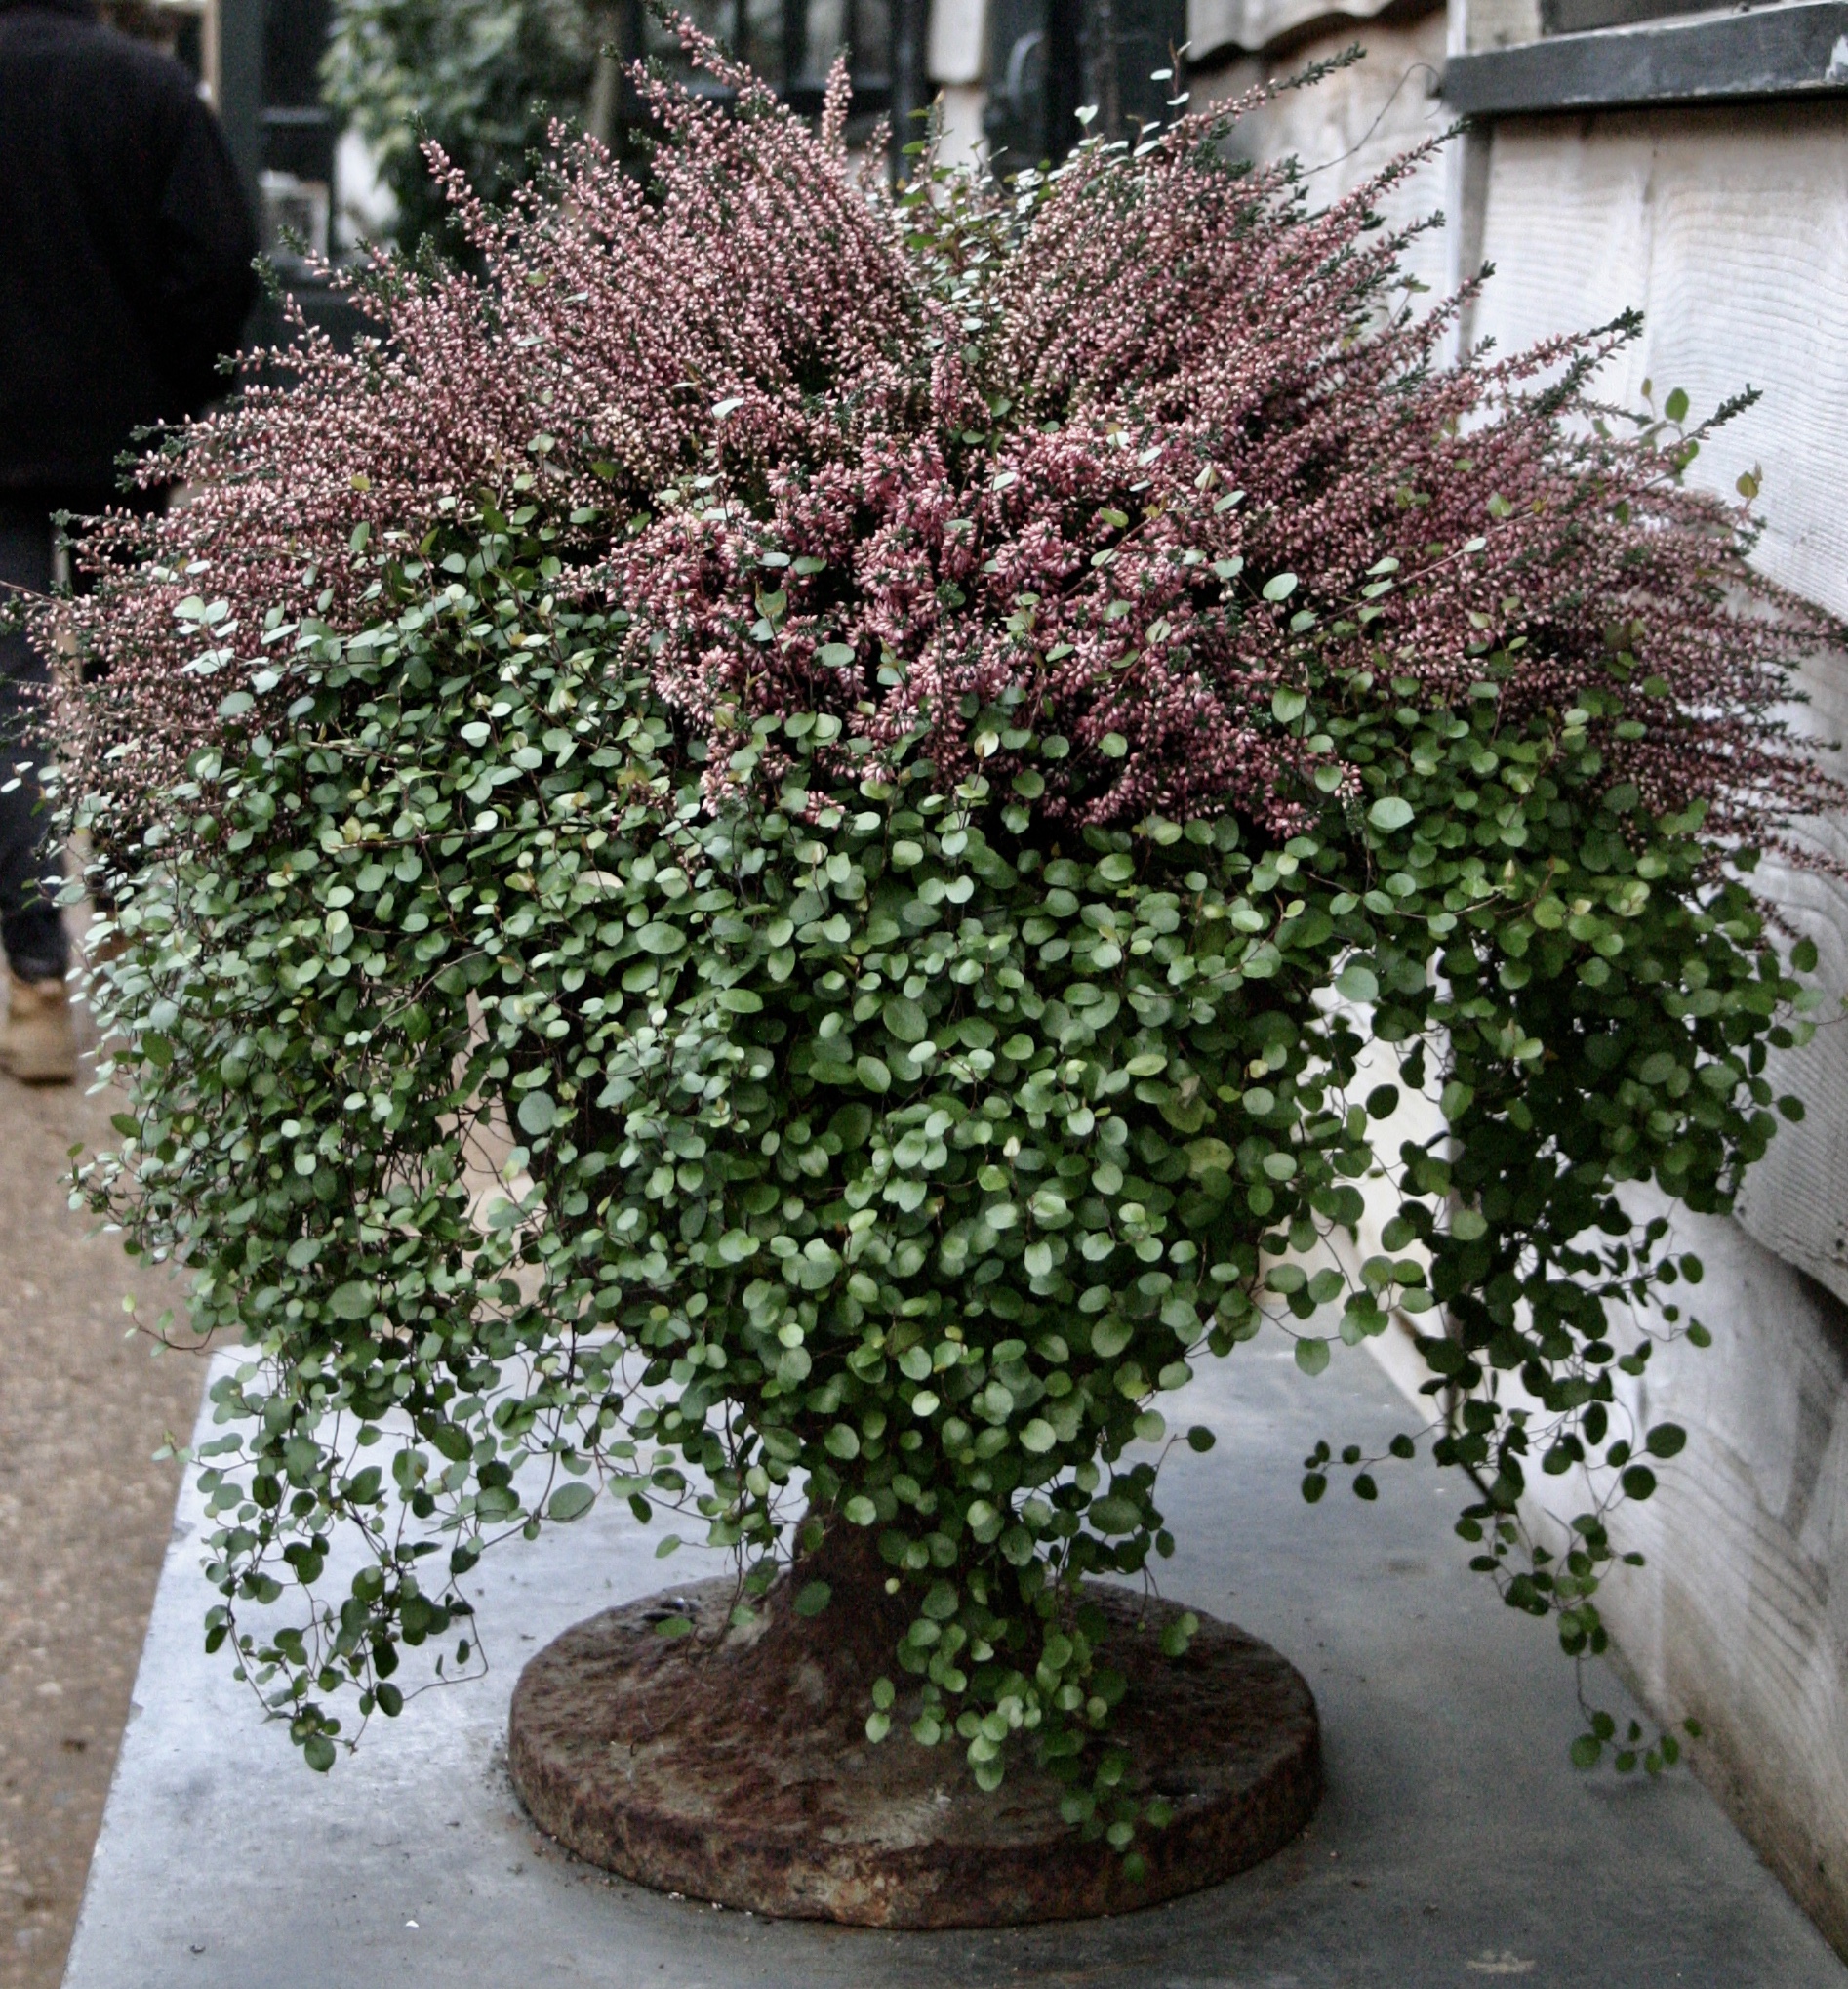
Rather lesser-known (and unfairly vilified as something which can be invasive), this gorgeous thing is an absolute blessing as long as you keep it in a container, doing very much what the erigeron does - softening and beautifying, only with a trailing effect rather than a flower. Put it in a pot with absolutely anything; it will make your bare viburnum gorgeous and it will even make plants that don’t look so lovely on their own, like heather (see below) unspeakably chic.

Muehlenbeckia on its own is great too.

Muehlenbeckia on its own is great too.

Suddenly heather is sexy…because muehlenbeckia (and also an URN)

Suddenly heather is sexy…because muehlenbeckia (and also an URN)

4. Put ferns in a gigantic pot

fullsizeoutput_4fb4.jpeg

…an urn, or other GINORMOUS container. Whatever it is, it must have height, to elevate the fronds…it’s something to do with balance. This is also an illustration of the Go Big or Go Home trick, but also, ferns are the great unsung container plant hero and we should all be using much more of them on our patios and terraces. This one above is an indoor affair, but there are plenty of excellent evergreen ferns which, given the right treatment will flourish in containers outside. Blog post on which ones to use coming soon.

5. Plant the pants off all the hellebores you can afford

Hellebores in pots

Hellebores in pots

Deadly pretty, perfect container plants that you can put into the ground if you get bored with them. I’ve been making a large container up with one, the recipe for which I’ll be sharing on my newsletter which drops at the weekend….It contains a rather more personal run-down of all my five minute forays in the garden during the week - sign up here if you’d like it, and never fear, if you don’t like it…(and it’s not for everyone I admit) then you can unsubscribe any time.

xx Laetitia

Bulbs and plugs I'm ordering this month

I don’t do much gardening in January…a bit of nonchalant weed-pulling, some chopping of gone-over things, and some deadheading if I’ve got winter bedding (cyclamen, pansies) on the go. More time is spent spring cleaning…getting the shed tidy and in order, sluicing out the bins (yuck) and clearing any gutters low enough not to induce vertigo.

My favourite gardening endeavours then, take the form of dreaming, and leafing through catalogues. Getting in early and ordering the things you want is always a good idea.

Here is my January shopping list.

Snowdrops.

Galanthus S. Arnott - a classic I want in my lawn

Galanthus S. Arnott - a classic I want in my lawn

Having decided to put snowdrops (Galanthus) in my lawn last year, I then went and forgot to order any. The best way to plant them is not as bulbs, but in flower, or having flowered (or ‘in the green’) as gardeners say. I shall be ordering three each of G. Magnet and G. S. Arnott to start off what I very much hope will become a carpet of snowdrops. For these particularly tall varieties I’m prepared to wait, as I’m also mindful that I don’t want to spend lots of time and money planting hundreds of snowdrops only to have them turn their noses up at the conditions they’ve been given. Slow gardening then, and I’ll be buying them from Avon Bulbs, who always deliver good quality specimens, and whose packaging is completely plastic-free. If I had a large space and wanted an instant carpet though, I’d probably go for this deal. They are simple G. Nivalis, and very gorgeous, and good value to boot.

Gladiolus callianthus murielae

Gladiolus Callianthus - which I can’t live without

Gladiolus Callianthus - which I can’t live without

These are the stunners I plant in containers ever year, successionally and they give me a continuous, scented display from midsummer right through to the first frosts. I love them unconditionally and if I had more space, I’d fill it with them. I actually planted some in the ground last year, and left them there over winter to see if they come back, an experiment I’m not holding out much hope for, but hey, it’s good to try! I’ll be buying 80 bulbs from Farmer Gracy who I bought from last year. Their bulbs were cheaper than I could find elsewhere, great quality, grew really well and their packaging was plastic-free.


Argyranthemum frutescens

Argyranthemum is a must-have

Argyranthemum is a must-have

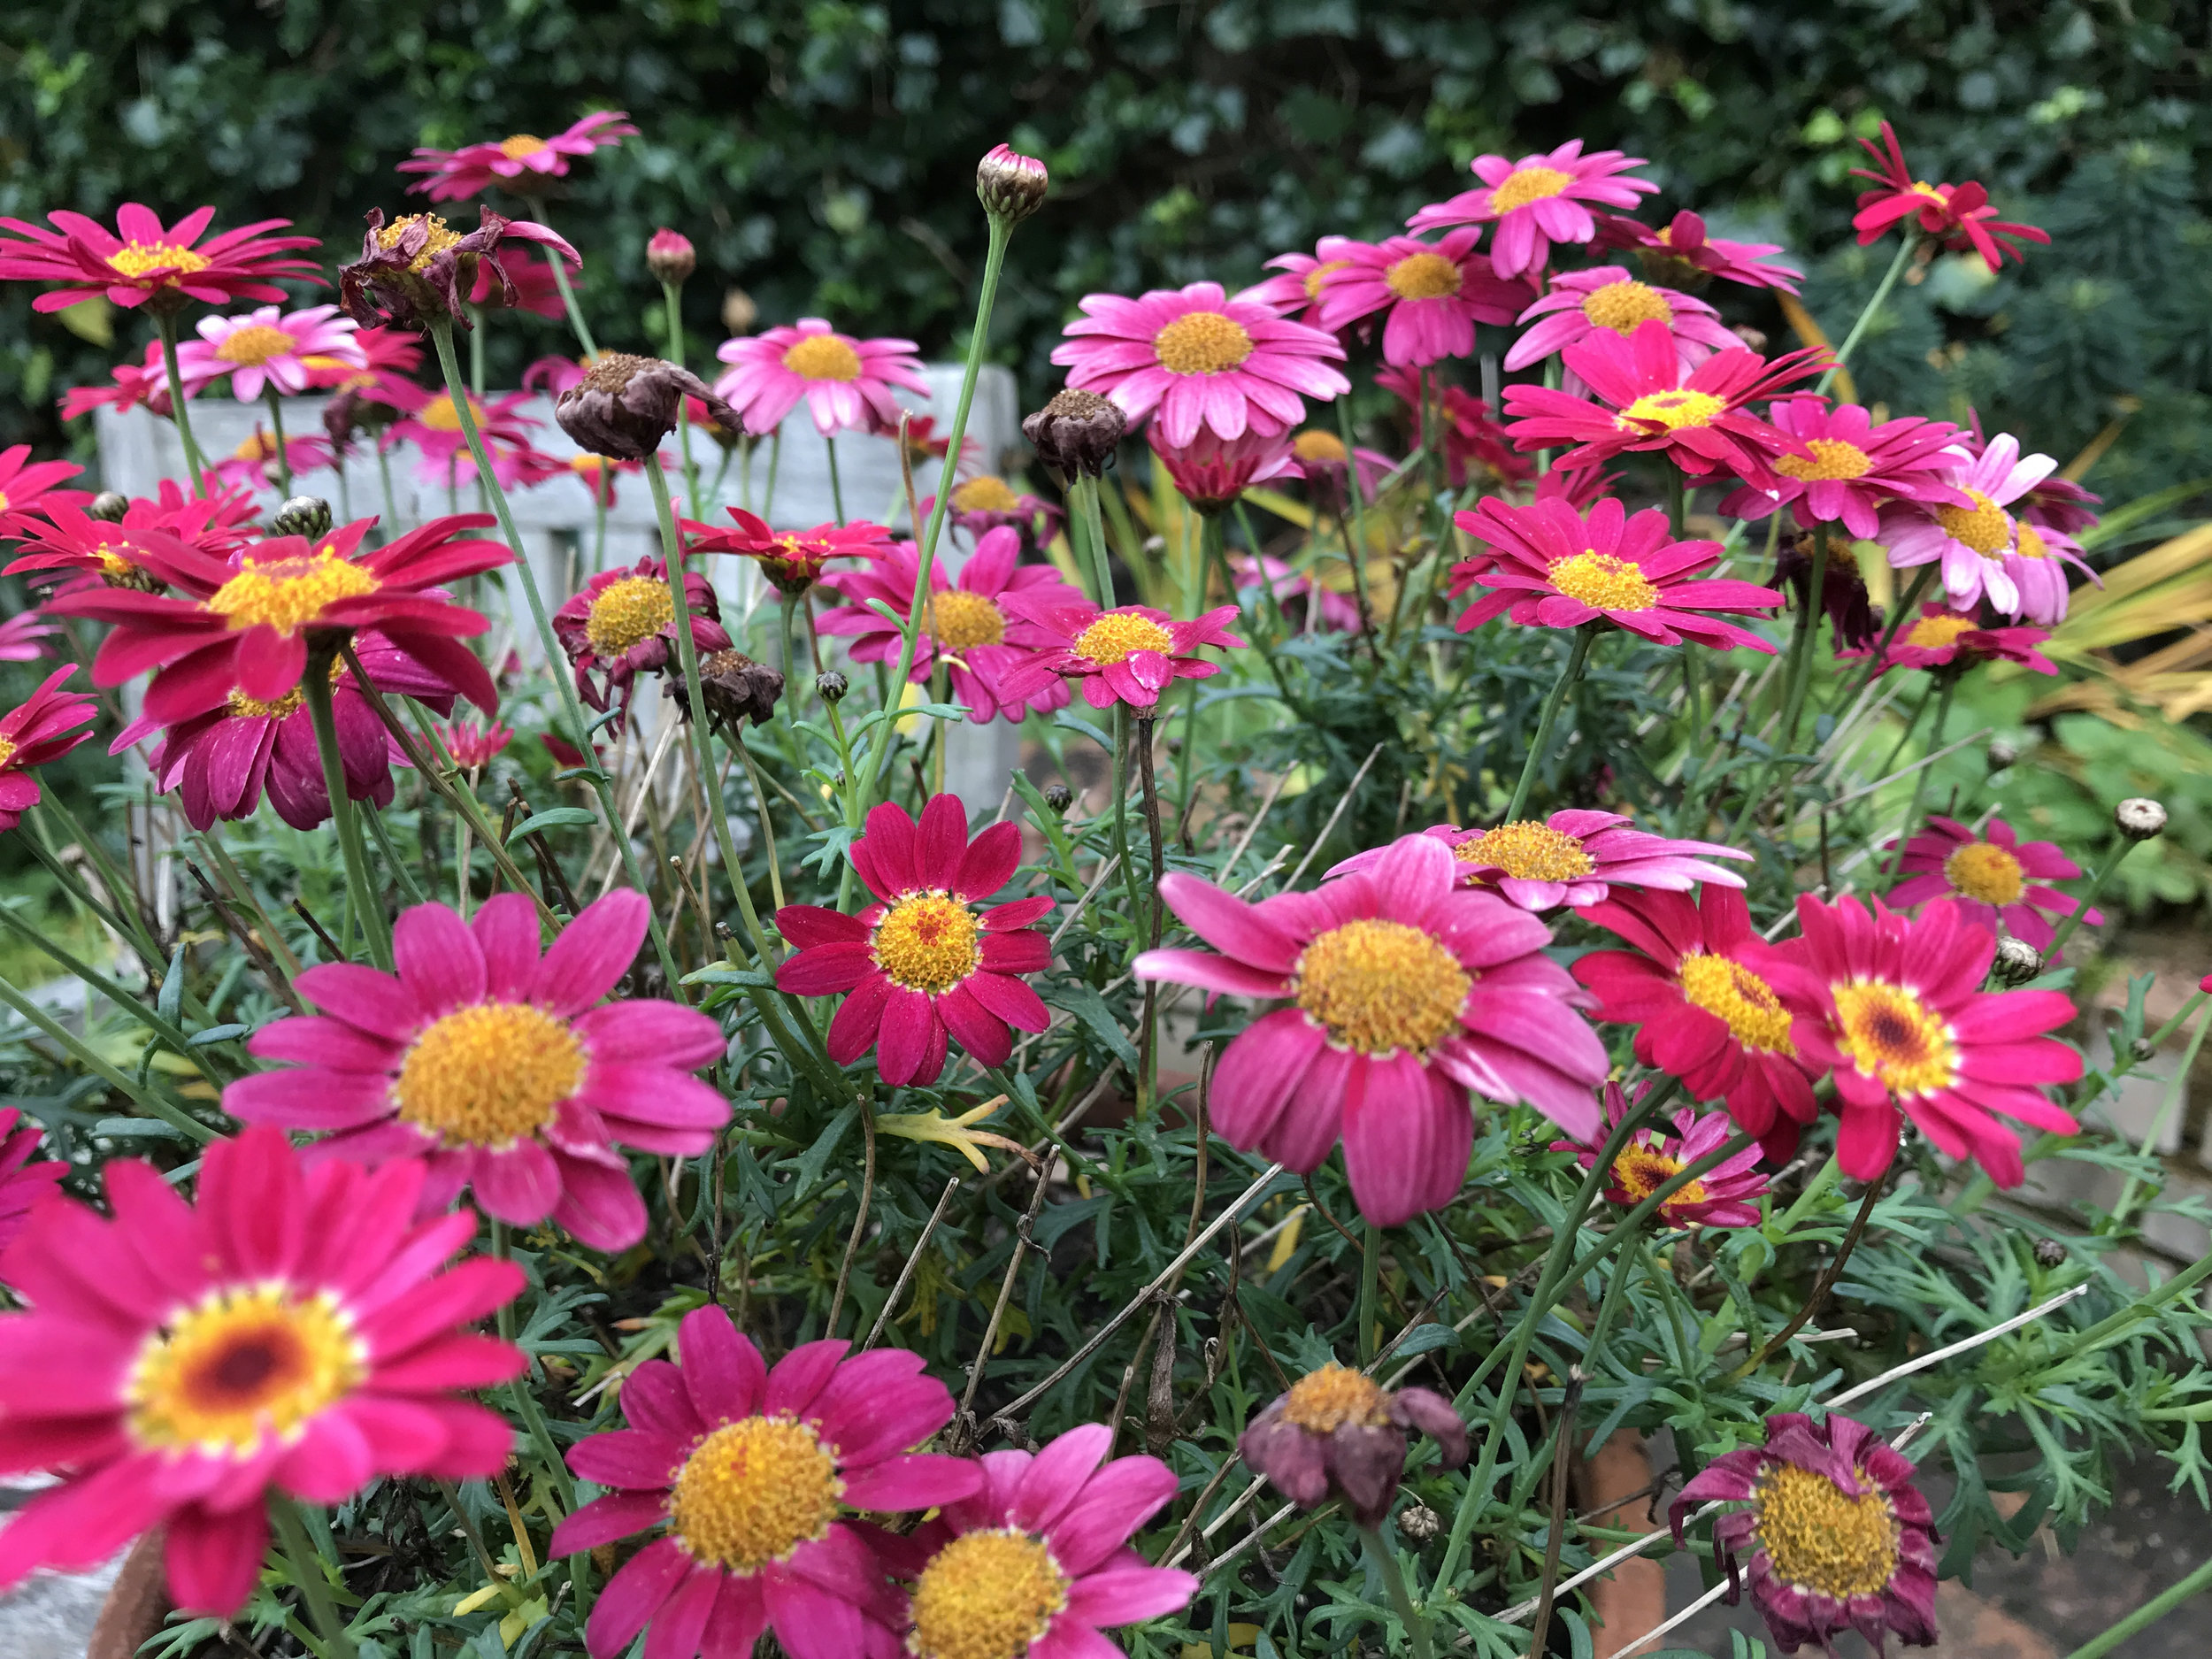
These daisies are the hardest-working container plant in my garden over the summer months. I buy them as plug plants, grow them on and plant them in my big pots once my bulbs have left the building. I water and feed the living daylights out of them, and they reward me with continual flowering until well in to November and beyond. I used to buy them from Sarah Raven but was disappointed by last year’s plants - the colour was so much duller than before. So this year I’m going to get them from Brookside Nursery and I’m changing my colour choice and going for a variety called ‘Halo Pink’ - not just because I love the rather outré colour, but also because they’re selling a tray of 42 plants for £30 and I love the idea of having them EVERYWHERE. The safe option is to go for the gorgeous white one…which is never not charming and gorgeous. Over to you.


That’s it (for now).

x Laetitia

ps if you want a much more personal run-down of all my five minute forays, I write a newsletter every week which drops on a Saturday or Sunday. It’s full of the rather messier, more real, and, let’s face it, rather less pin-worthy stuff that life throws at me, and it’s the thing I enjoy writing most of all. Hit the button below if you want to have a go…and know that you can unsubscribe any time if it’s not for you!

Monstera love

Ubiquitous they may be, but that doesn’t stop them being fabulous; Monstera deliciosa have shed their dusty, corner-of-the-room triffid image and are now elevated to superstar status. Basically, if you haven’t got one, then who actually ARE you?

Here’s a little vid that I did with the RHS explaining how to care for them, and if you’re thinking of getting one, I would urge you to go for something small and let it grow, rather than haemorrhaging money on a great big beast. Buying a small plant means that if you DO make a mistake and lose it, all is not lost, and if you don’t then it will actually grow better, because it has been acclimatised to your space from babyhood.

Let me know if you think I’ve missed anything out here - care tips that work for you.

x Laetitia