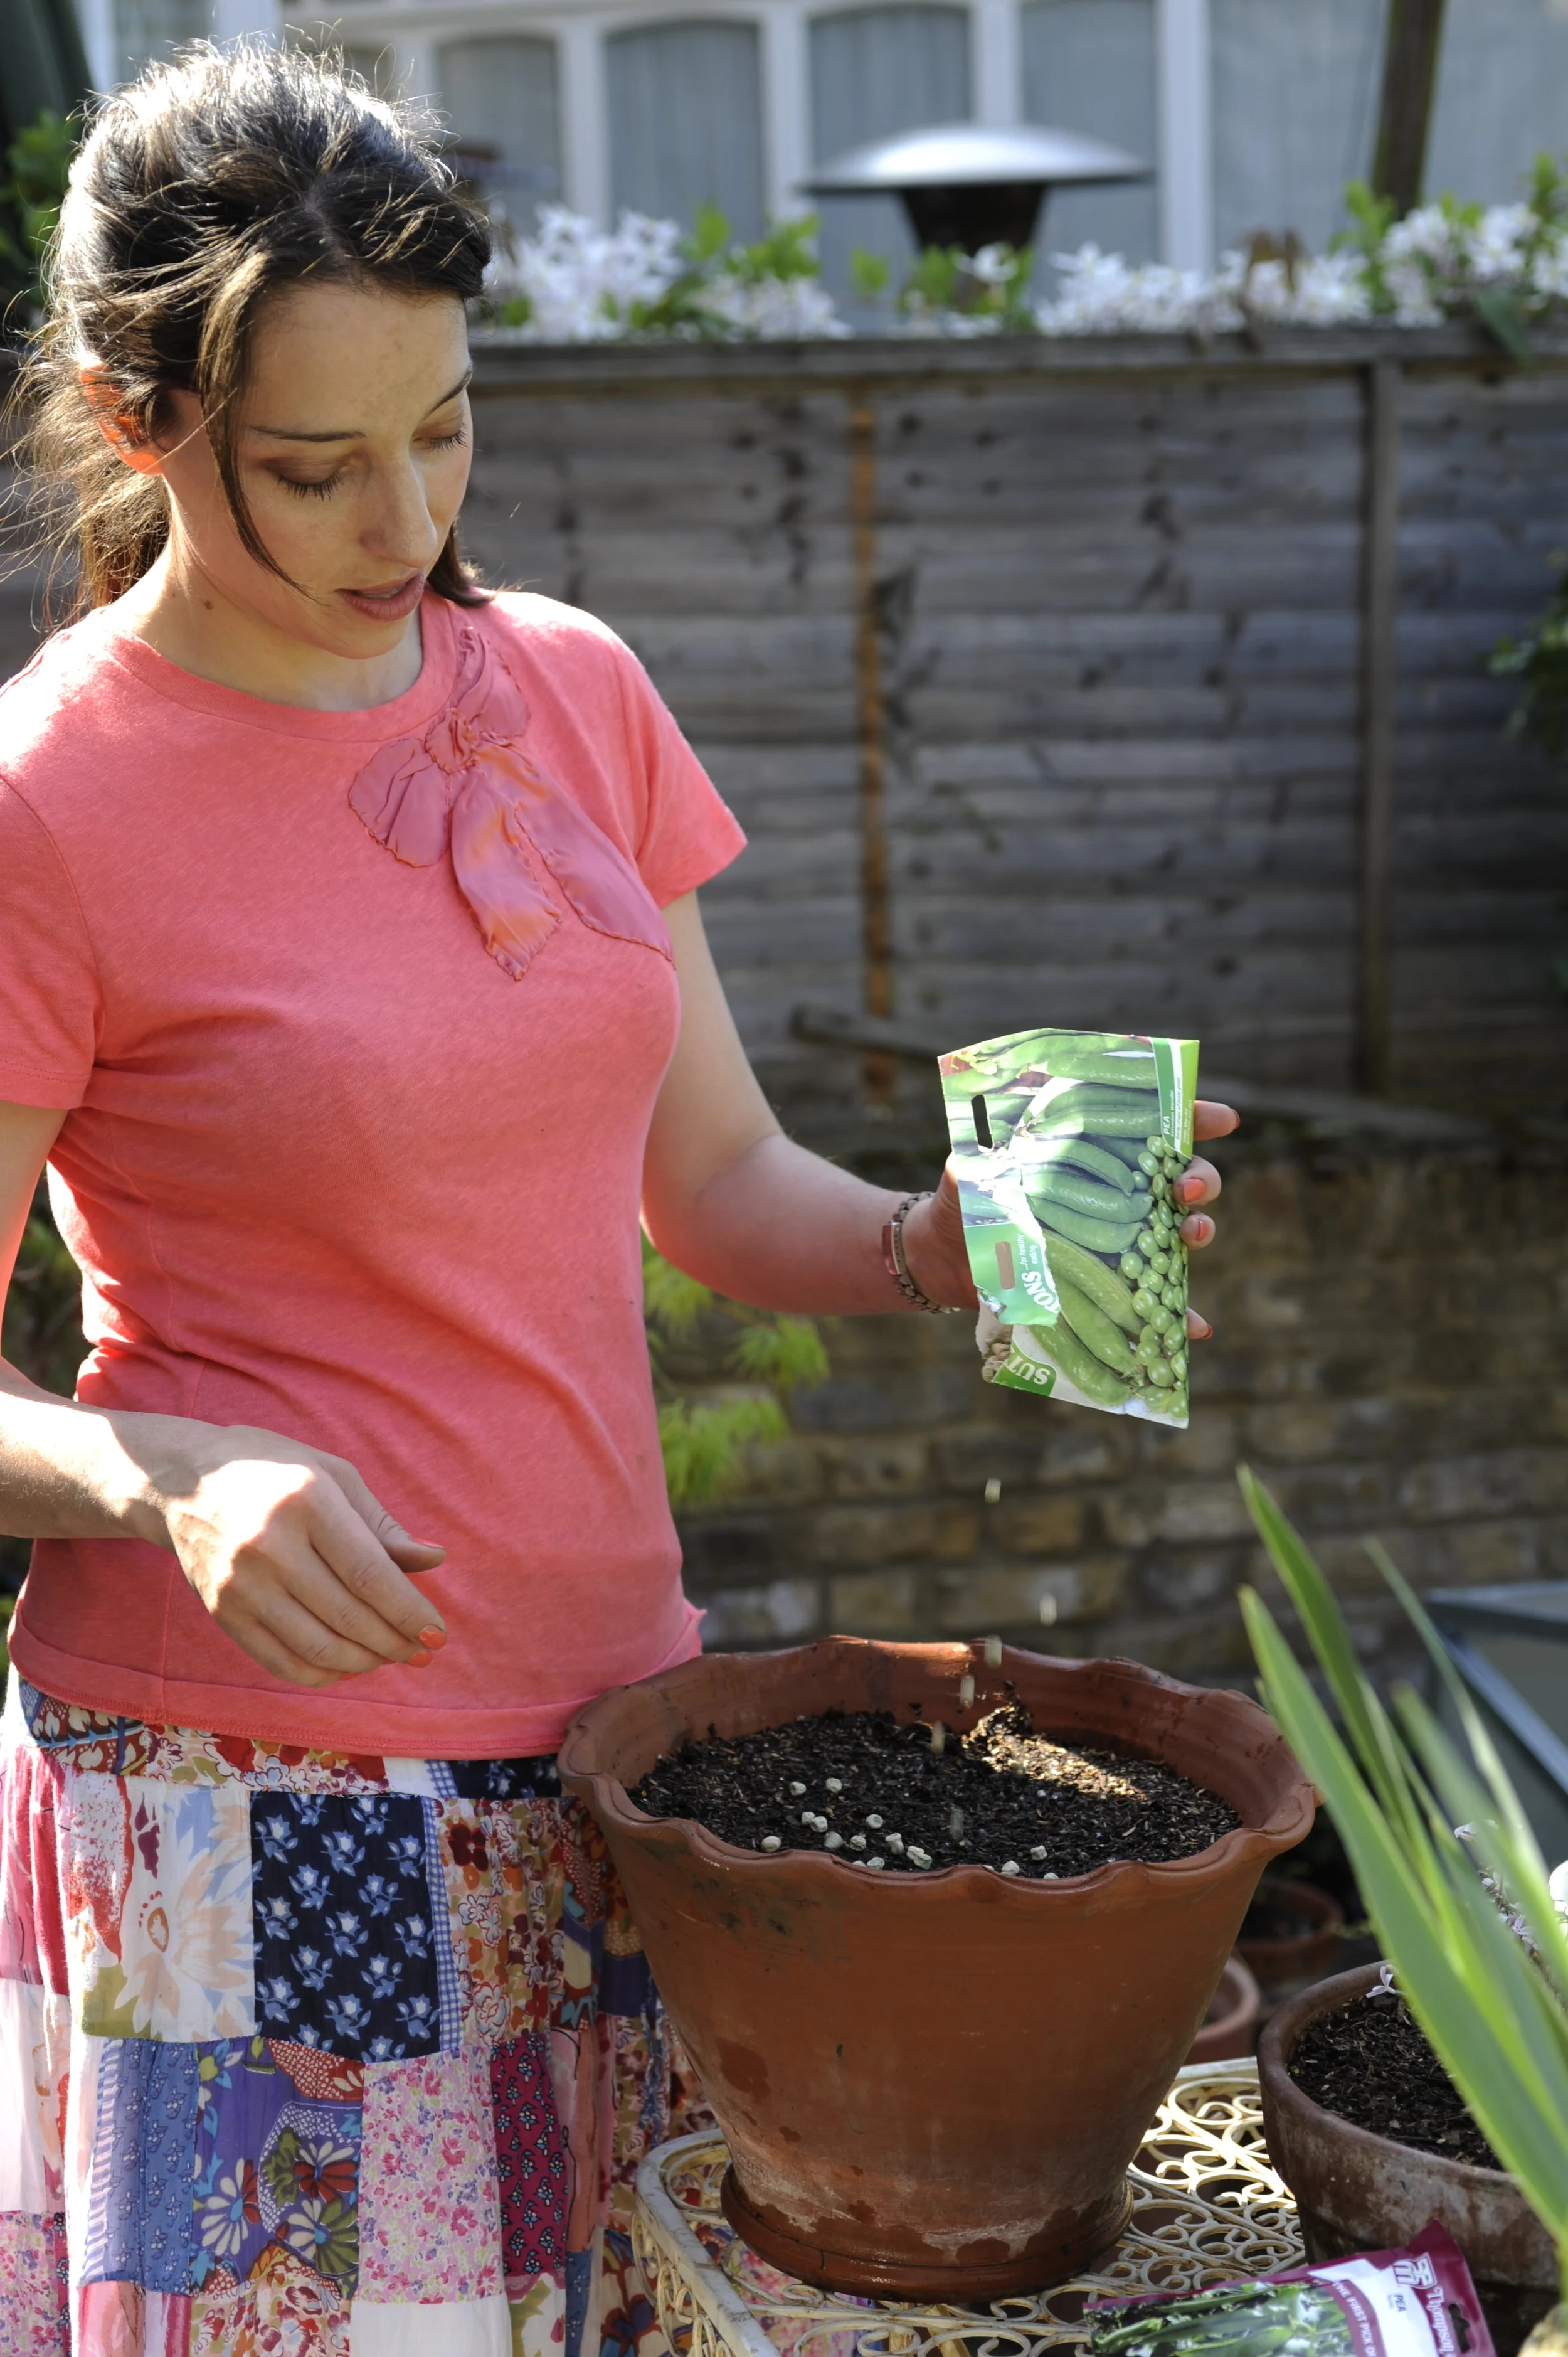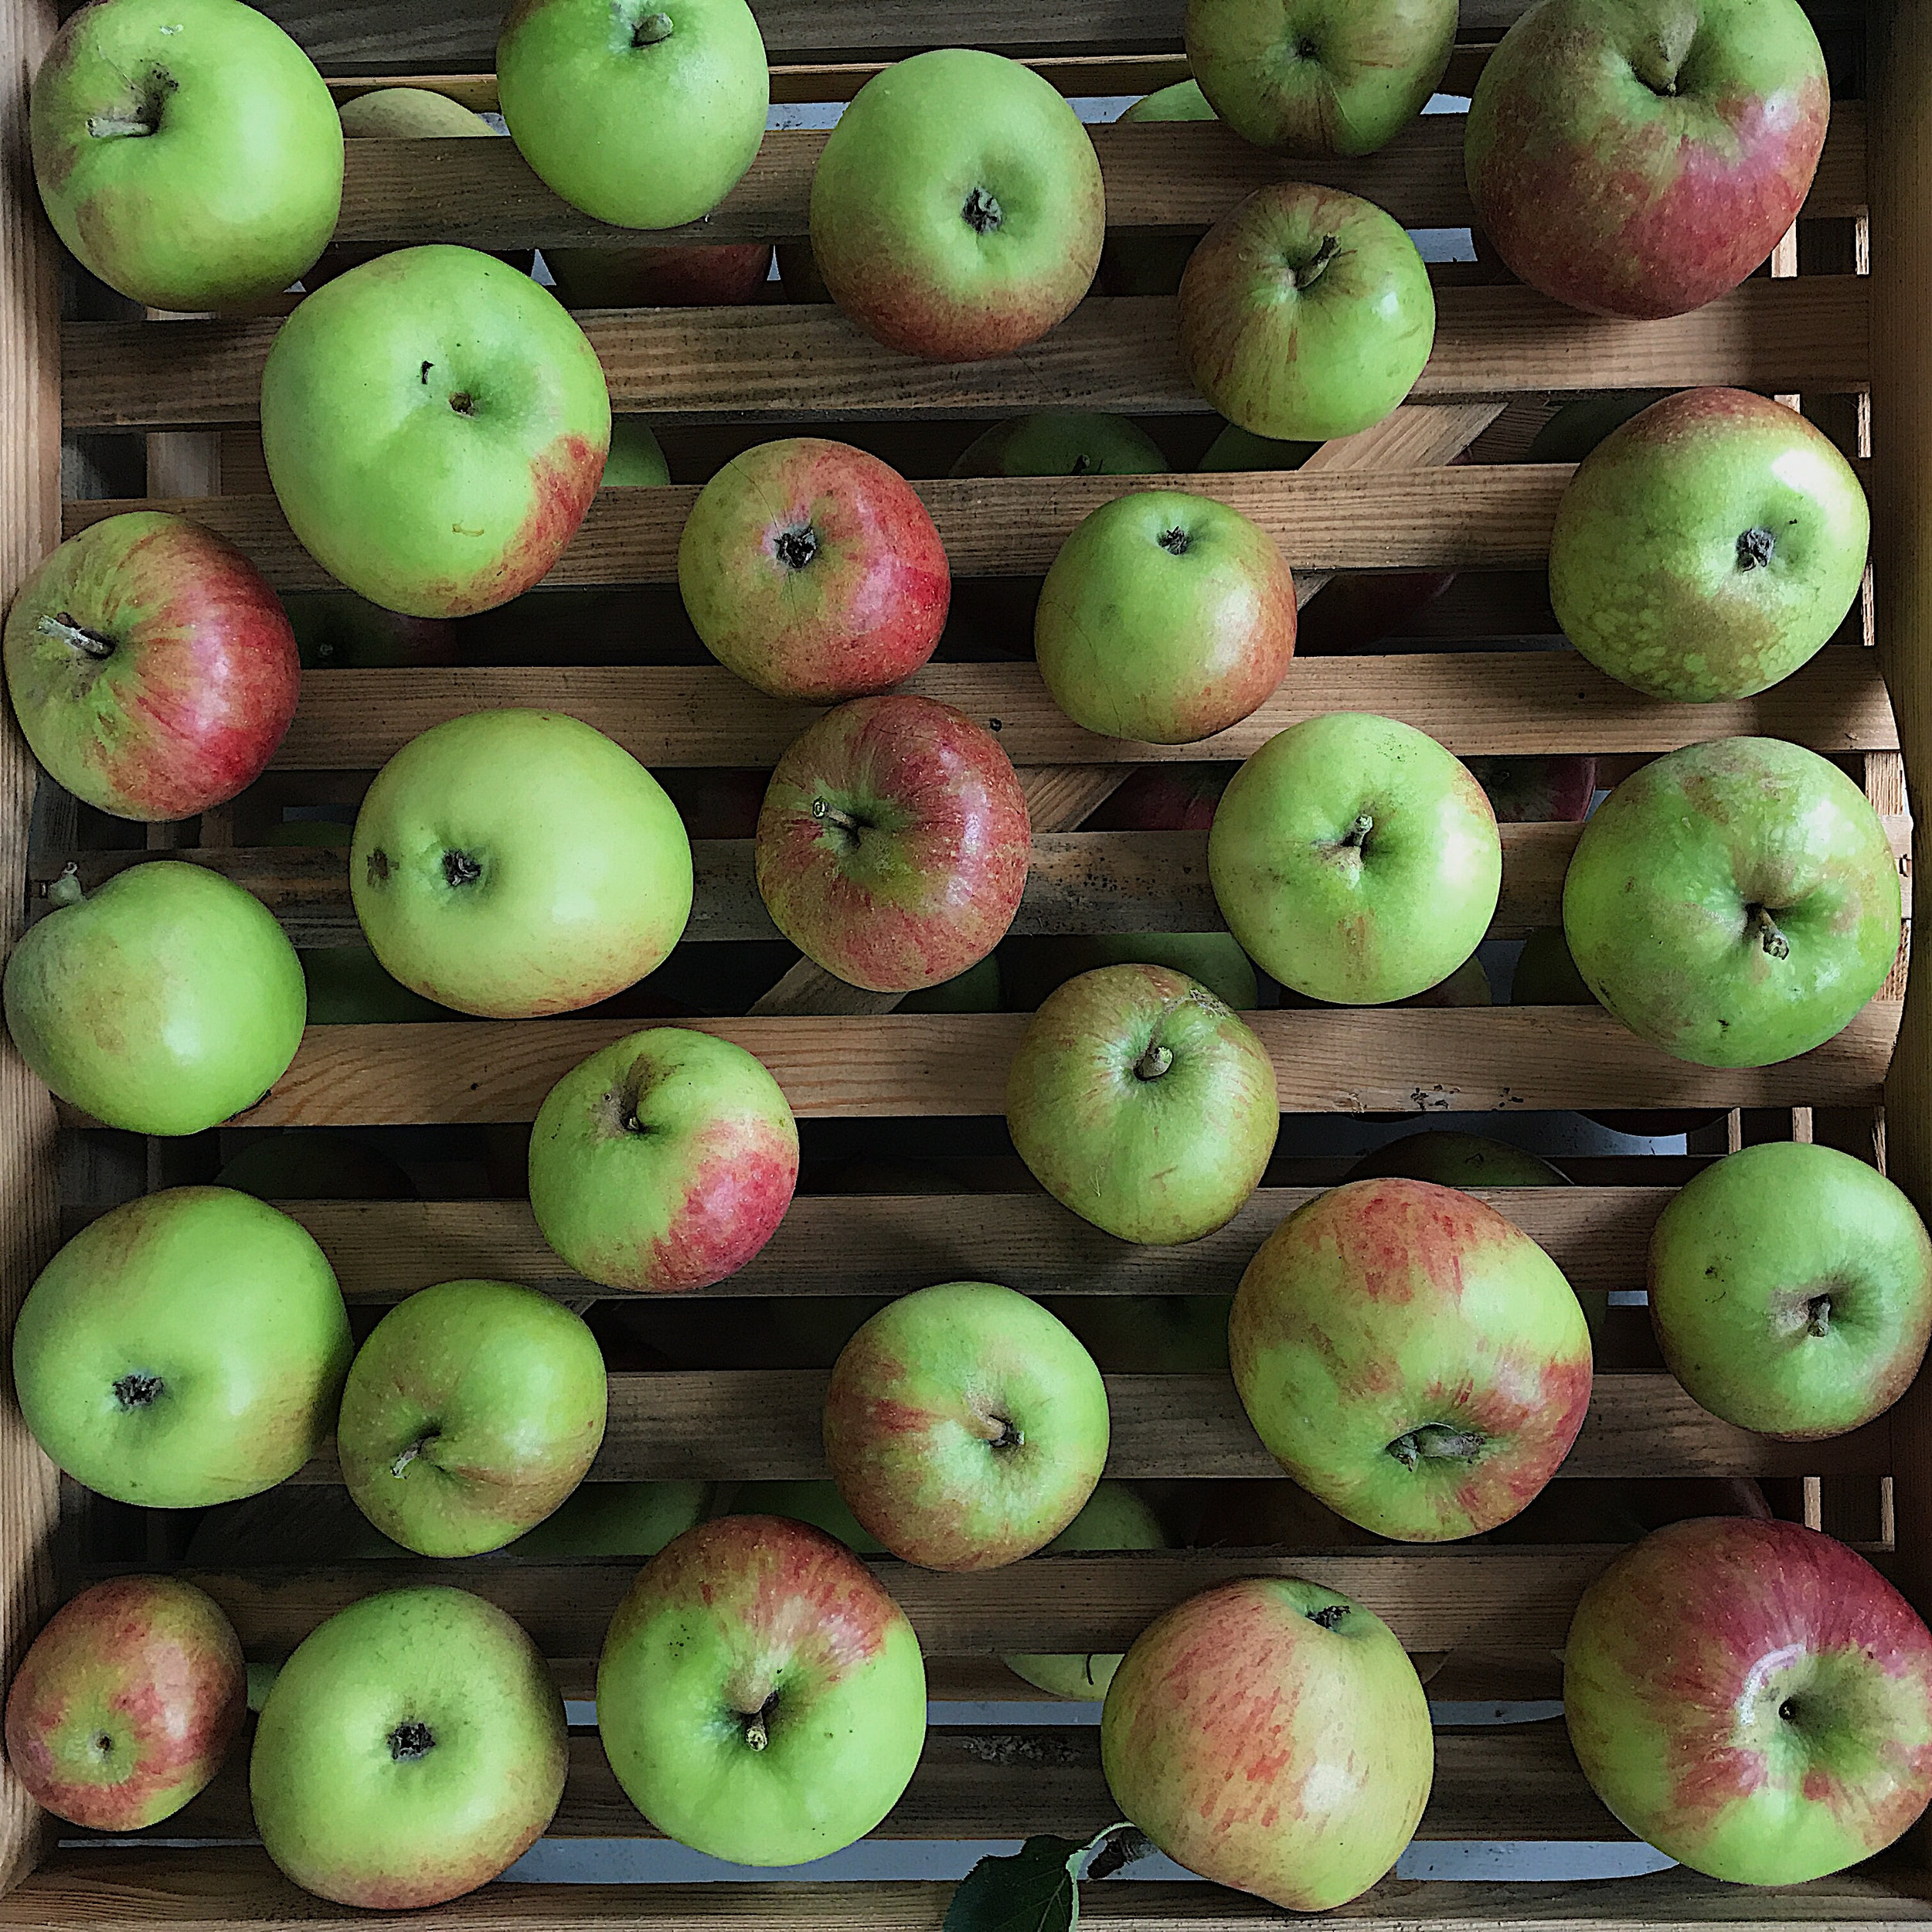
If you like gardening, then you’ll probably enjoy sowing seeds, taking cuttings or tending to plants that need a little shelter over the winter, and a cold frame is indispensable for these. It is, in essence, a mini-greenhouse, at a fraction of the price; a worthy investment for anyone who loves plants.
If you’re good at diy you can make a simple cold frame very easily with a few bits of wood and an old window frame, (and this ‘How to make a simple cold frame’ video while pretty dry, is nevertheless exhaustive if you’re up for the challenge) but for most of us who aren’t, there are a host of bought options to suit all budgets, from the flat-pack polycarbonate versions, such as the Terra FSC fir cold frame(£16.99 from Greenfingers.com) to the Simplicity Toughened Glass Mini Greenhouse (£205 from Amazon).
If you’re really not sure whether you love growing from seed yet, then sure, splash £16.99 but this really is one of those products where going for a cheap deal is a false economy, and my preference, if budget is tight, would be to use an ordinary clear plastic storage box (probably already in your home). The only difference of course, is that this is a box, rather than an open-bottomed construction, so extra care must be taken to keep things cool and airflow high. Group your seedlings or plants to one side, and place the lid so that it protects them from rain, leaving the rest open to the elements. This is how I did the cold frame thing for years until I finally decided it was time to invest in something ‘proper’.

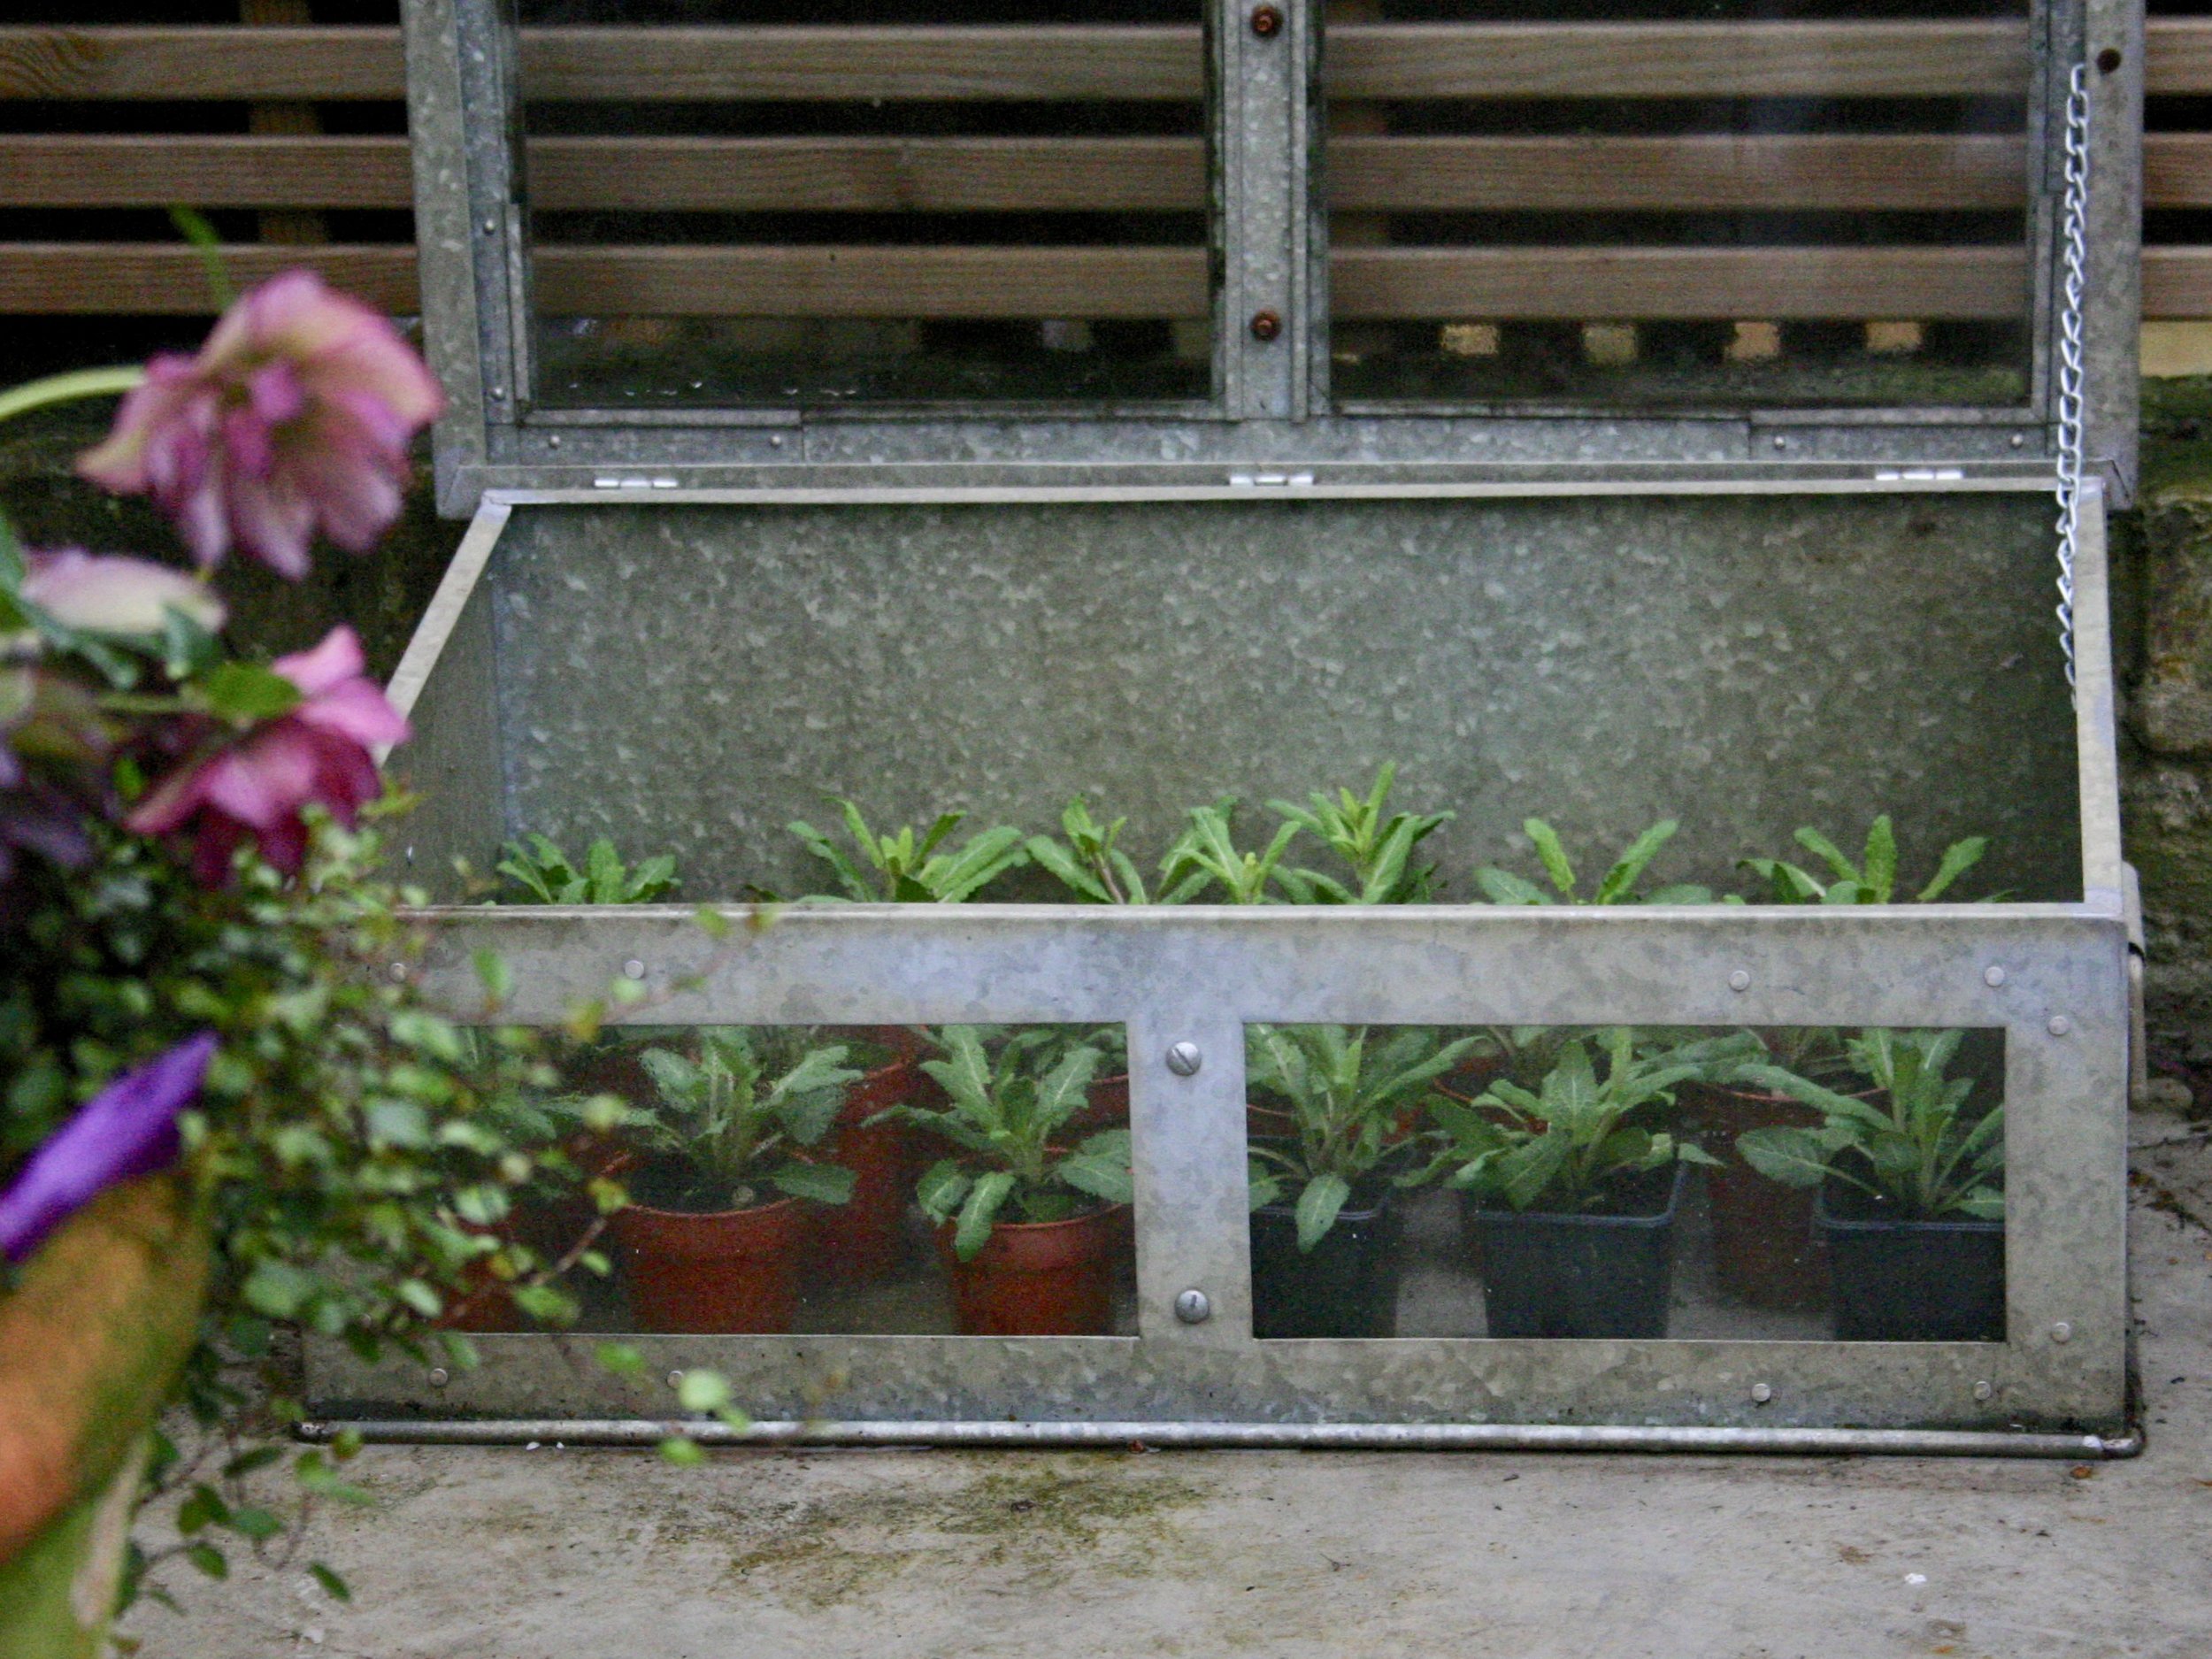
Friends, I have looked and looked, and I cannot find any cold frames like mine, which I got many years ago as a birthday present. I believe they were from Crocus.co.uk but there’s nothing like them there now. I love these frames as they are so light-weight. I have two of them and when not in use I can stack them inside one another to save space. Crucially though, they are made from metal and glass. Metal doesn’t rot, and glass is just plain nicer and longer lasting than plastic, so if I were shopping for a cold frame today, I’d probably go for this one: Access Long Glass Garden Cloche £109. It’s more of a mini-greenhouse than a traditional cold frame in that its roof is double-pitched. This makes zero difference and means that the thing can be accessed from both sides.

x Laetitia