Whilst I’m in no way a slavish devotee of Marie Kondo and her principles (I read her first book with the uncomfortable feeling that she was mentally ill, what with the whole talking to your handbag thing, oh, and I have three children for heaven’s sake) I have been slowly but surely tackling forty plus years’ worth of stuff, using her recommendations, and for the first time in my life, I feel like there is a chance I may get my house in order before I actually die.
Here’s my adaptation of the Kon Mari method, for my garden
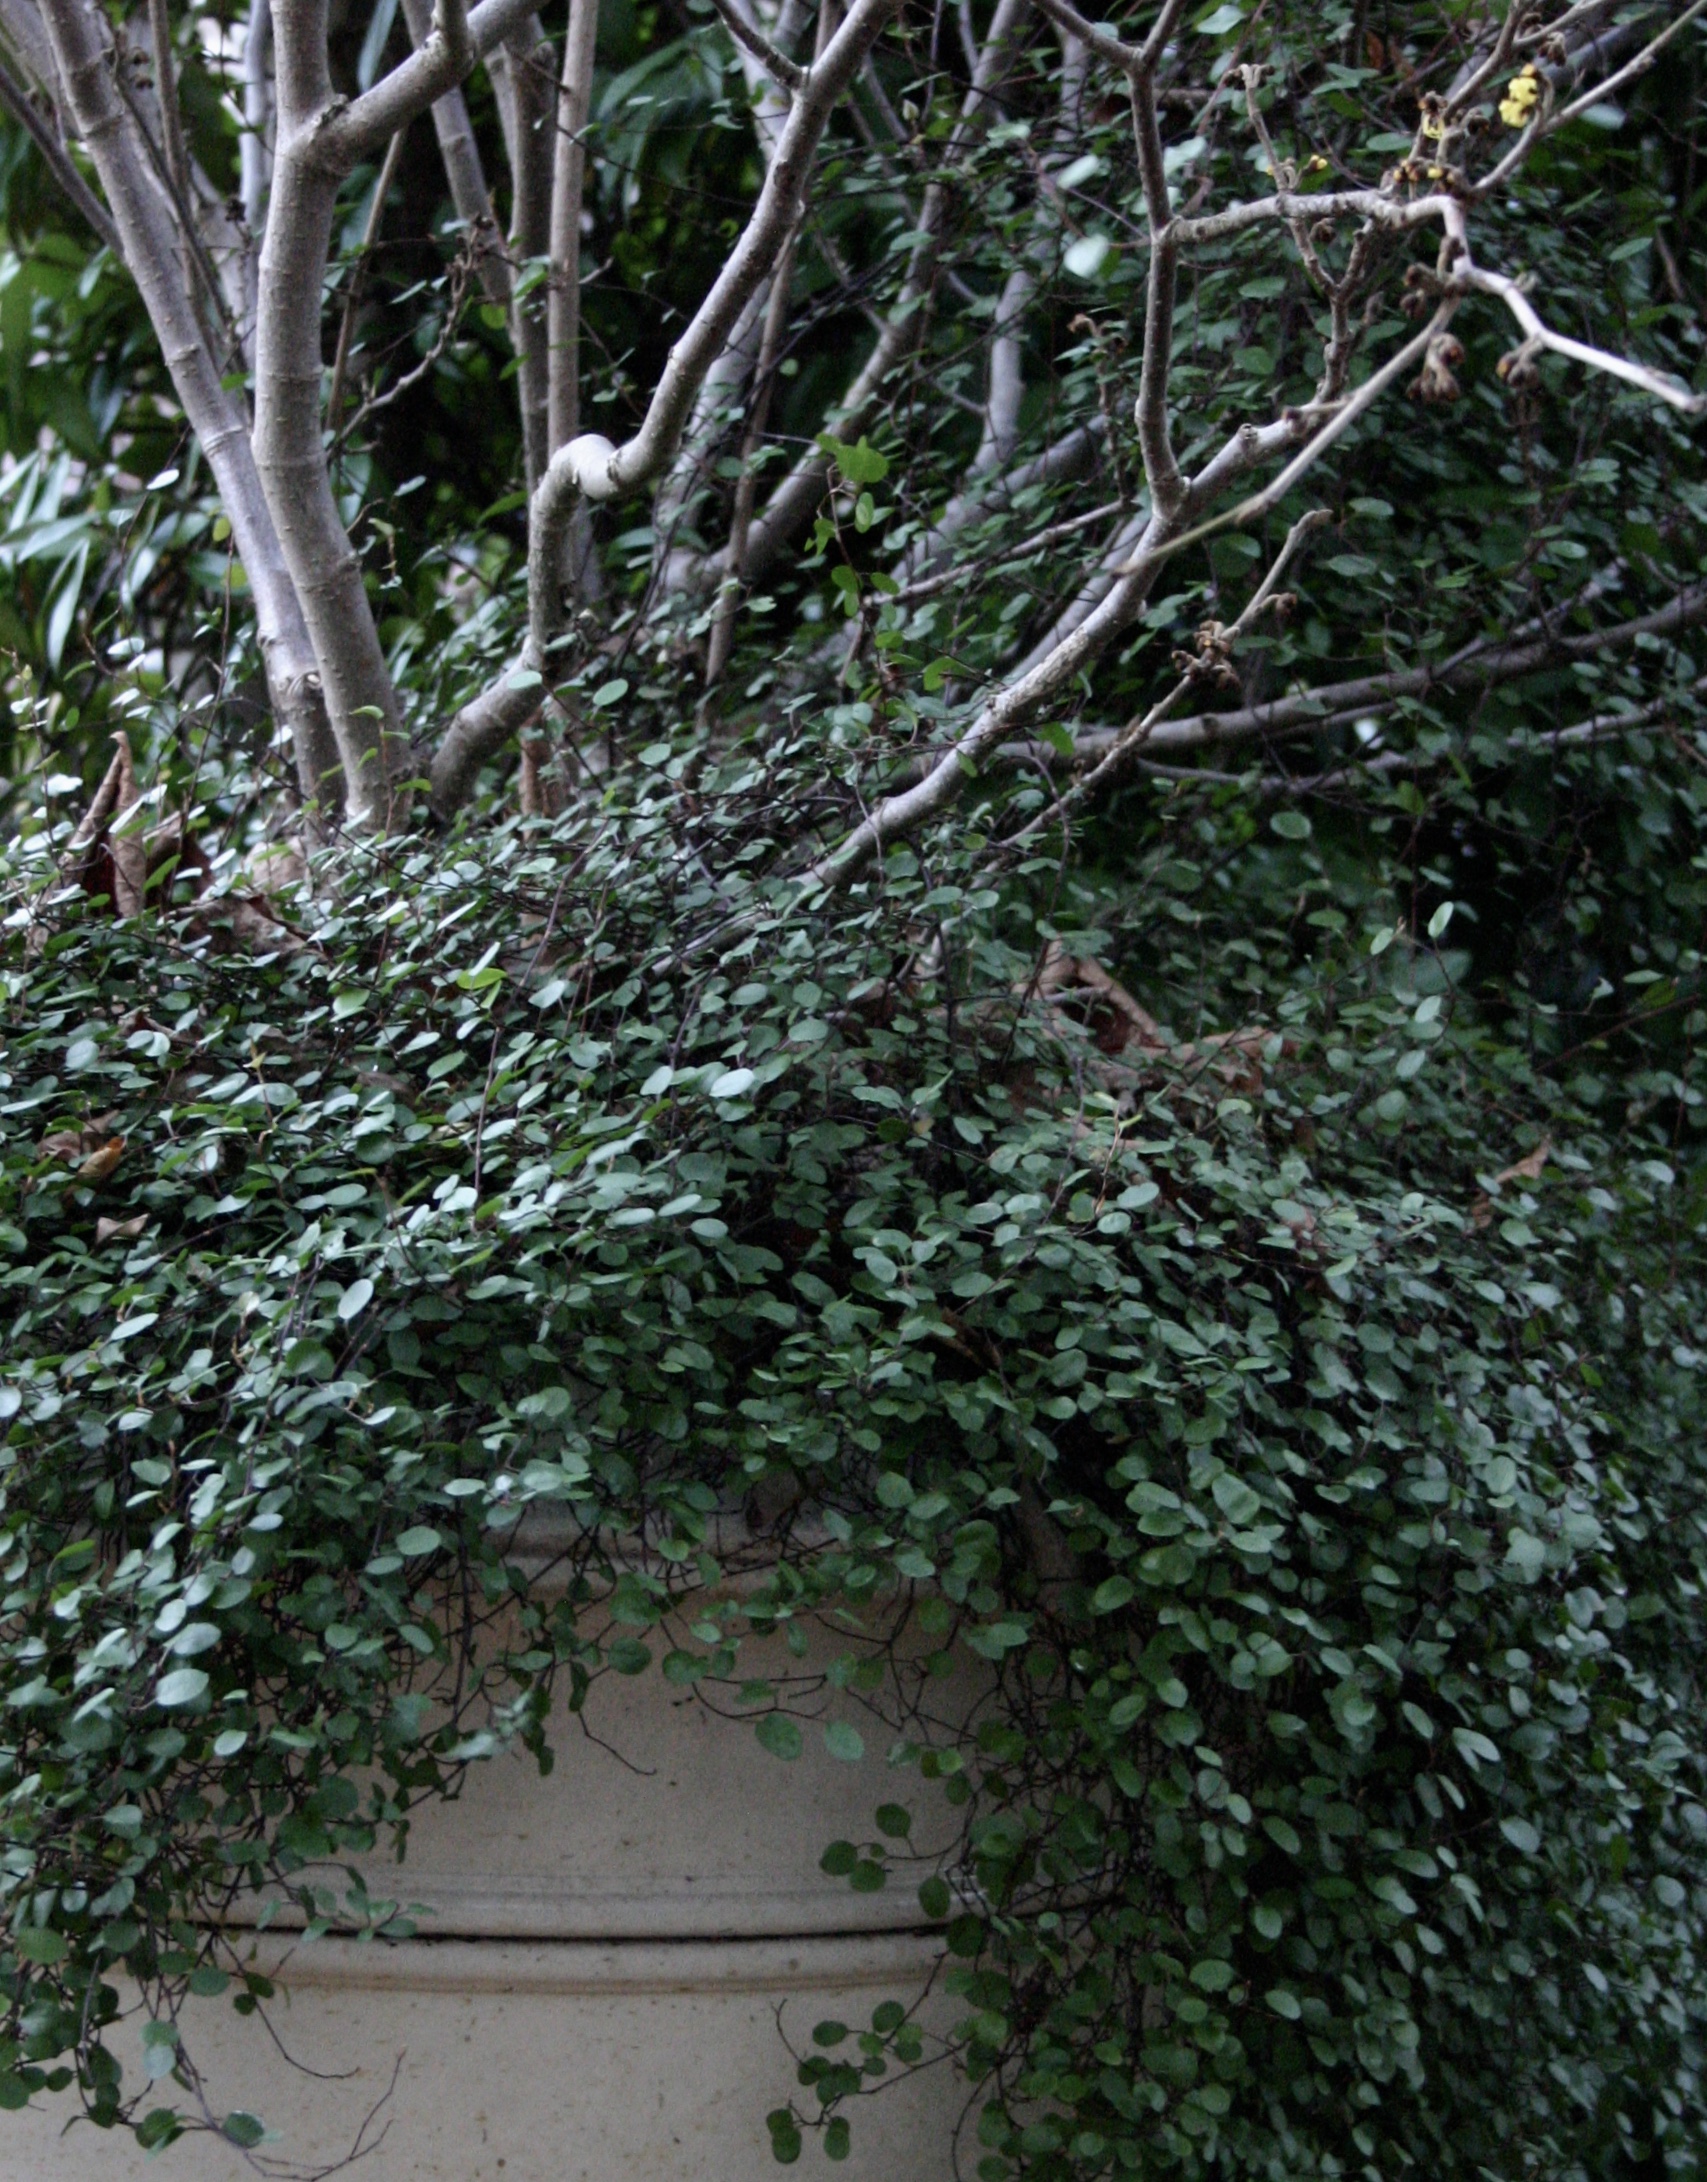
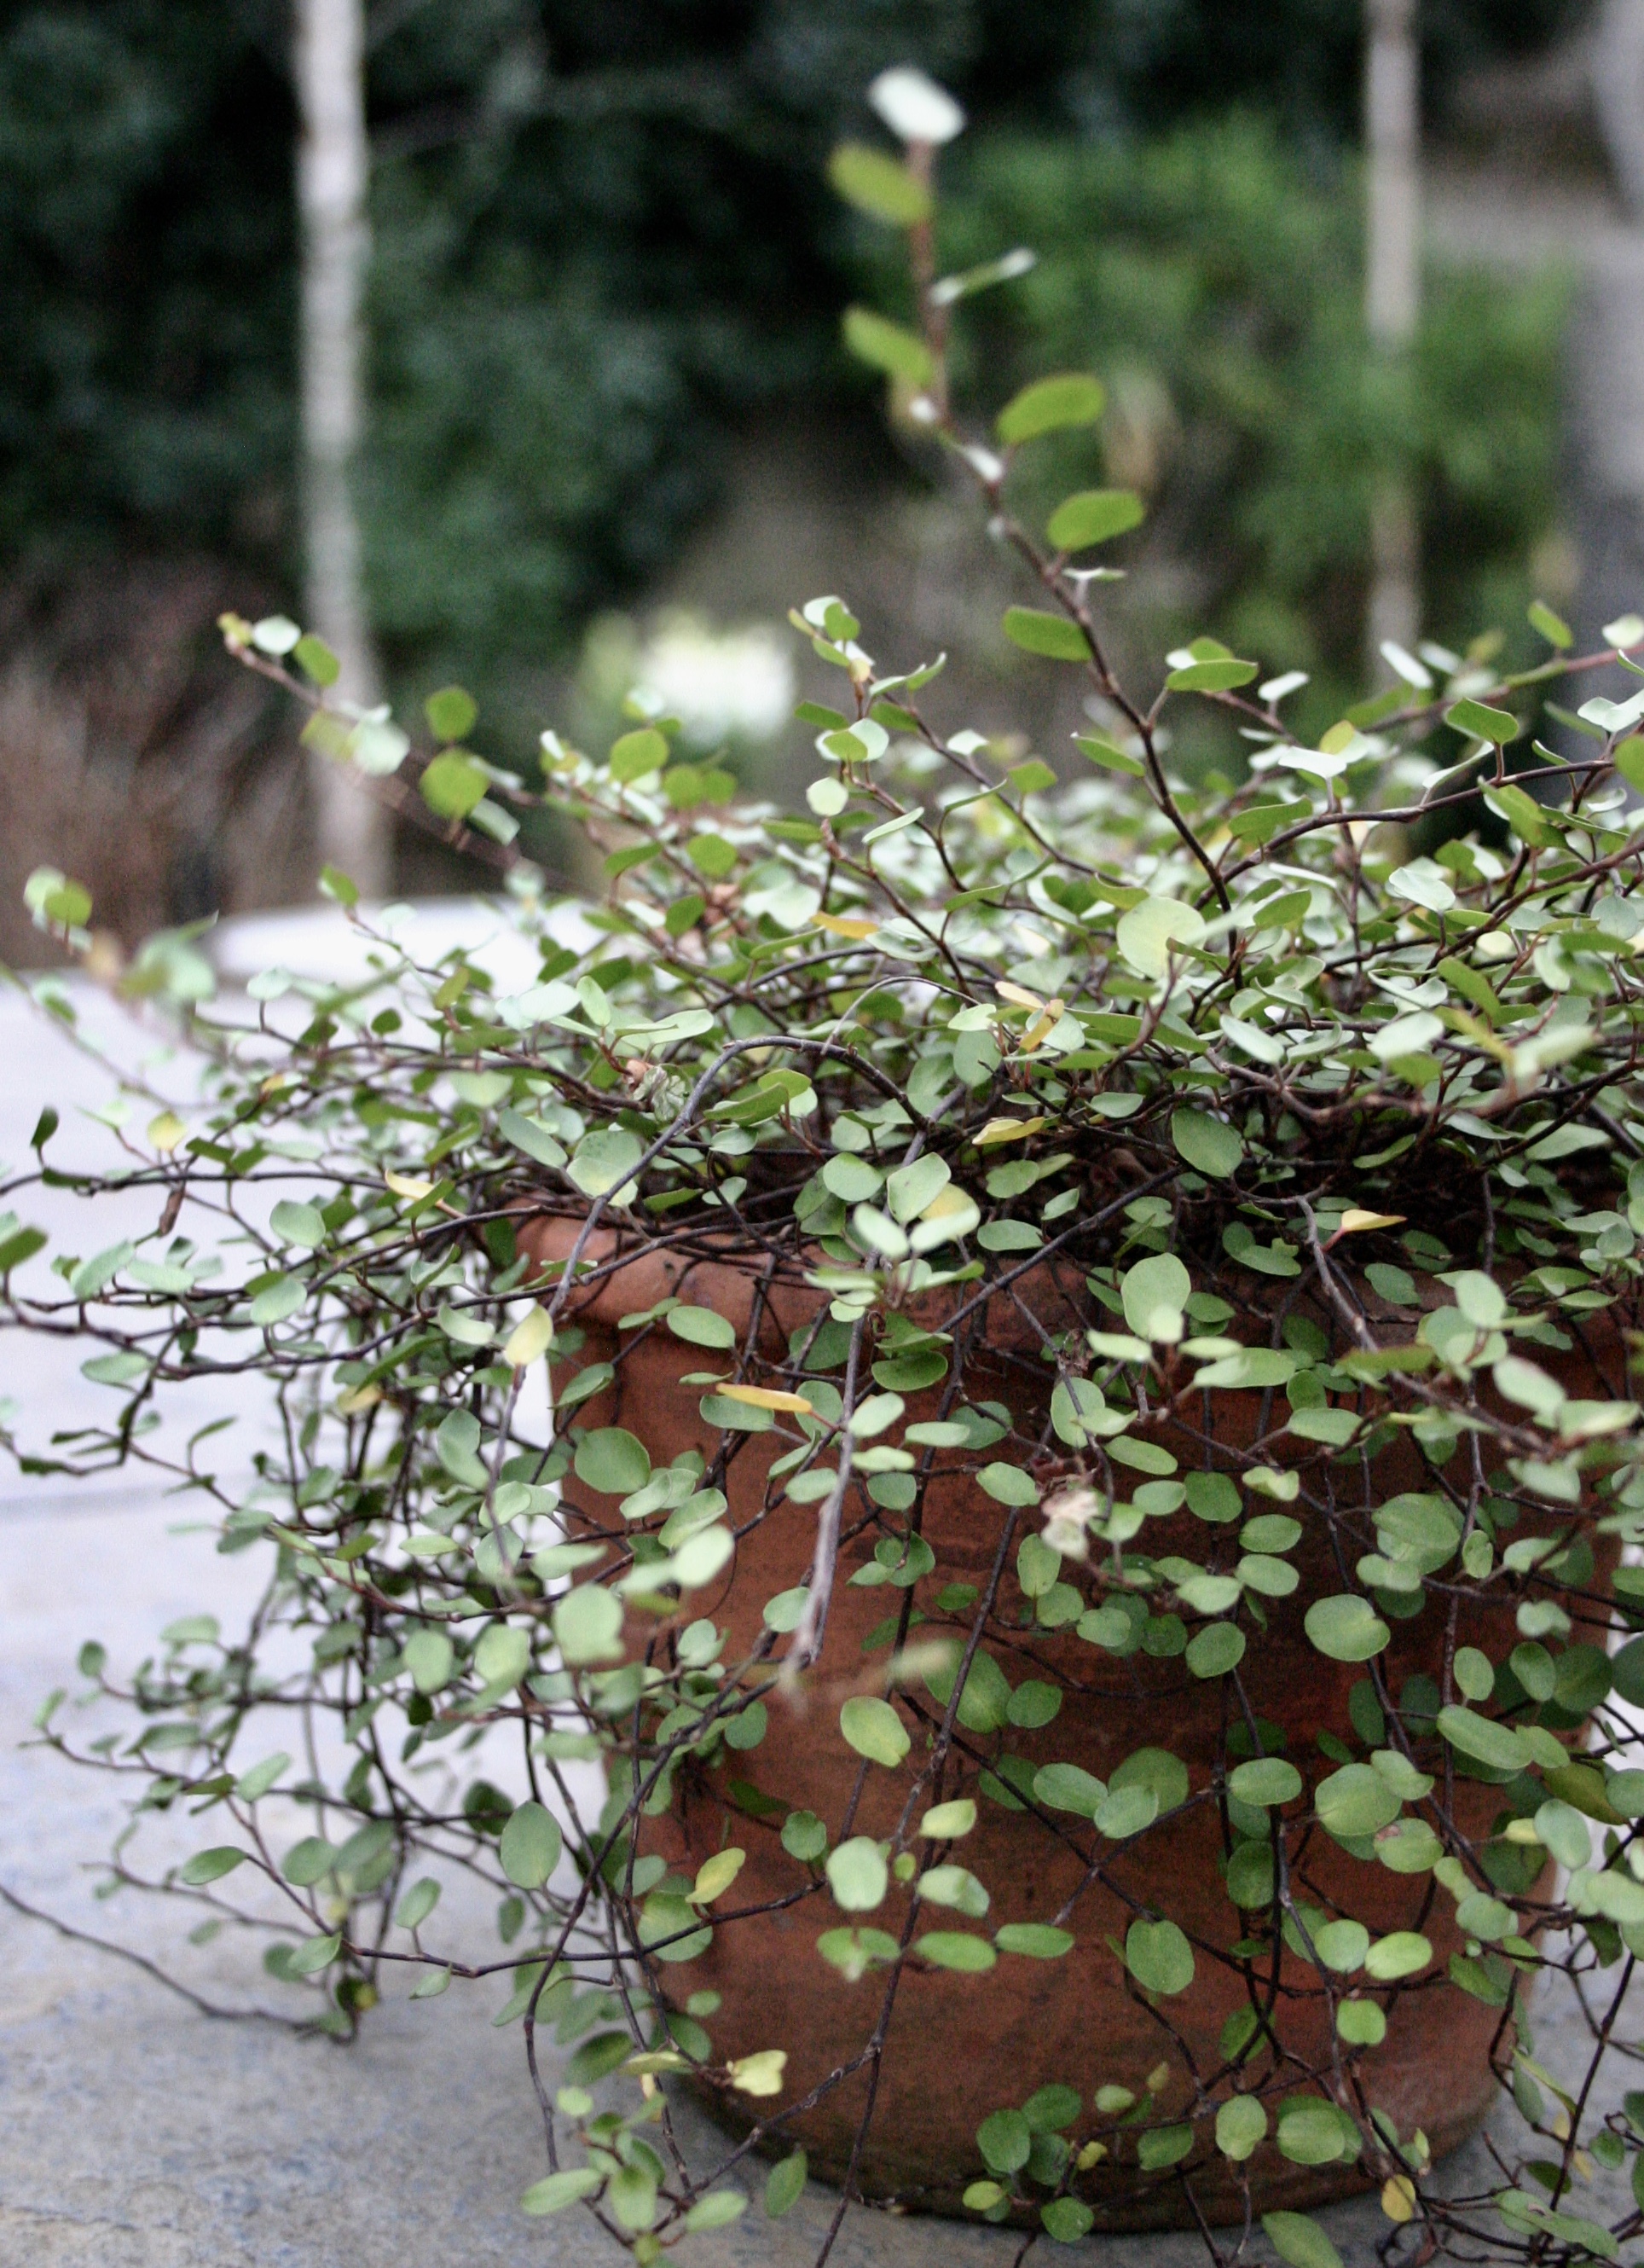
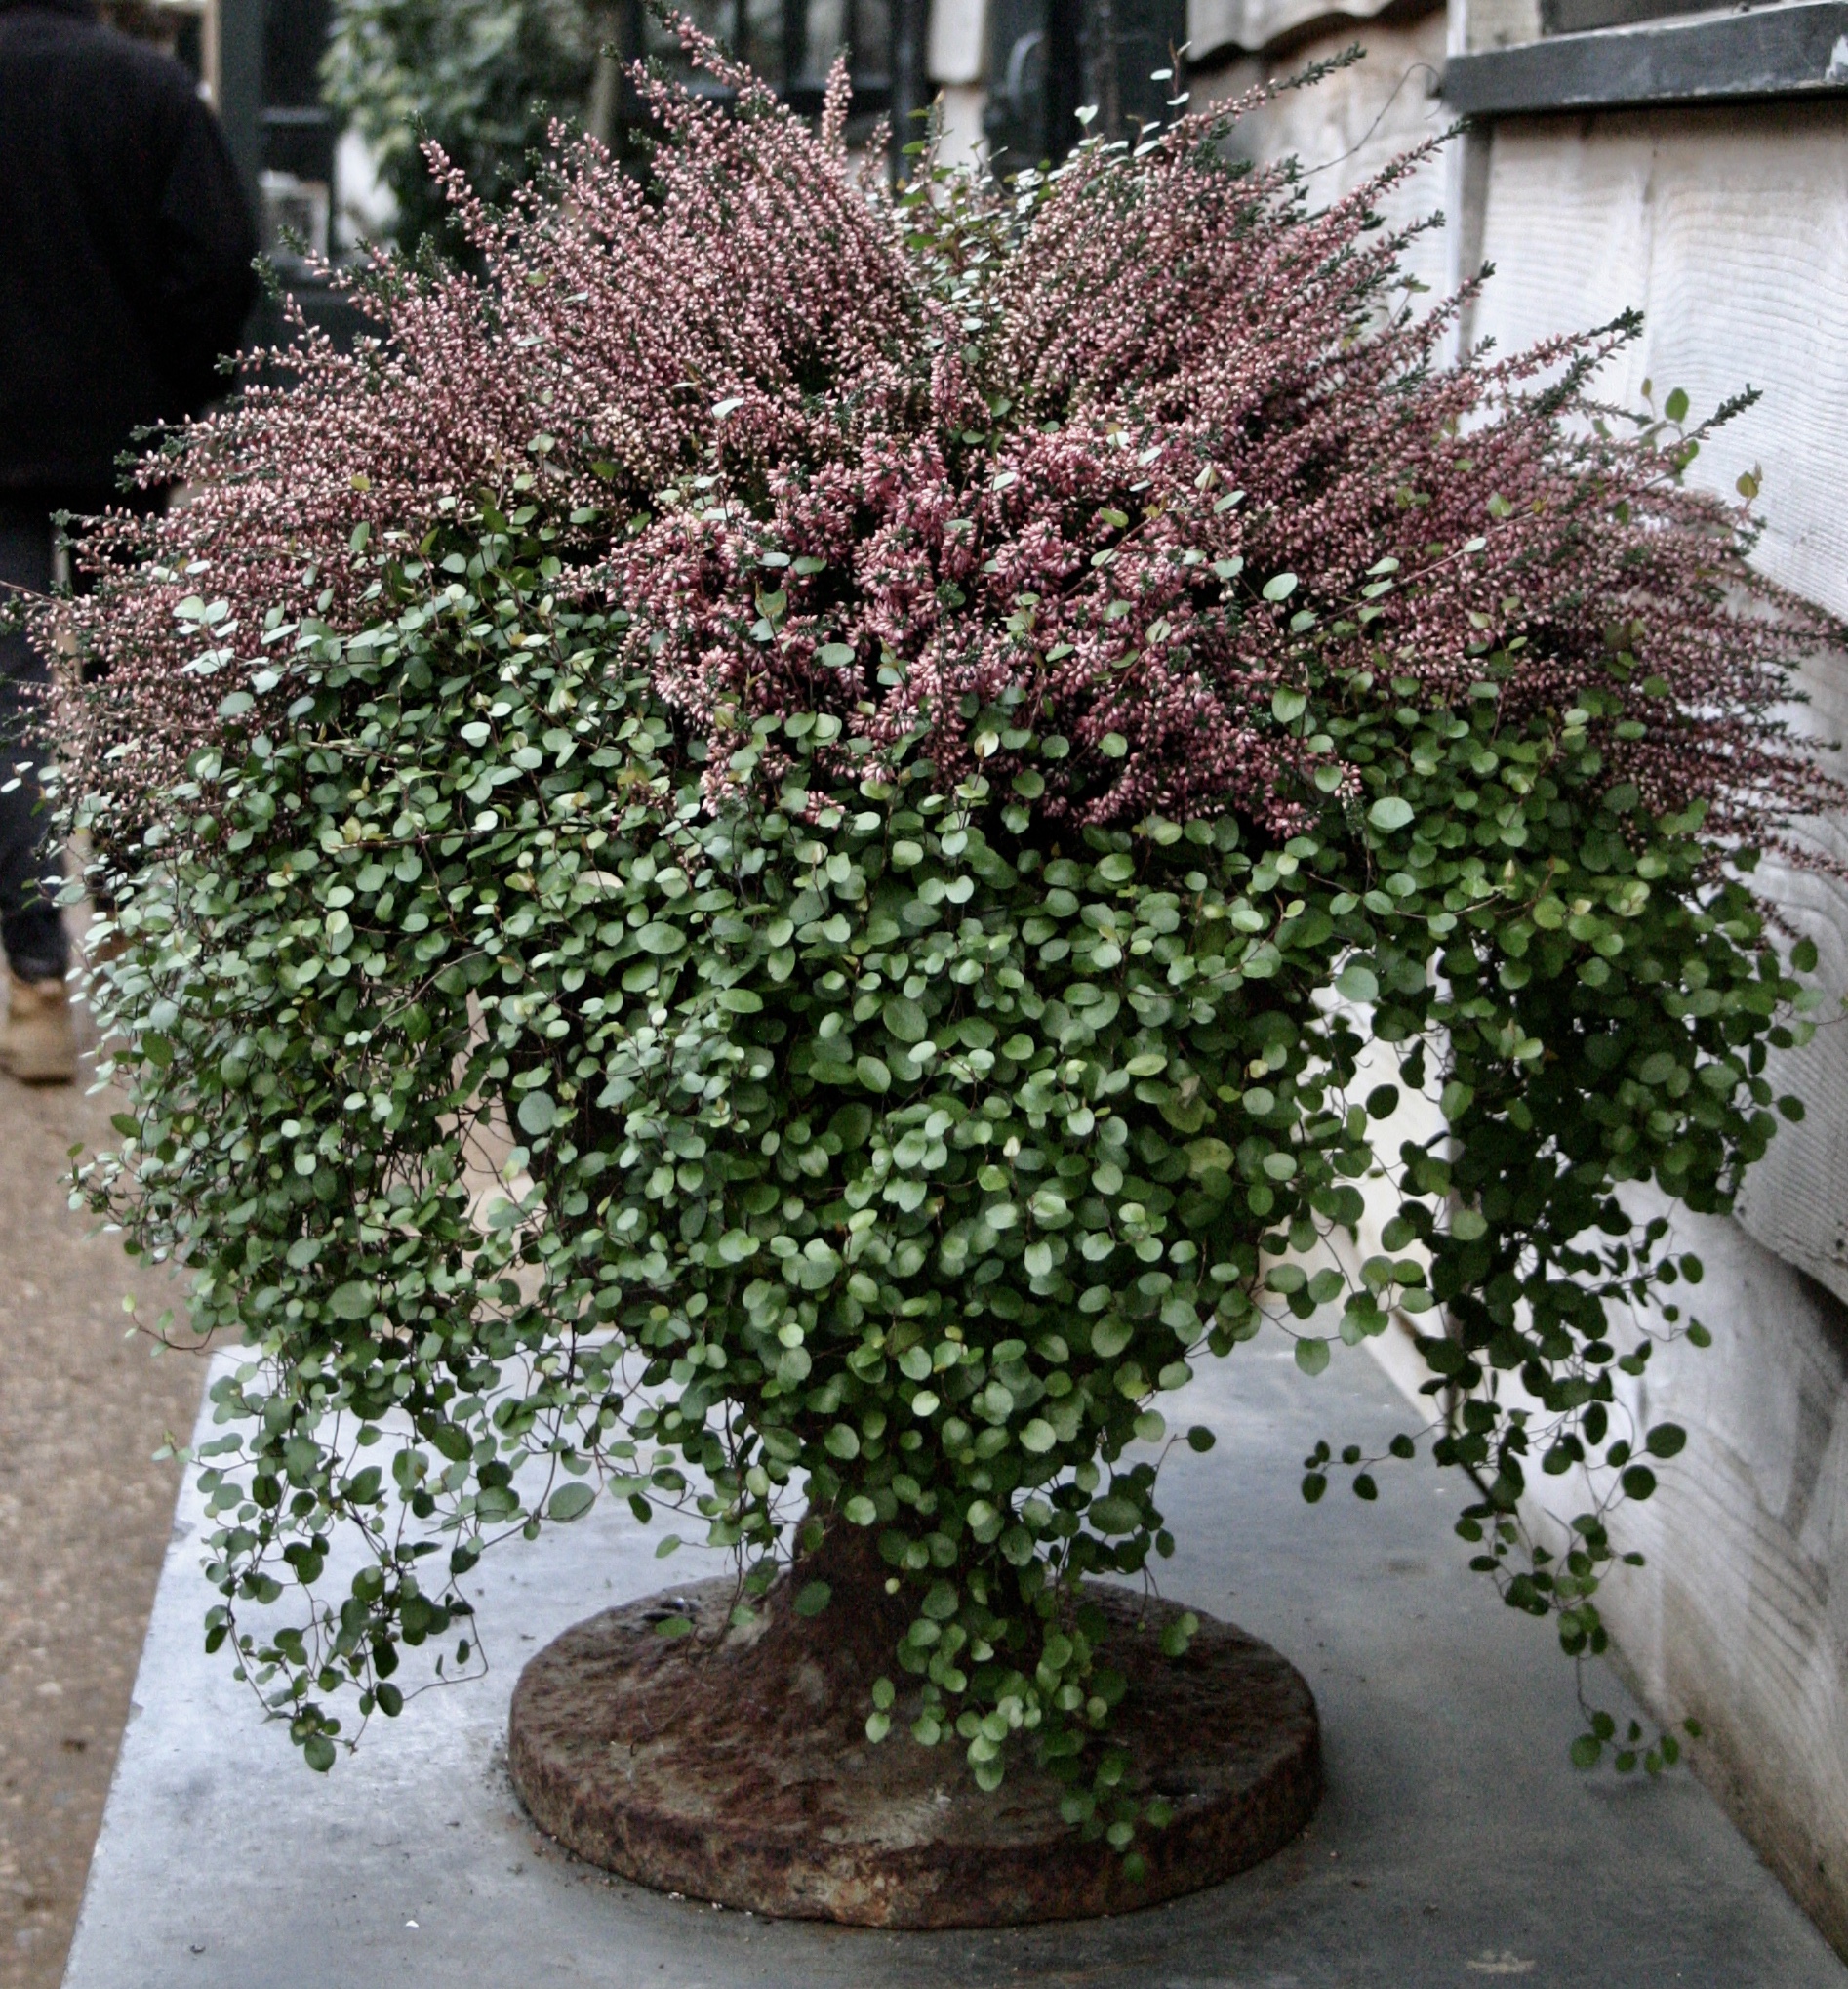
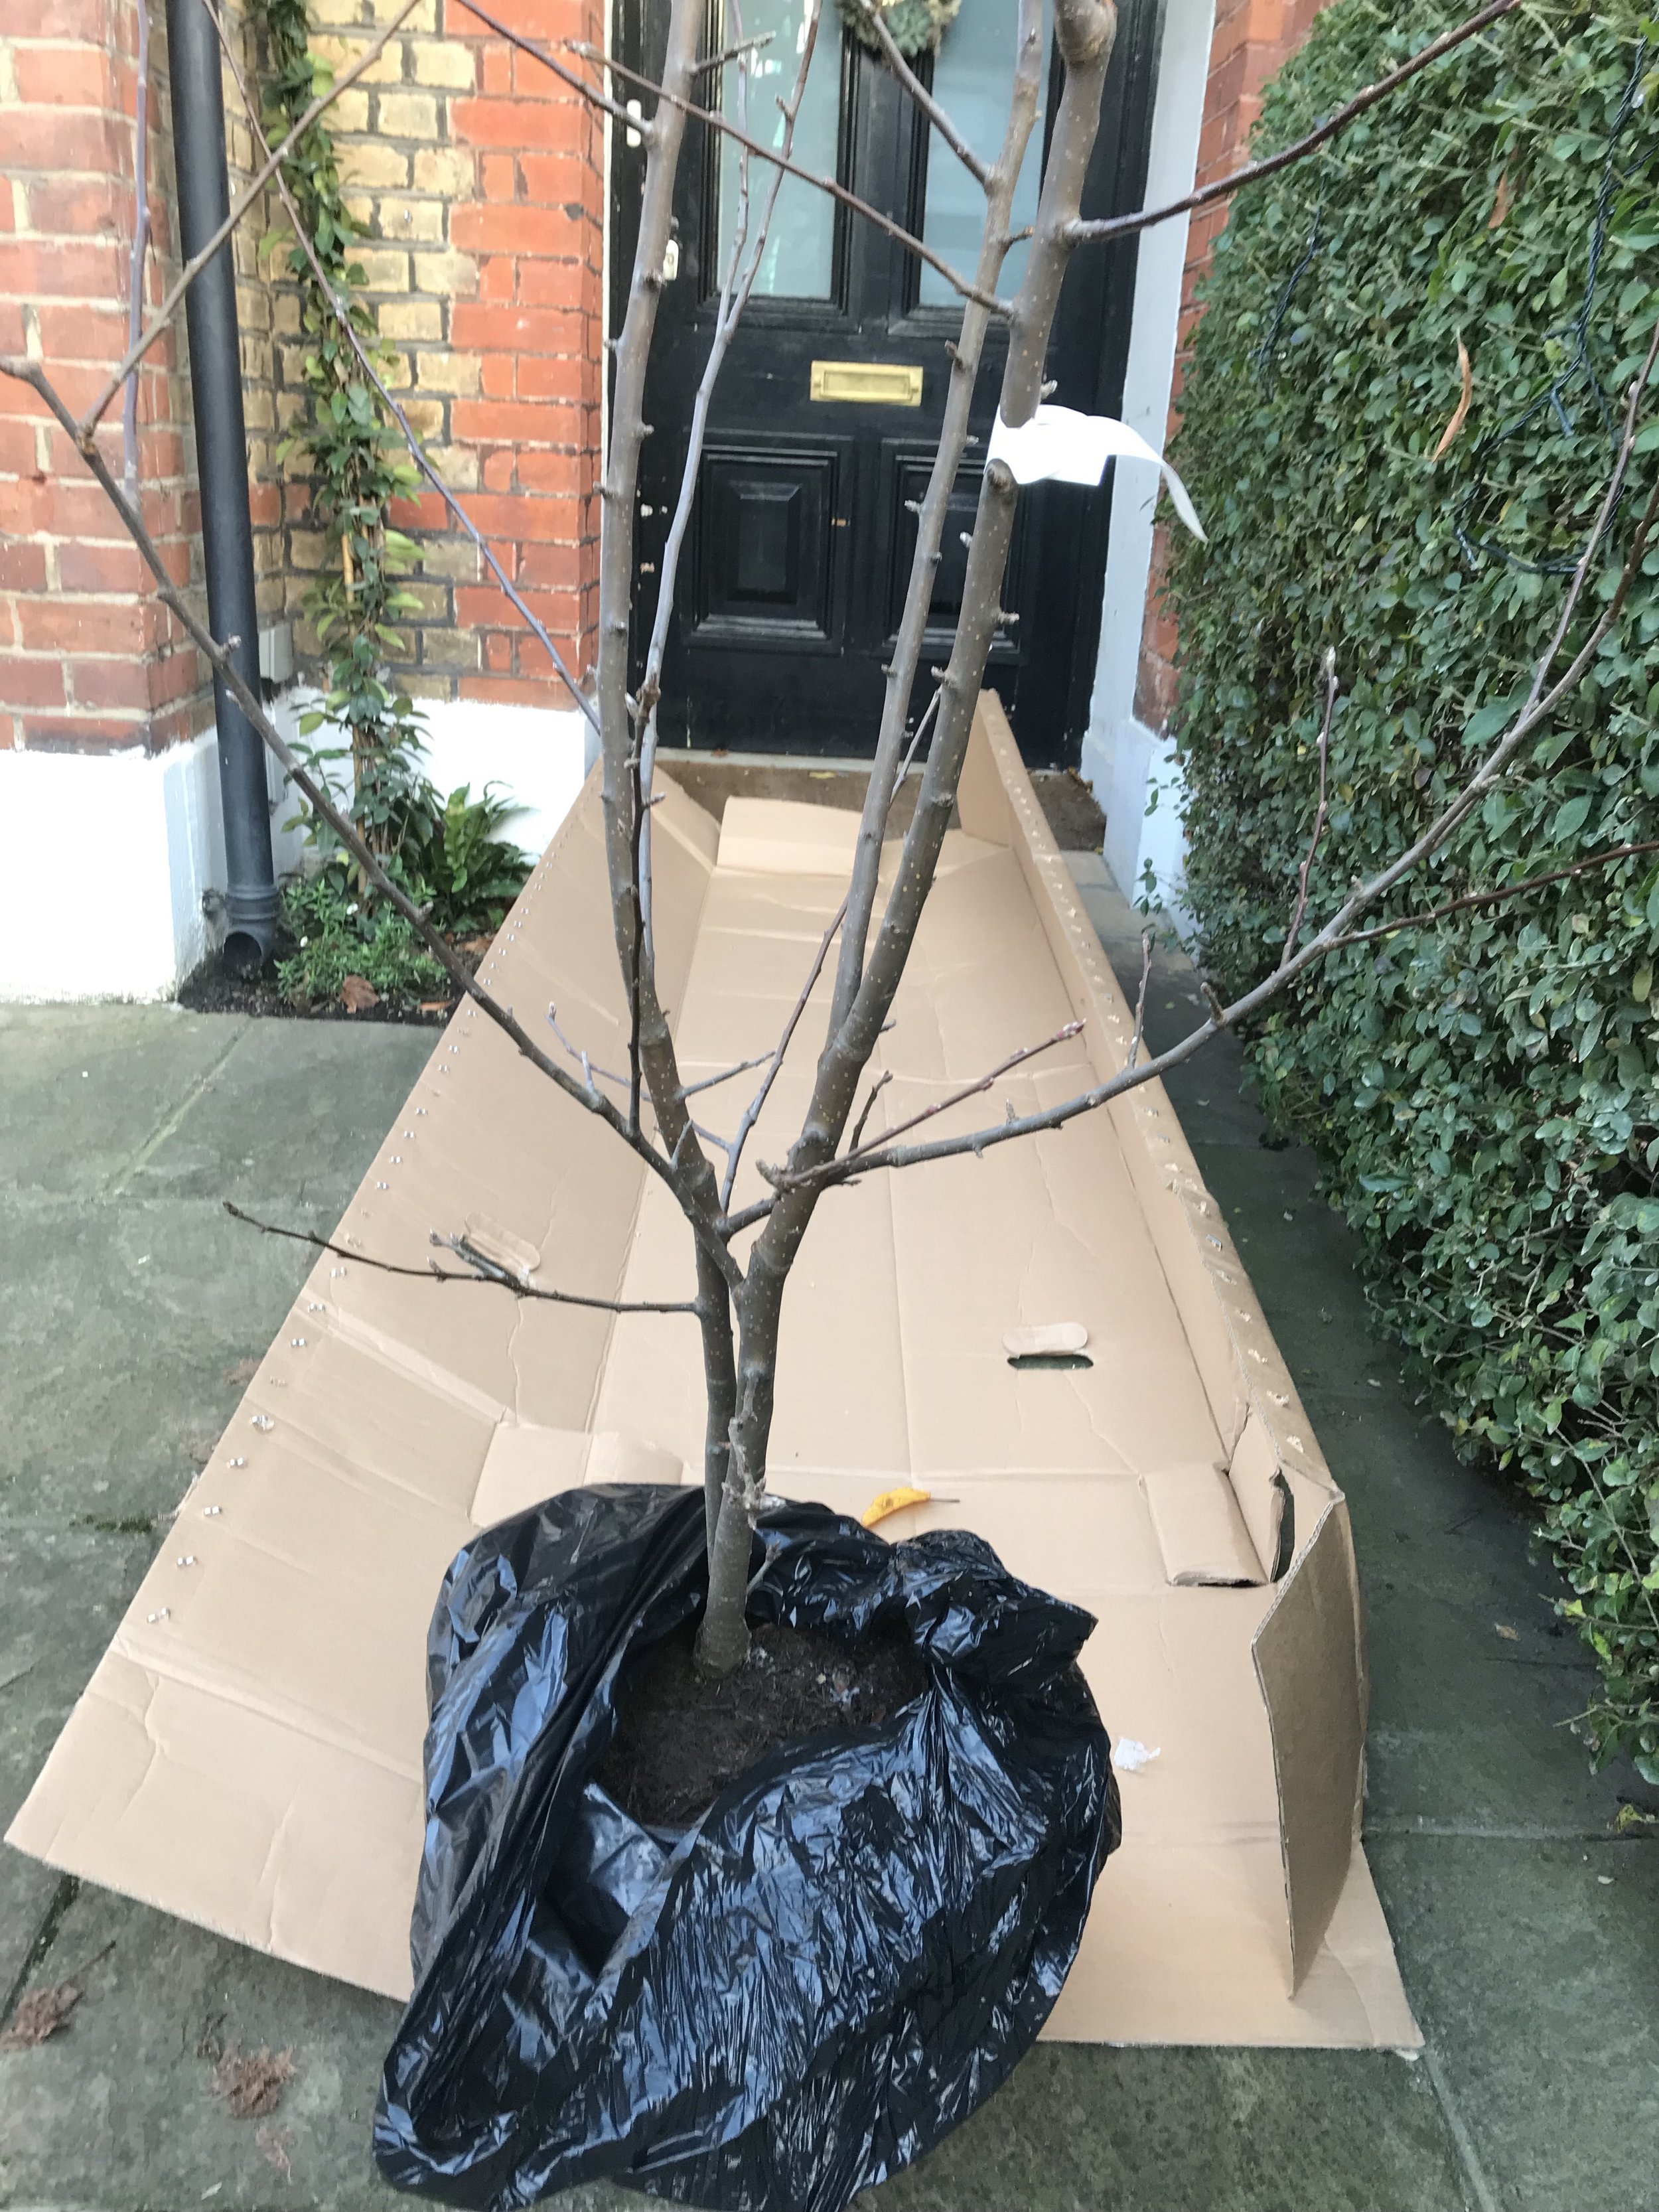
1 Shrubs and trees
Take all your shrubs and trees out and pile them up high on your bed… On second thoughts, don’t do that. Just take stock of your shrubs and trees. Think about what life might look like without this or that shrub or tree. Would your garden (your life) be improved with the removal, or ADDITION of one particular element? Or does something need moving? Perhaps (and this is so often the case) a bit of surgery is needed, to improve the look of a tree or shrub? What would that big holly bush look like if you removed all the lower branches for example?
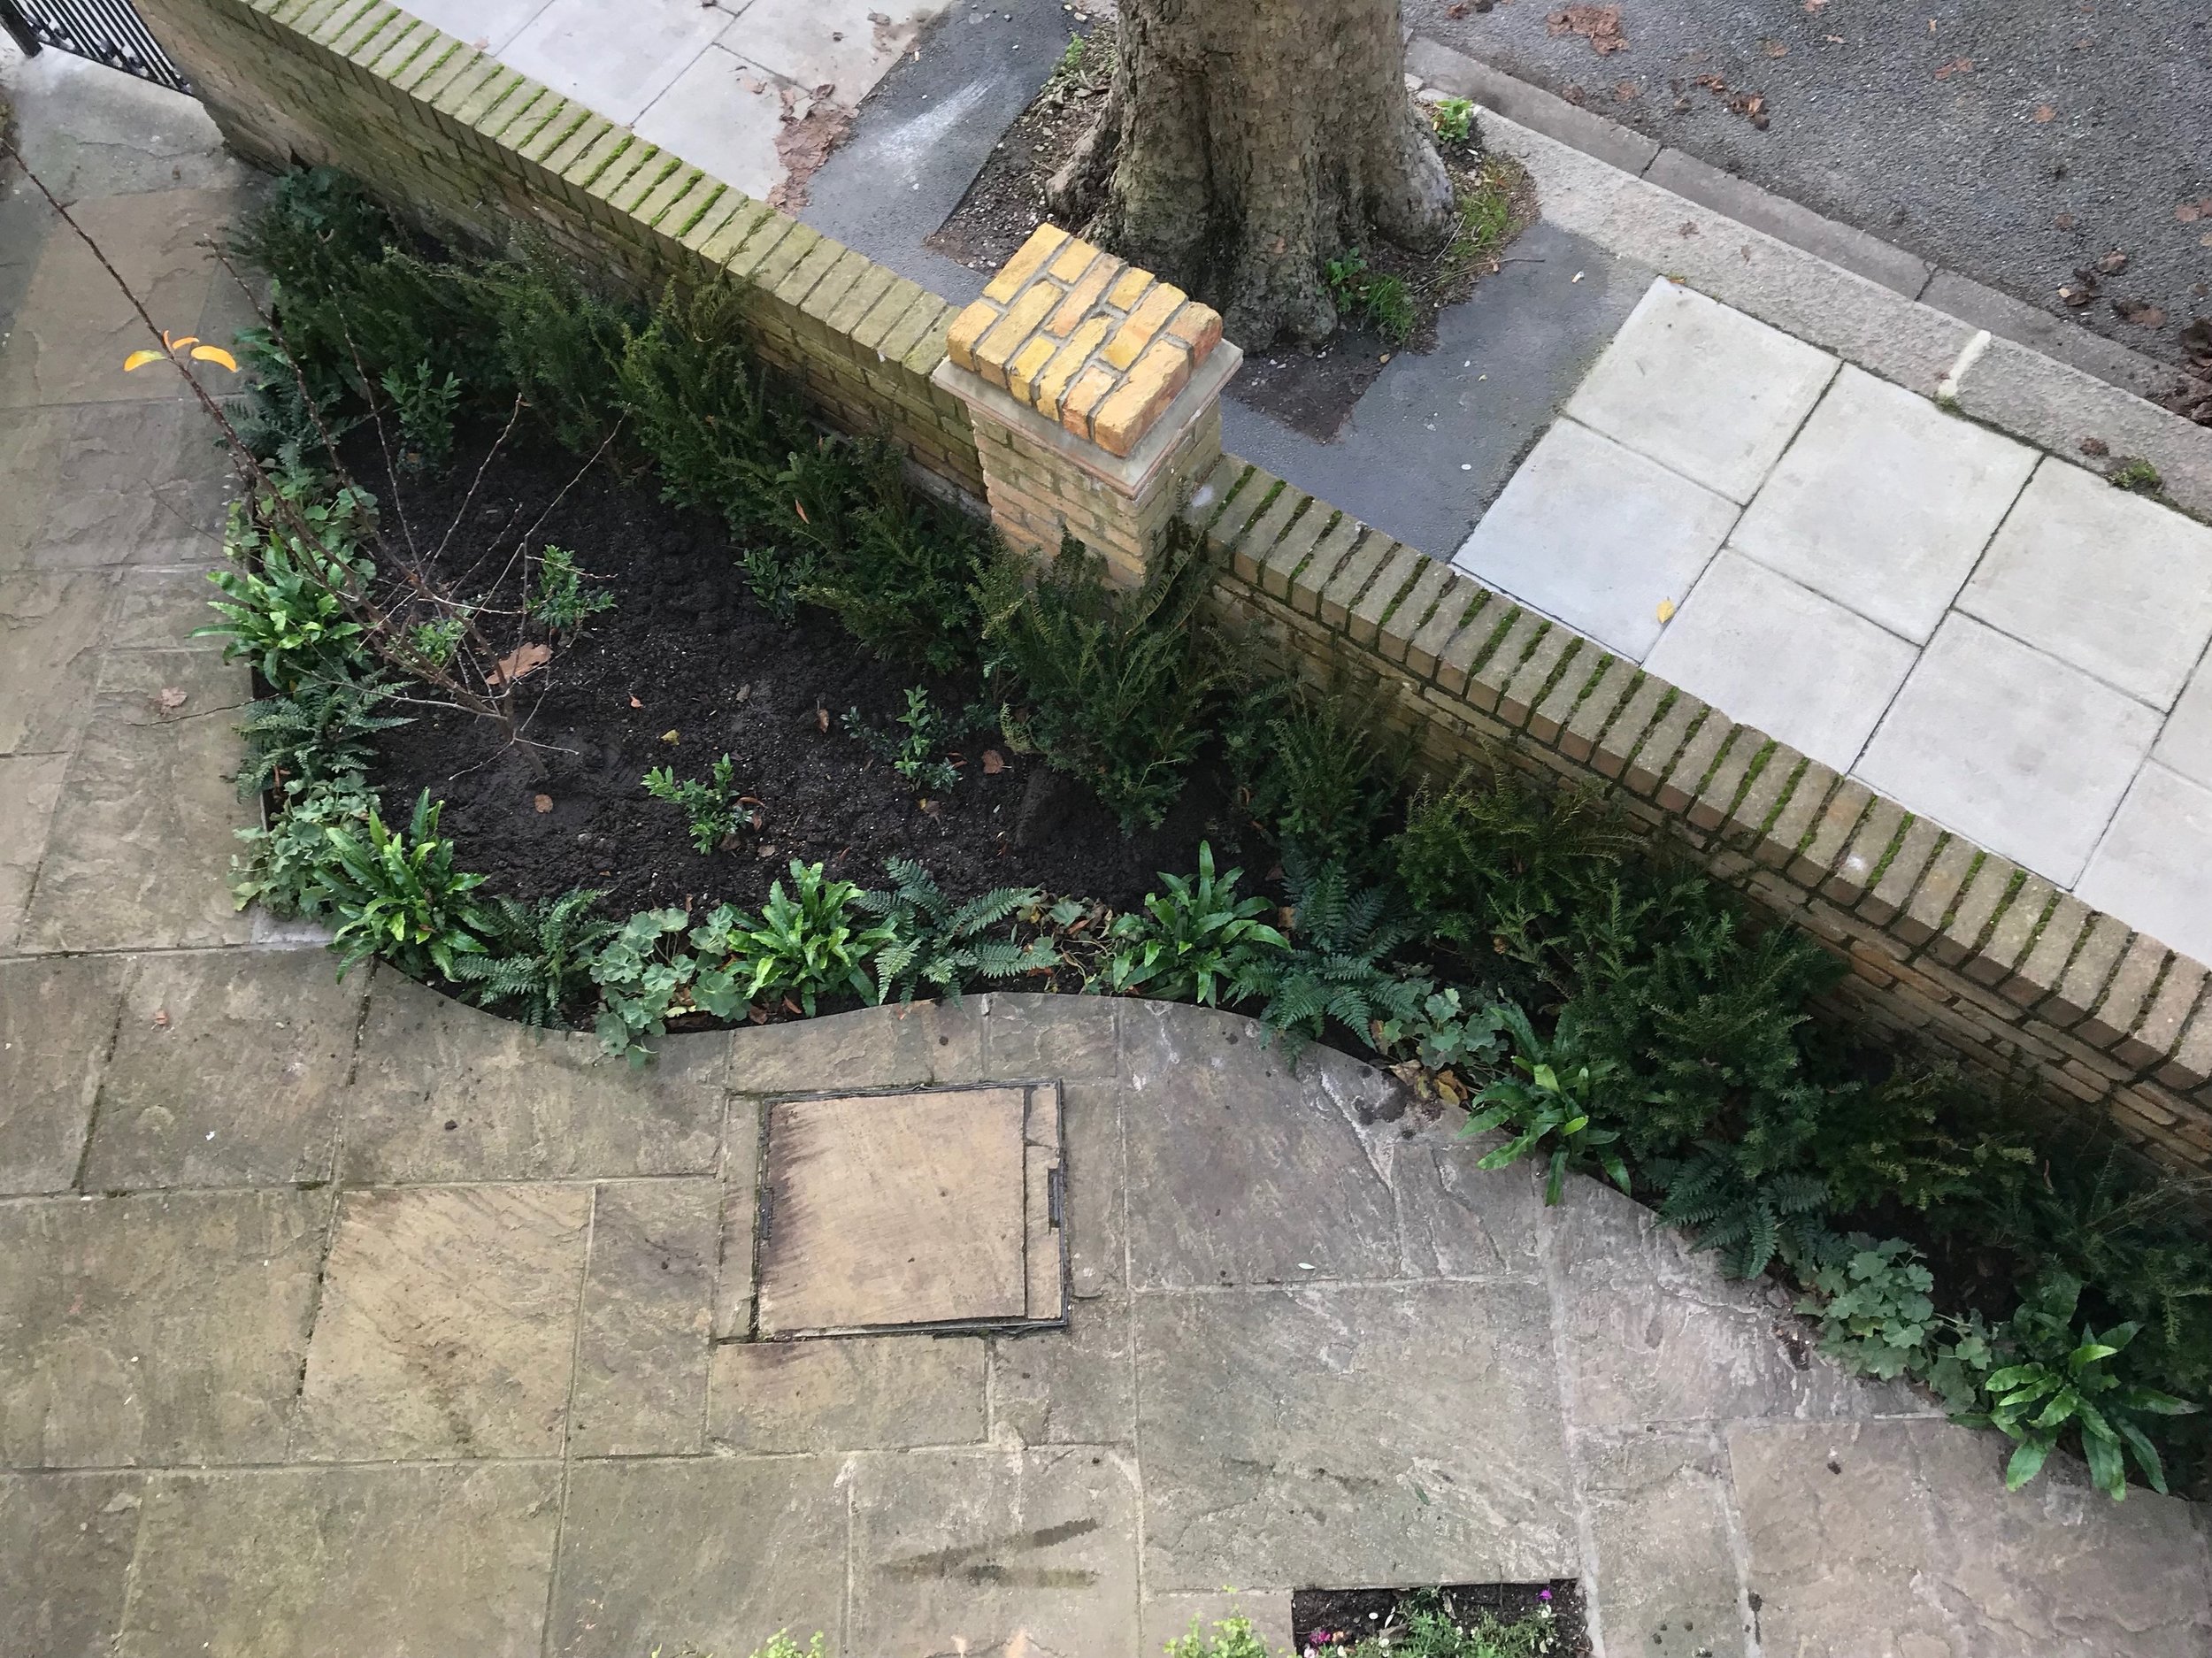
2 Perennials
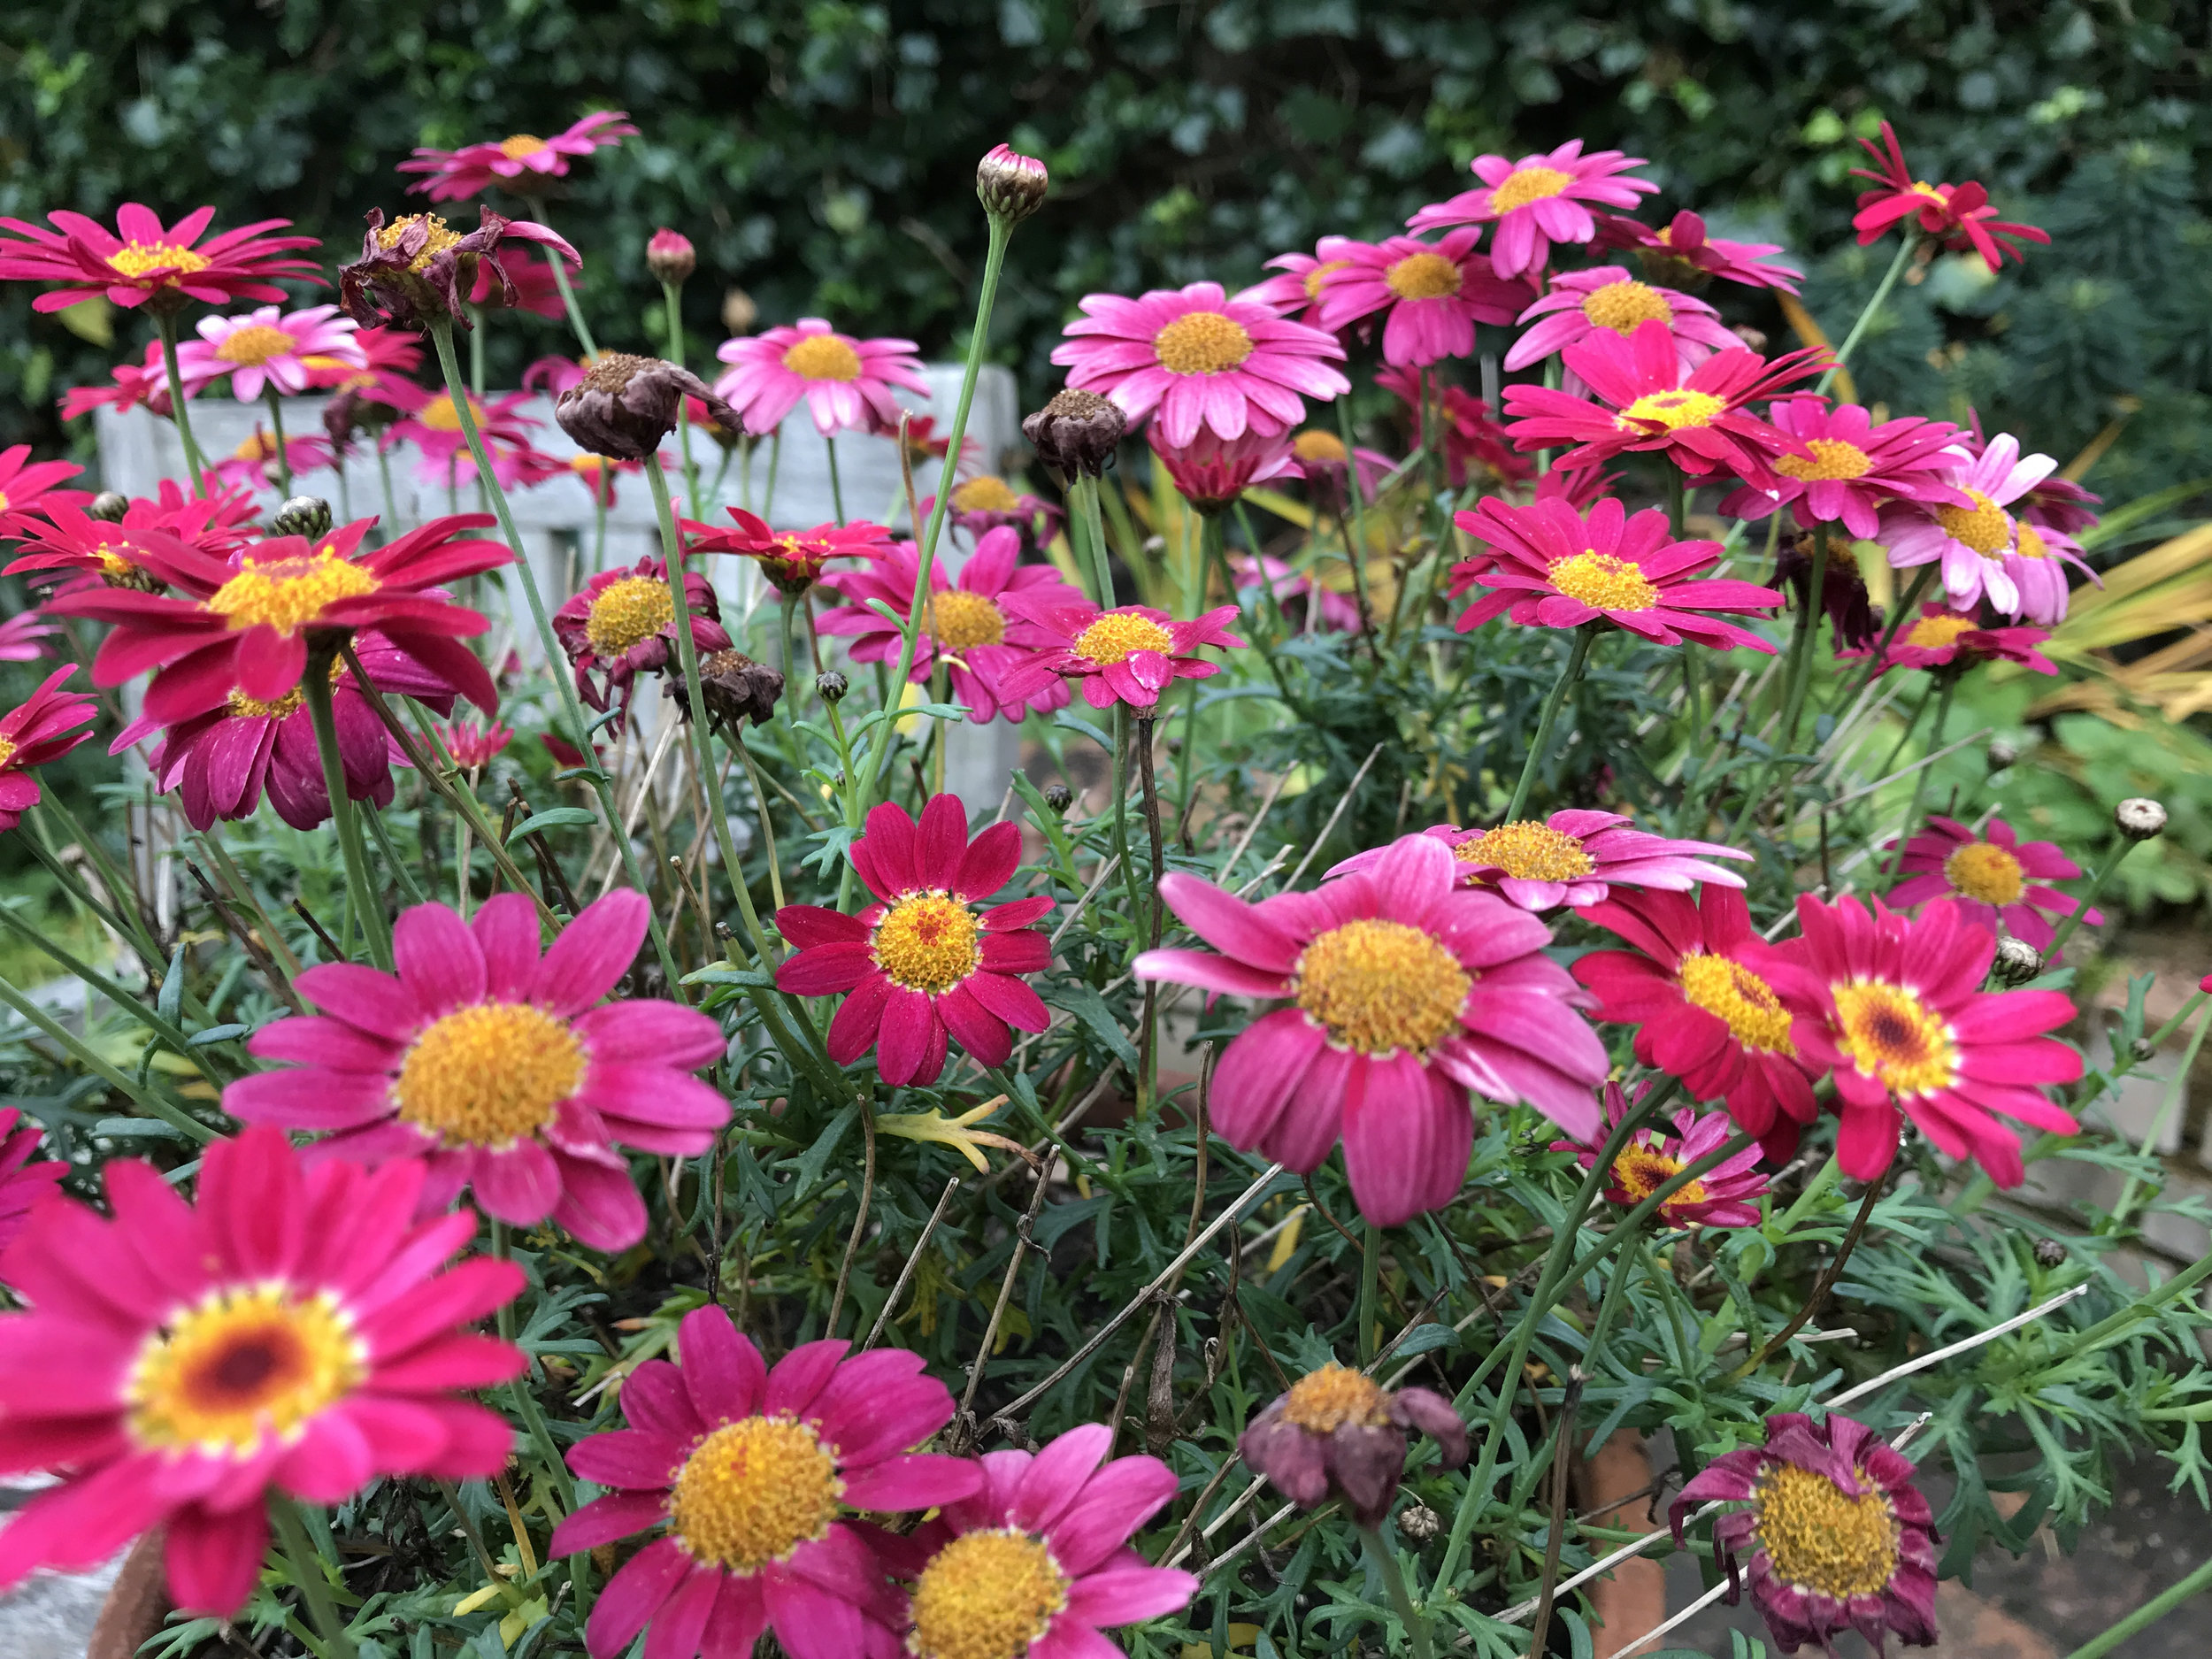
Take a good look at your borders. You could, actually, if you really had the energy, do a proper Marie Kondo here; take everything out, lay it out in front of you, decide what you want to keep and what you want to get rid of or move, and then put the whole lot back. It’s an enticing thought, but beyond the means and inclination of most of us. The balanced way then, is to look at each plant and ask yourself whether it sparks joy…yes, really. Plants that spark joy for me are ones that really earn their place in my garden – the hardworkers that do their thing no matter what the weather (or my neglect) throws at them – the geraniums, the verbena, the alchemilla mollis are three examples. Other plants that spark joy for me are those which extend the season – the rudbeckias, the sedums, the anemones. Whatever your criteria, you’ll want to do away with any plant or group of plants that doesn’t fulfil them. Don’t forget to THANK them for their service before you give them to your friends and neighbours!
NOTE: The part of Marie Kondo’s method that has many people drawing a firm line in the sand and saying “uh oh, no way” in a rather scoffy way, is imminently sensible when I am in the garden. No, I’m not going to say thank you to my anorak for keeping me dry because, well, it’s NOT A LIVING THING, but look me in the eye and tell me that you don’t walk around your garden in the summer, smelling the roses and whispering “You’re gorgeous!” Just me? Somehow I don’t think so….THANK YOUR PLANTS.
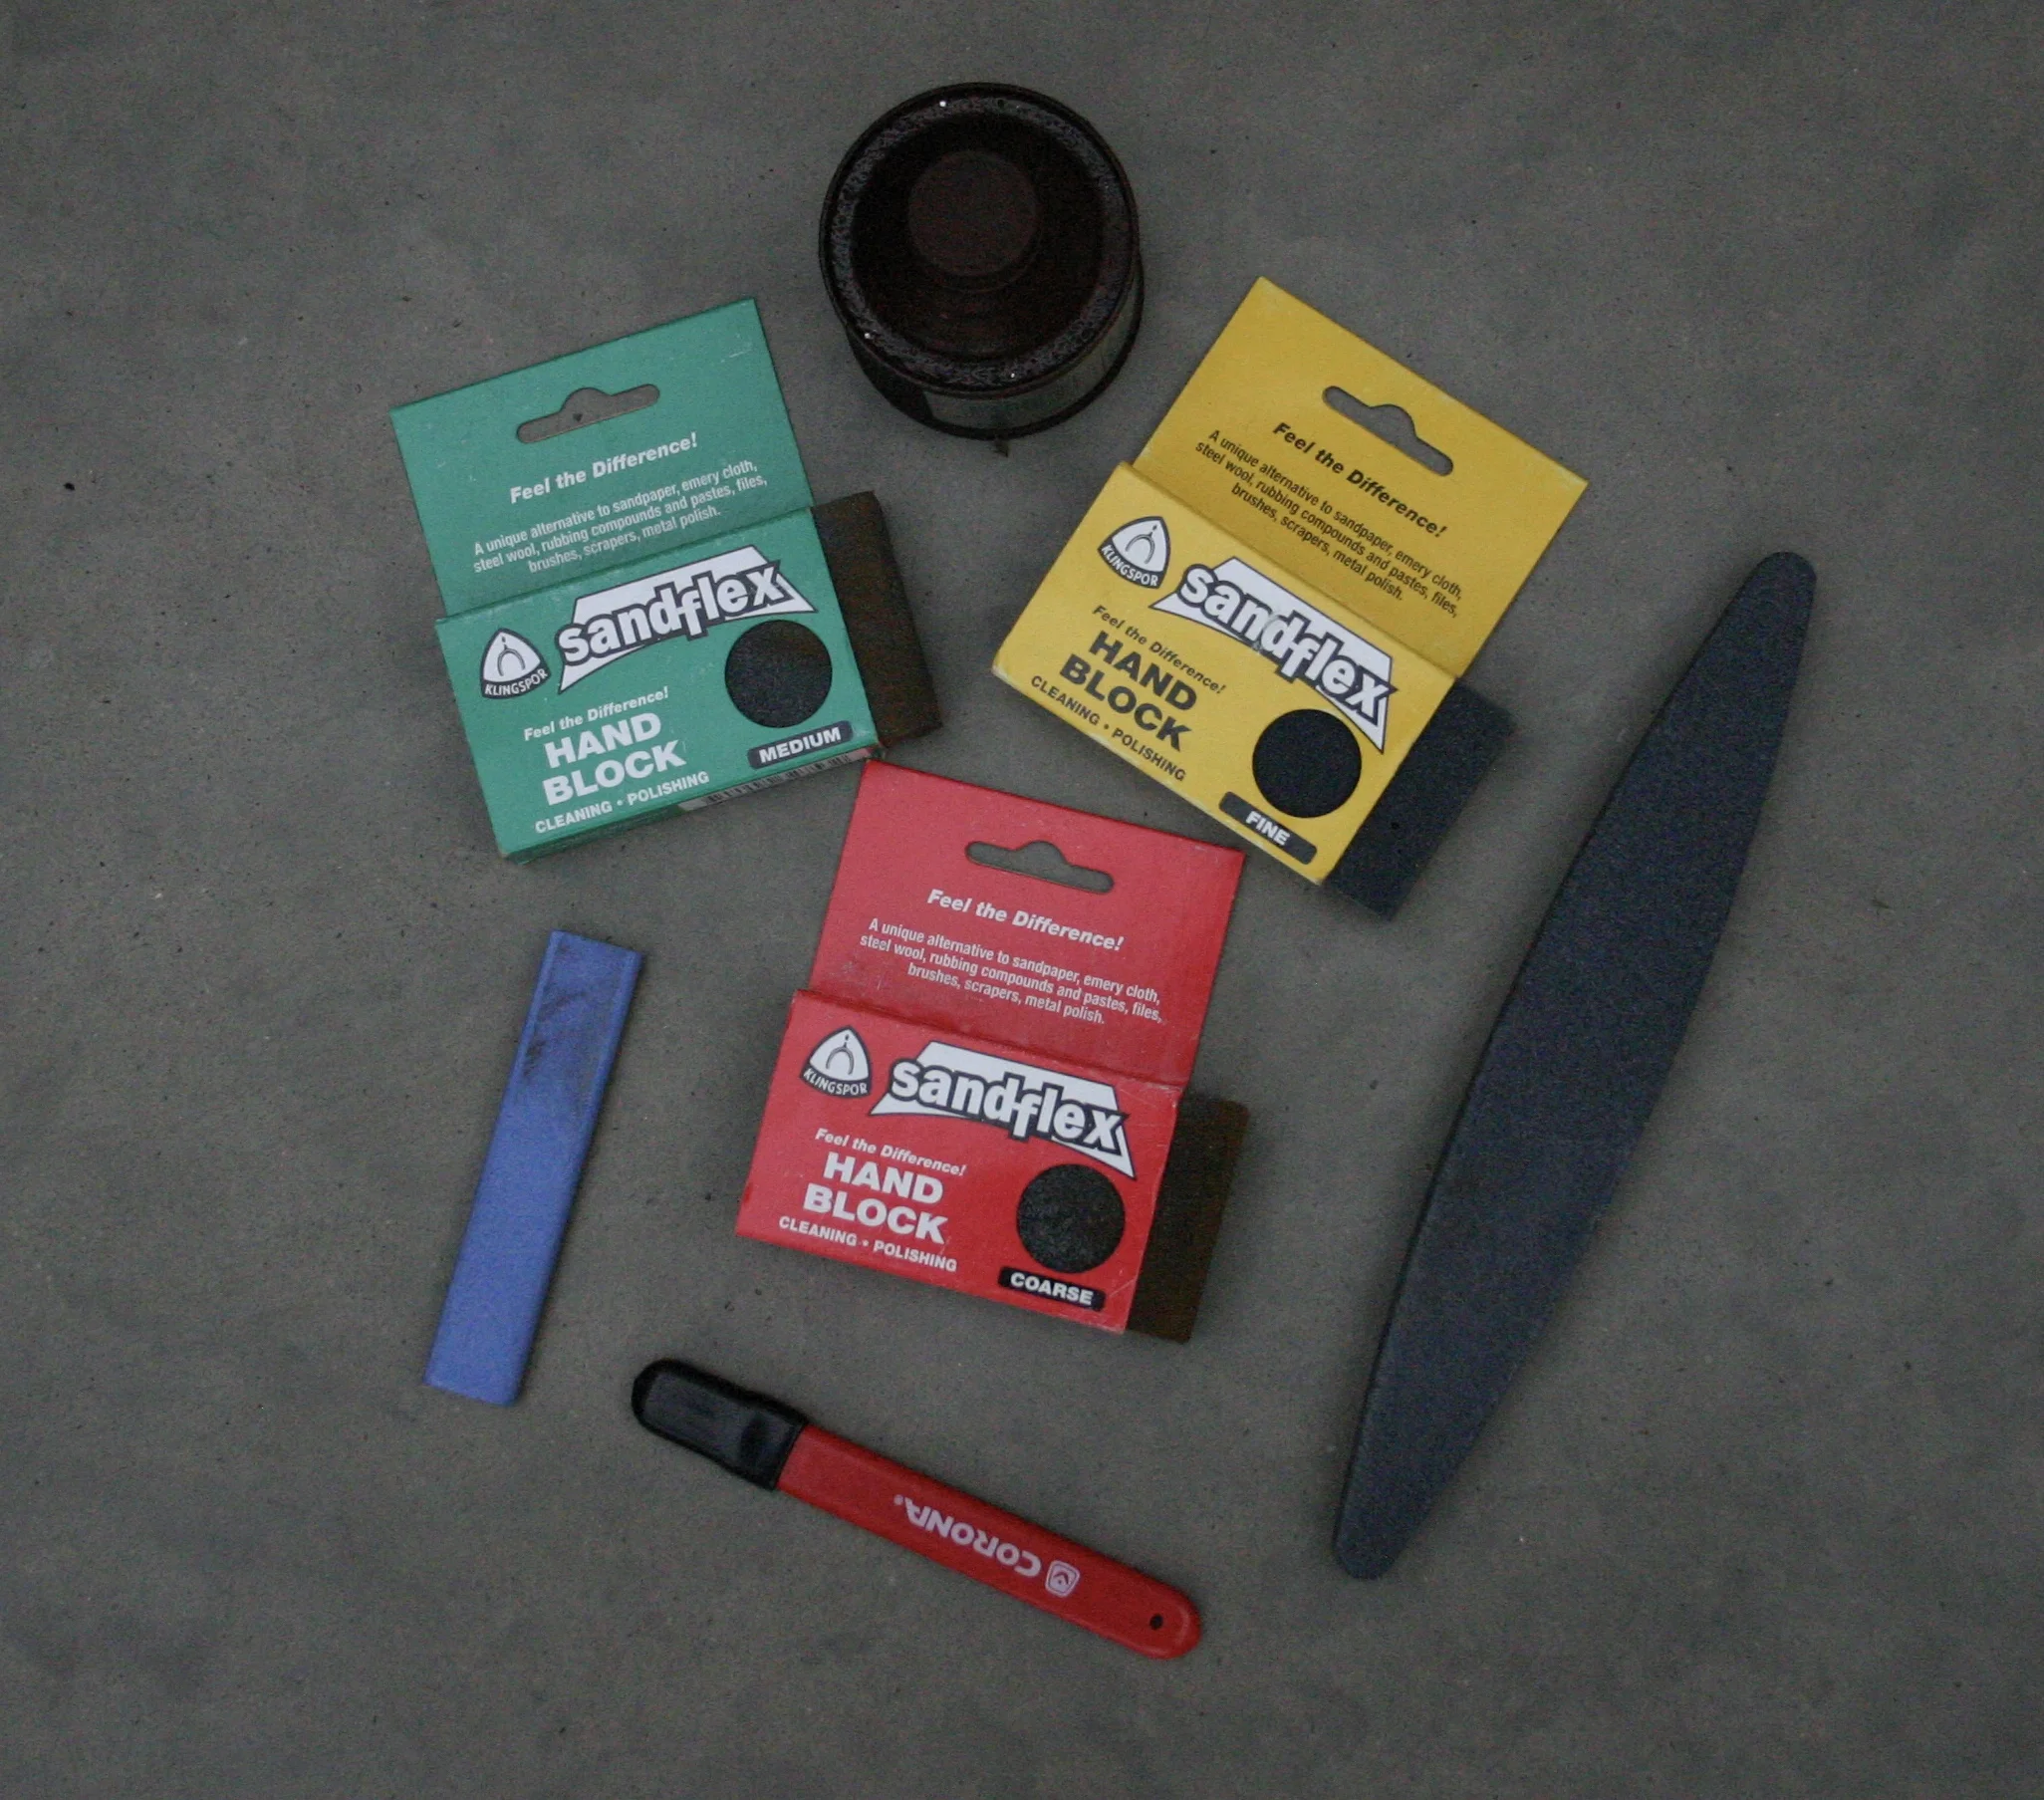
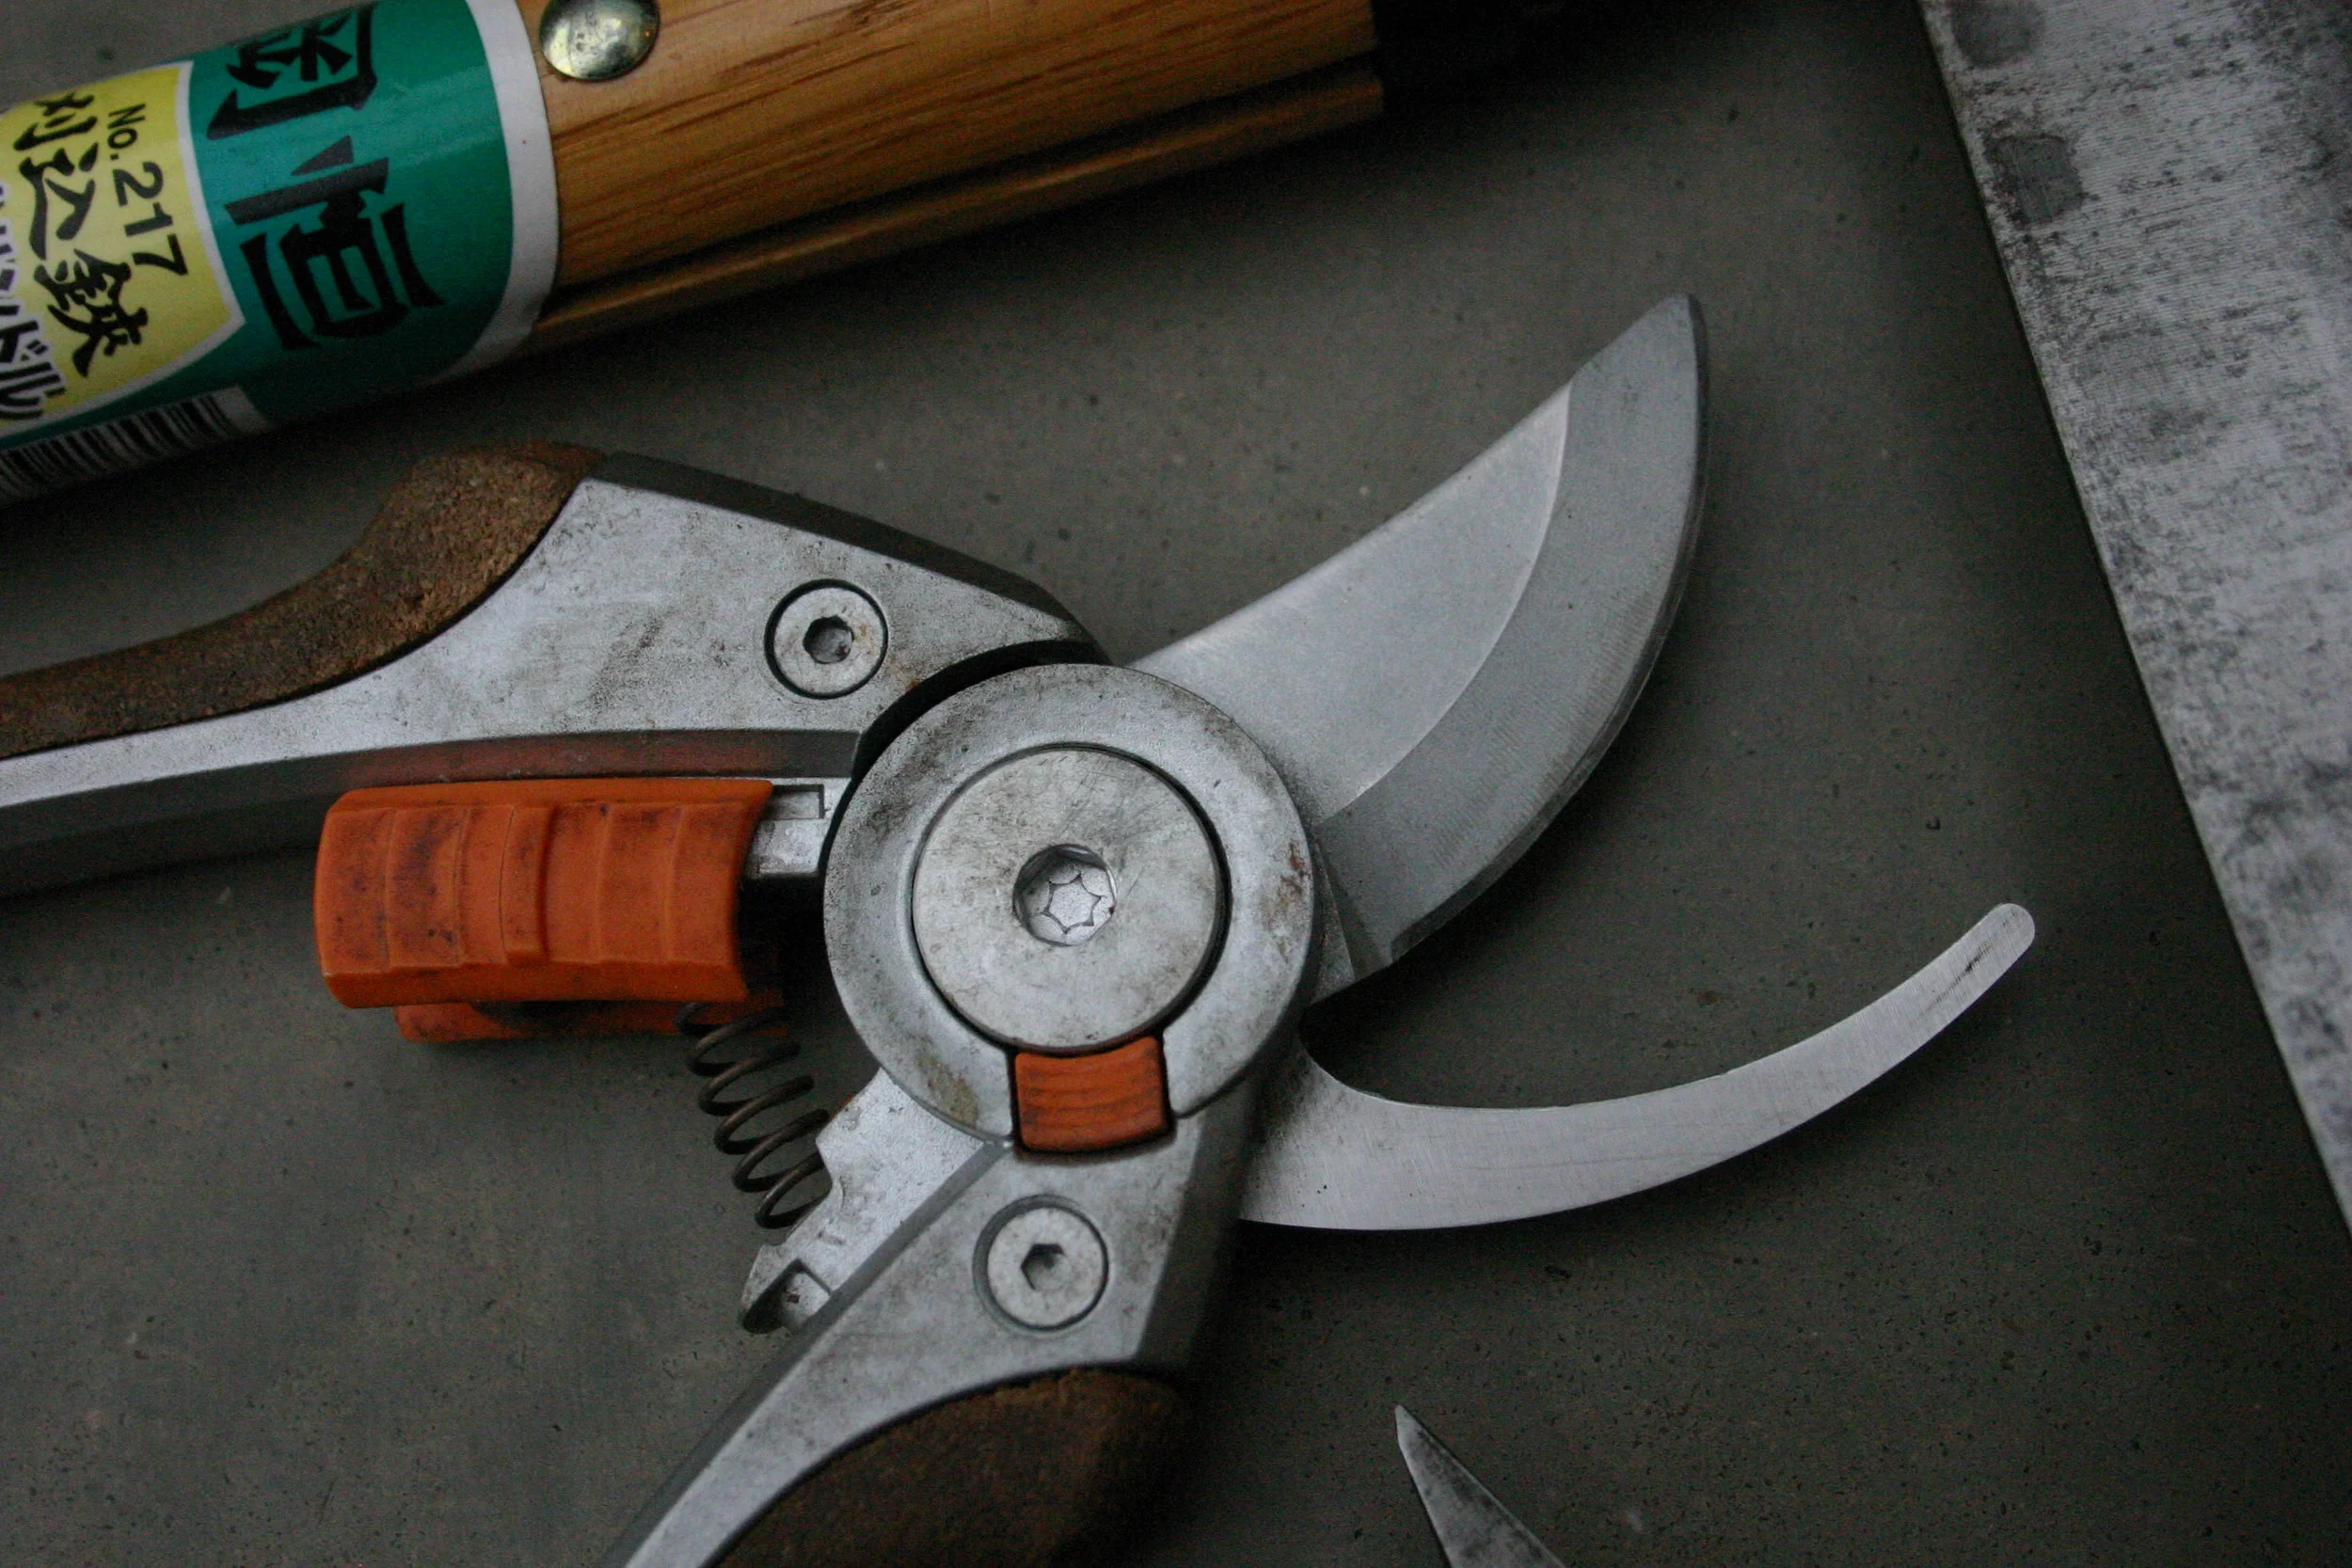
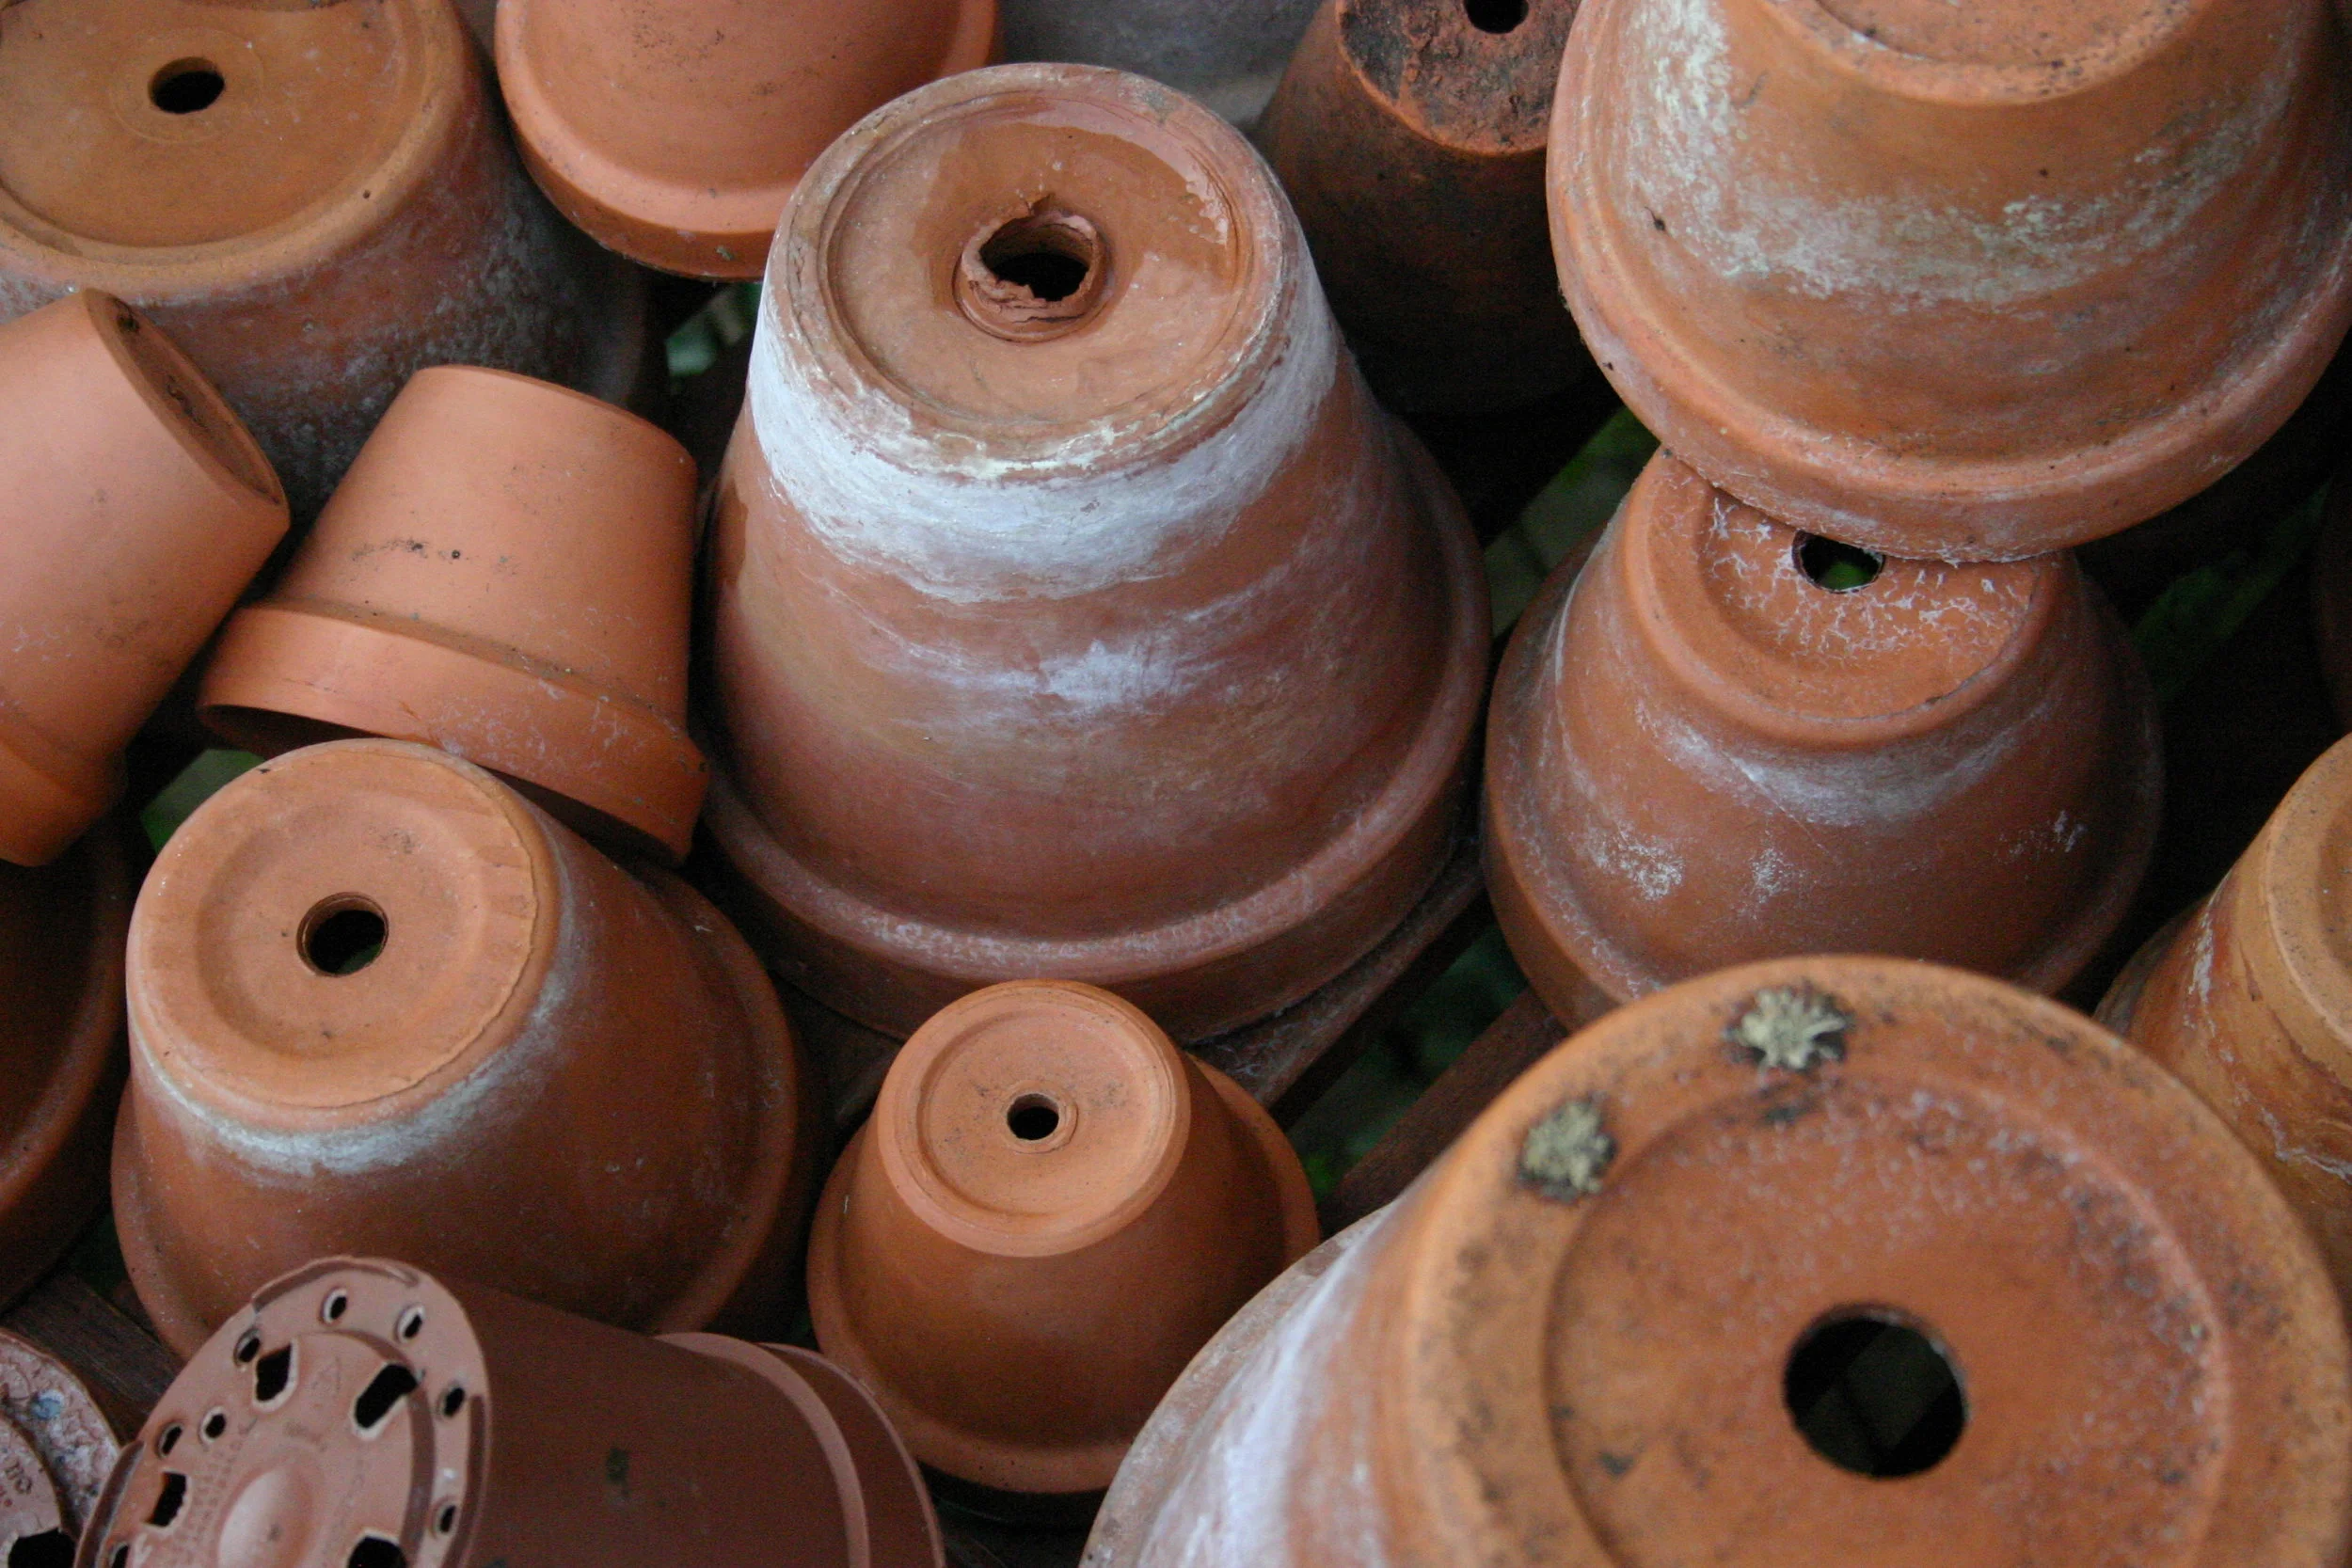
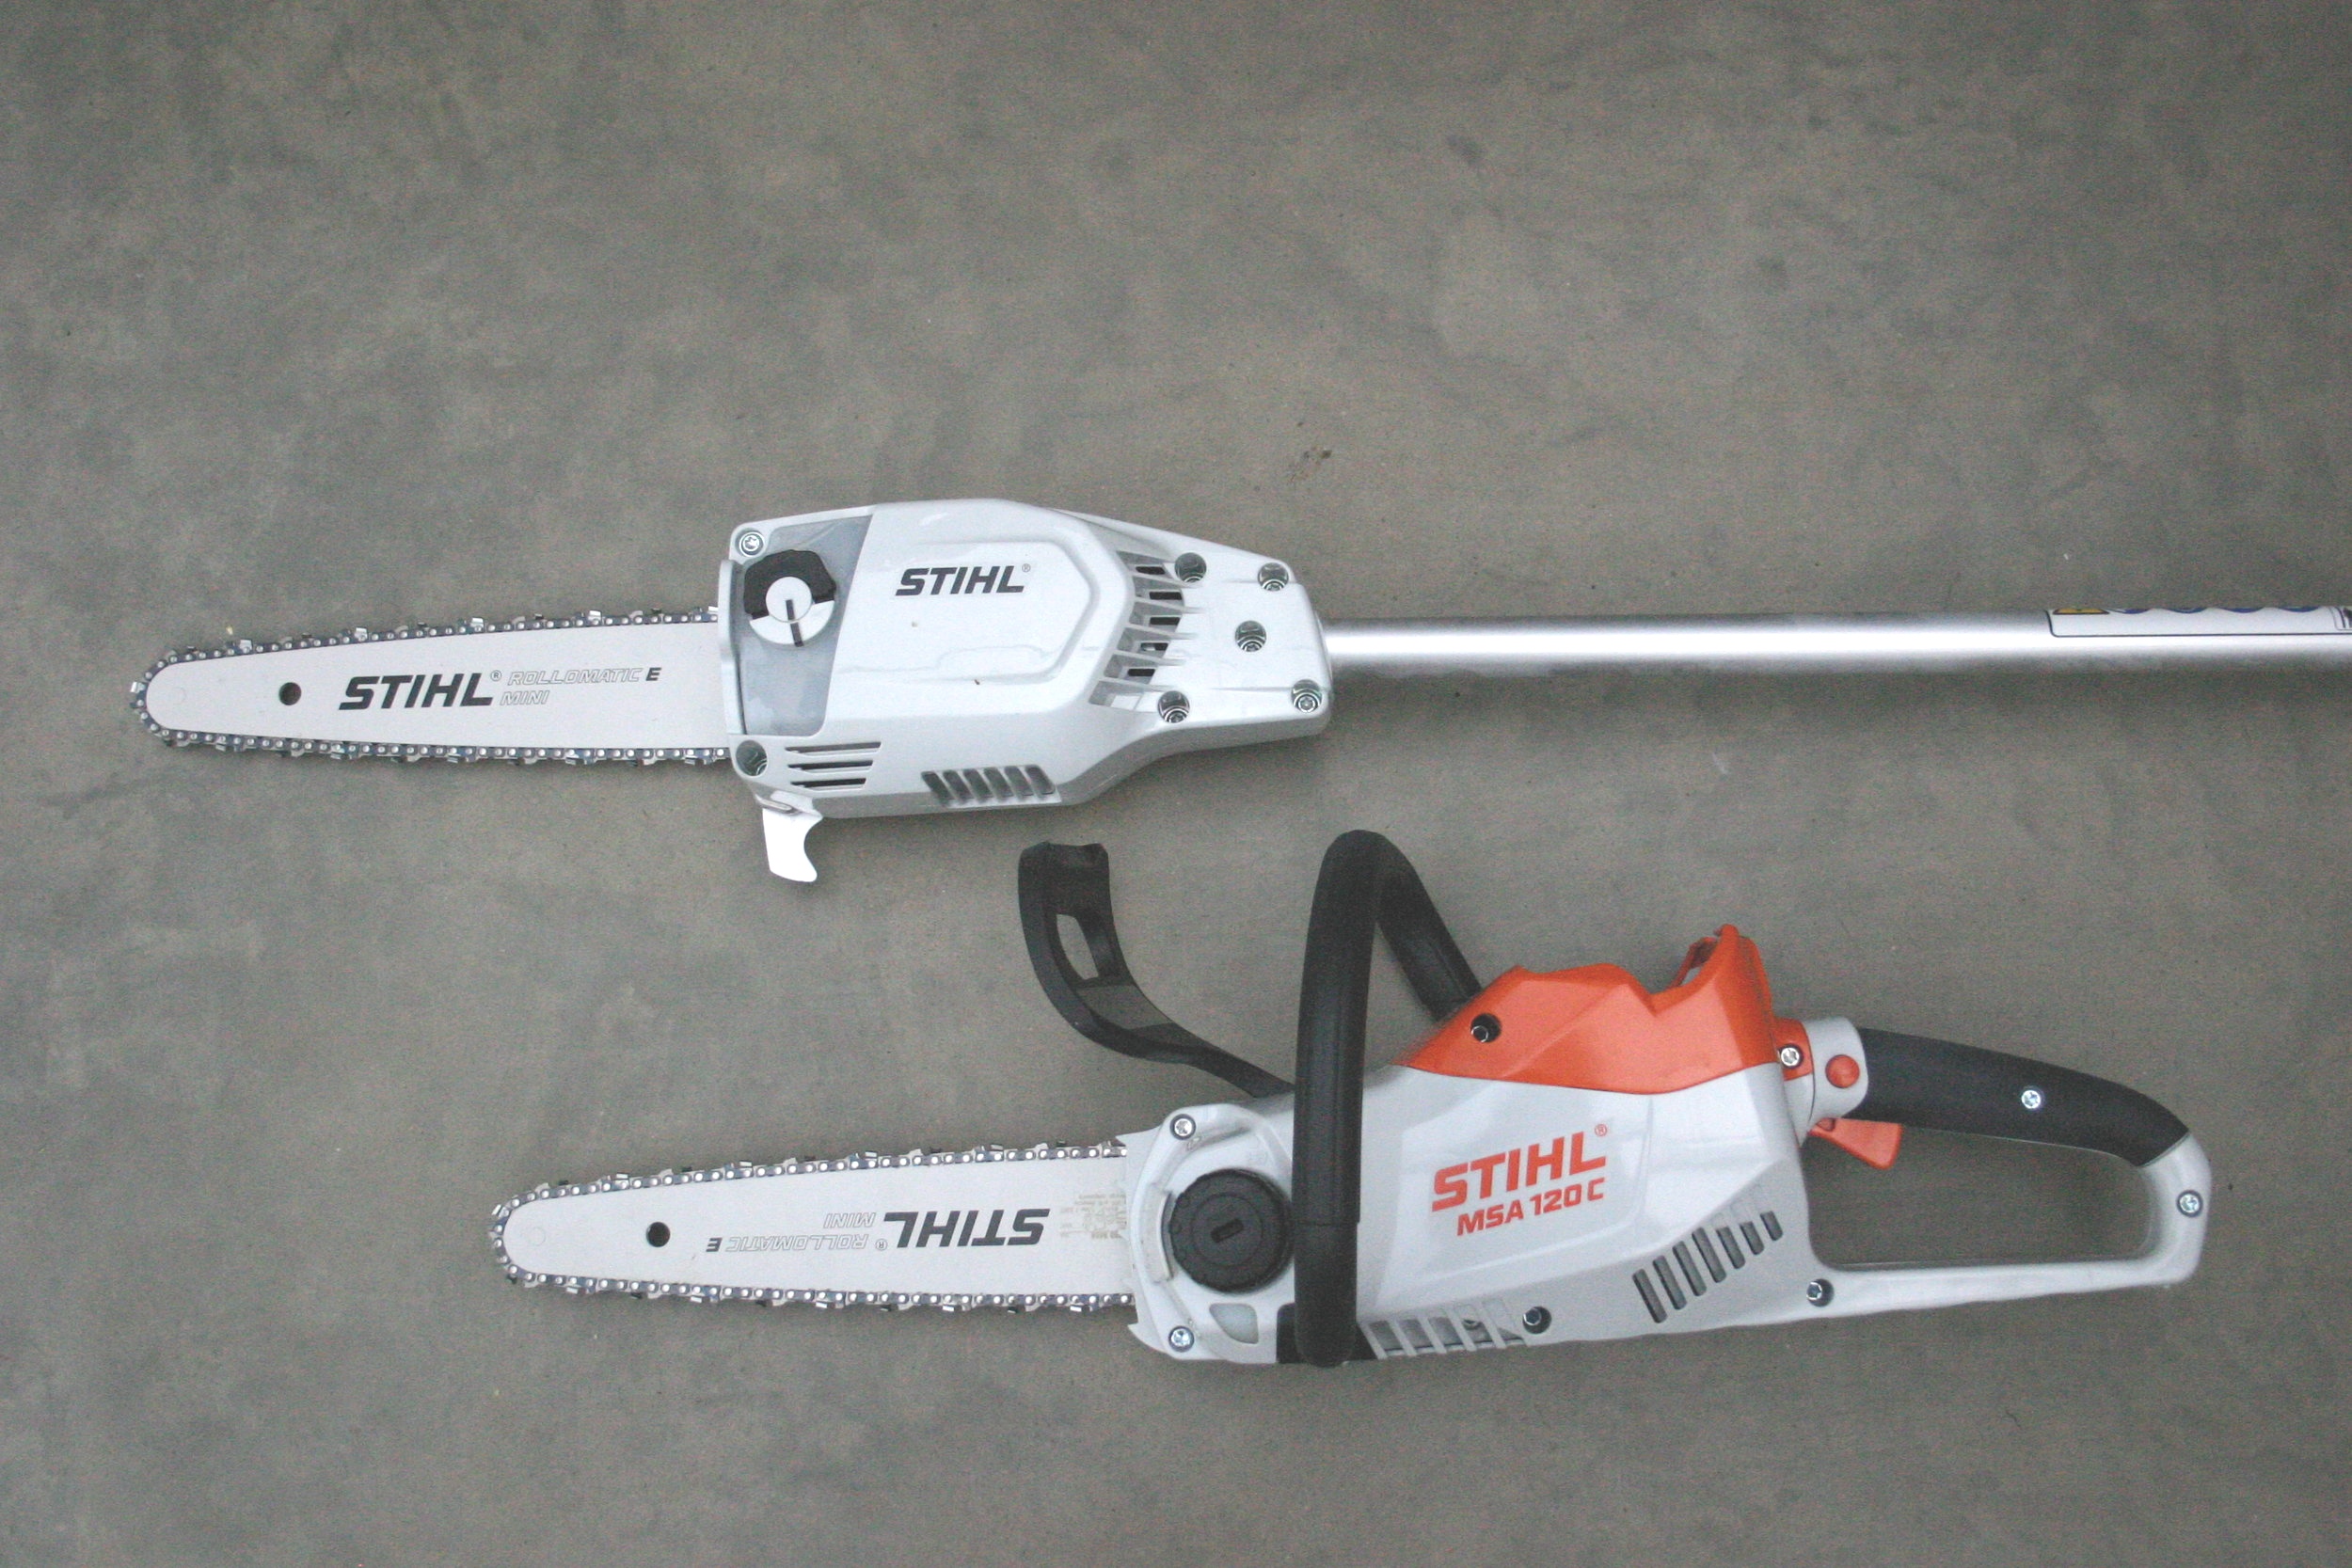
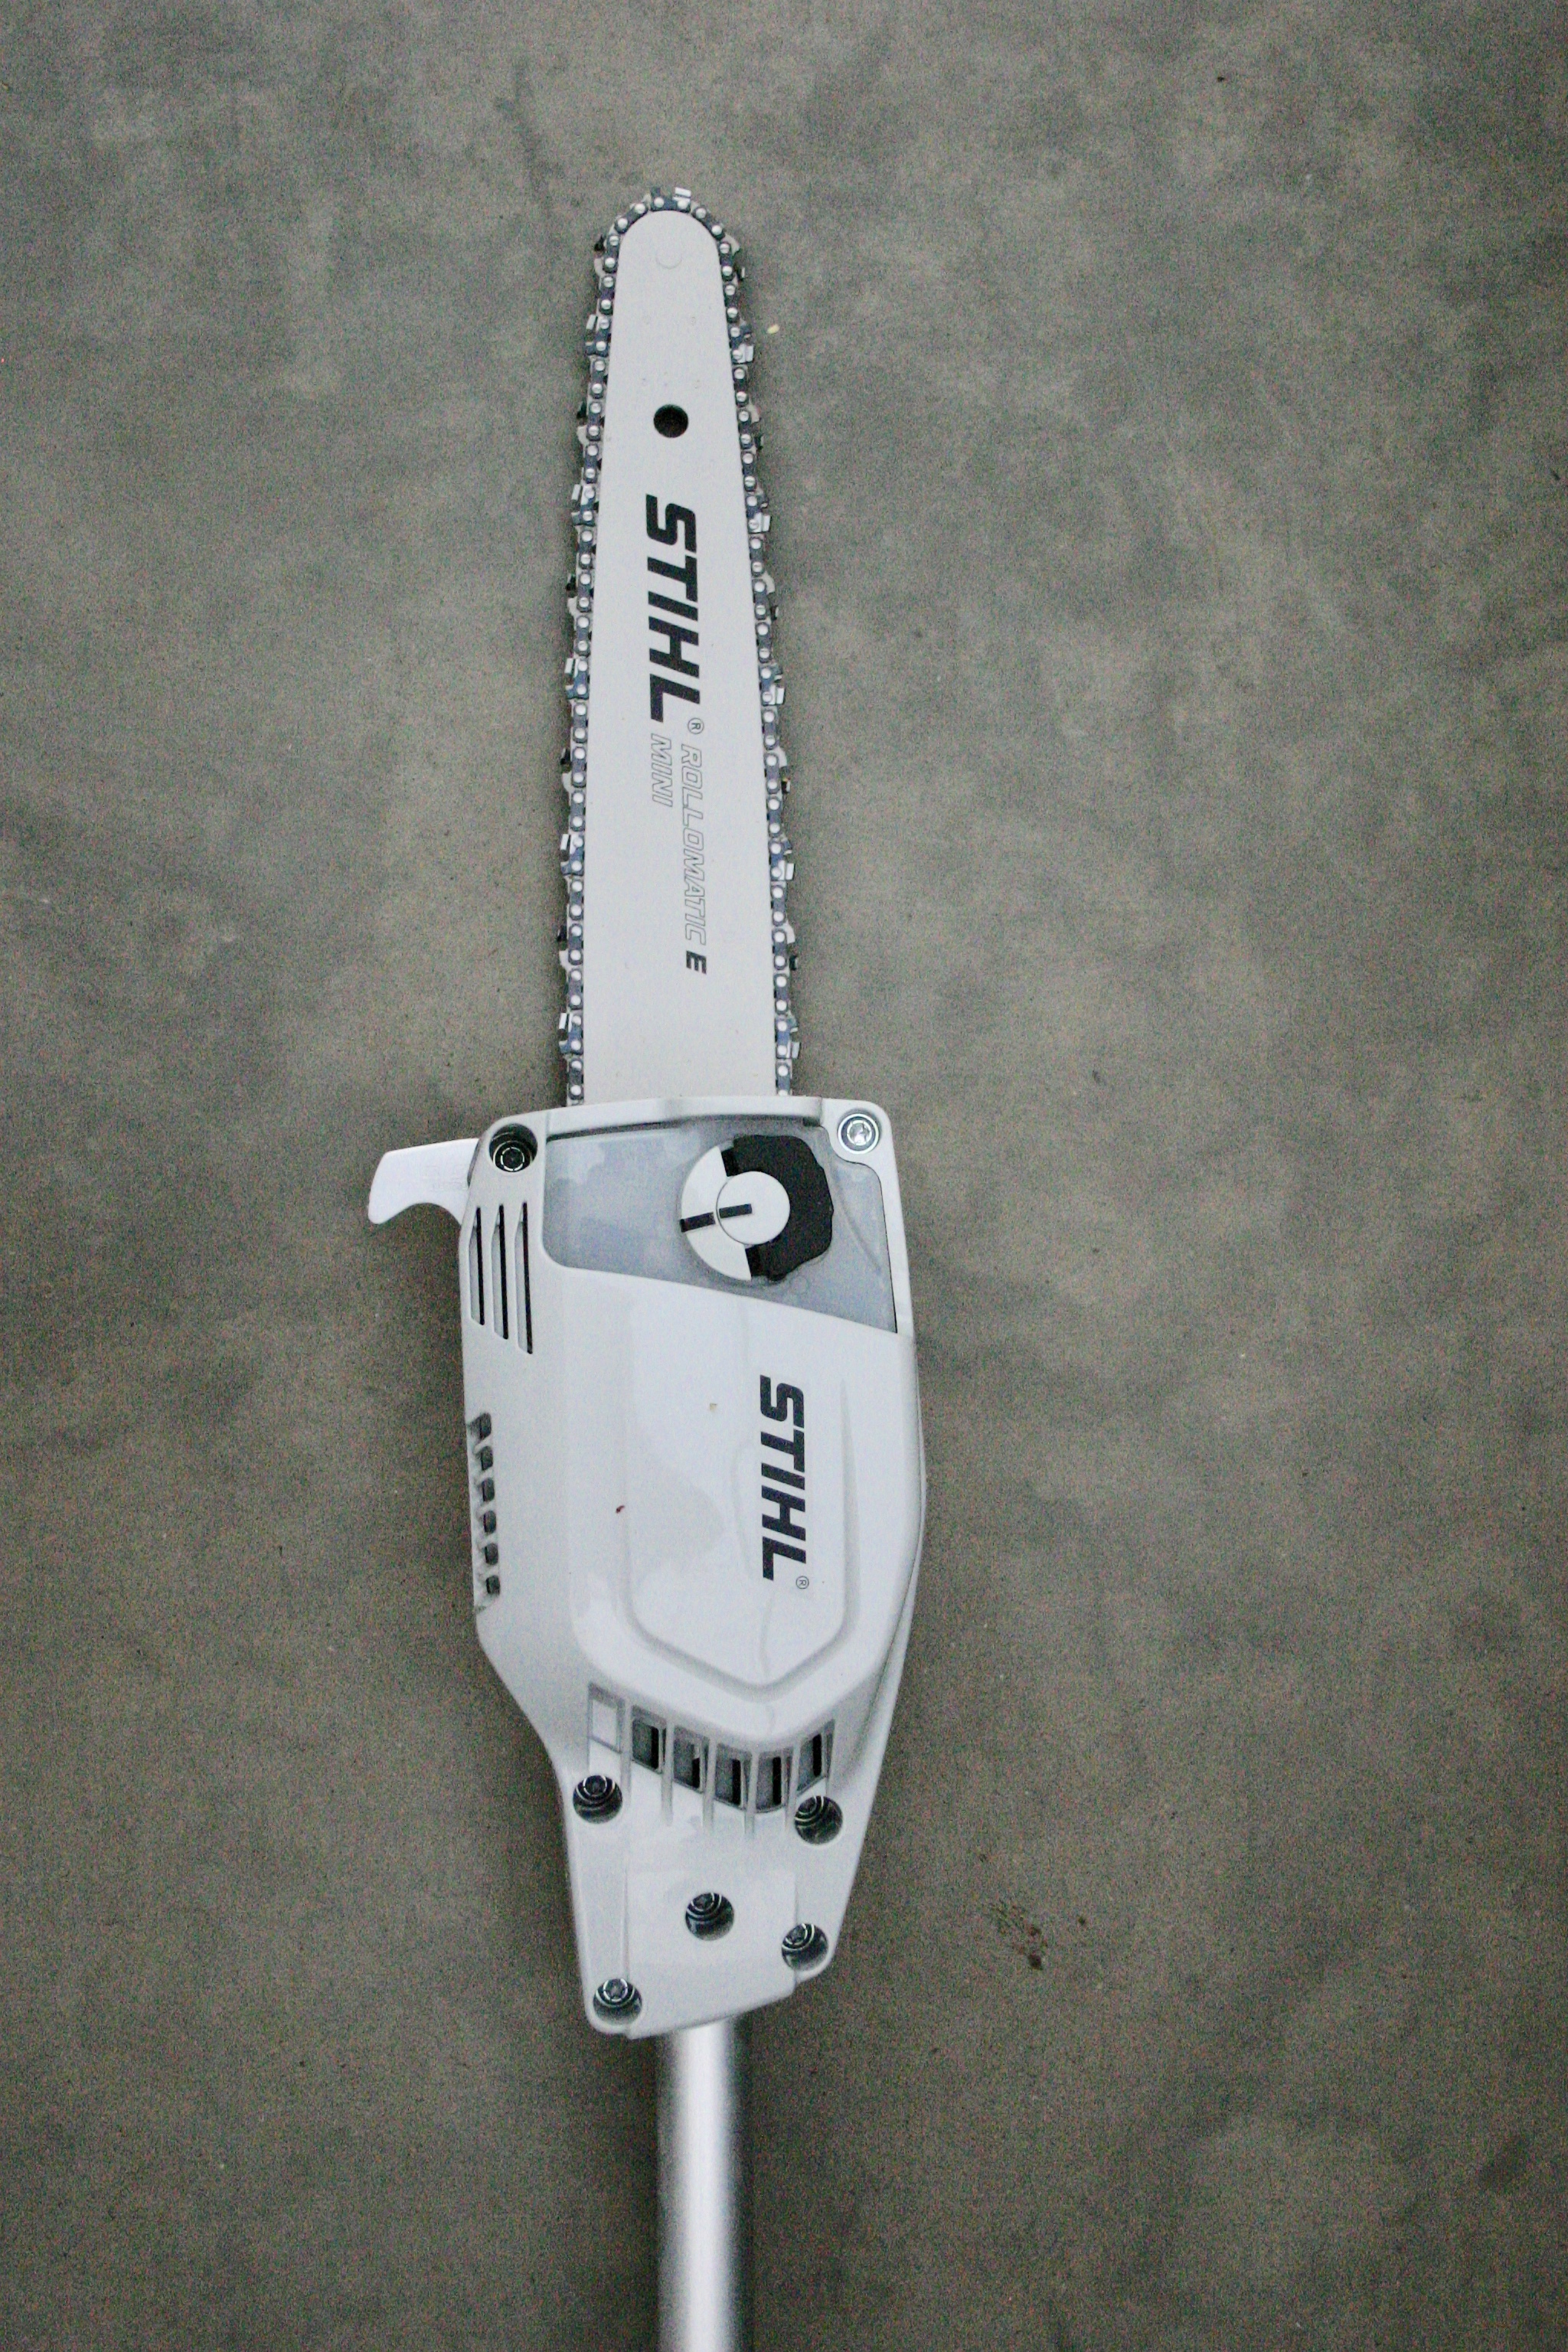
3 Komono (Misc) – garden furniture, pots, tools, machinery
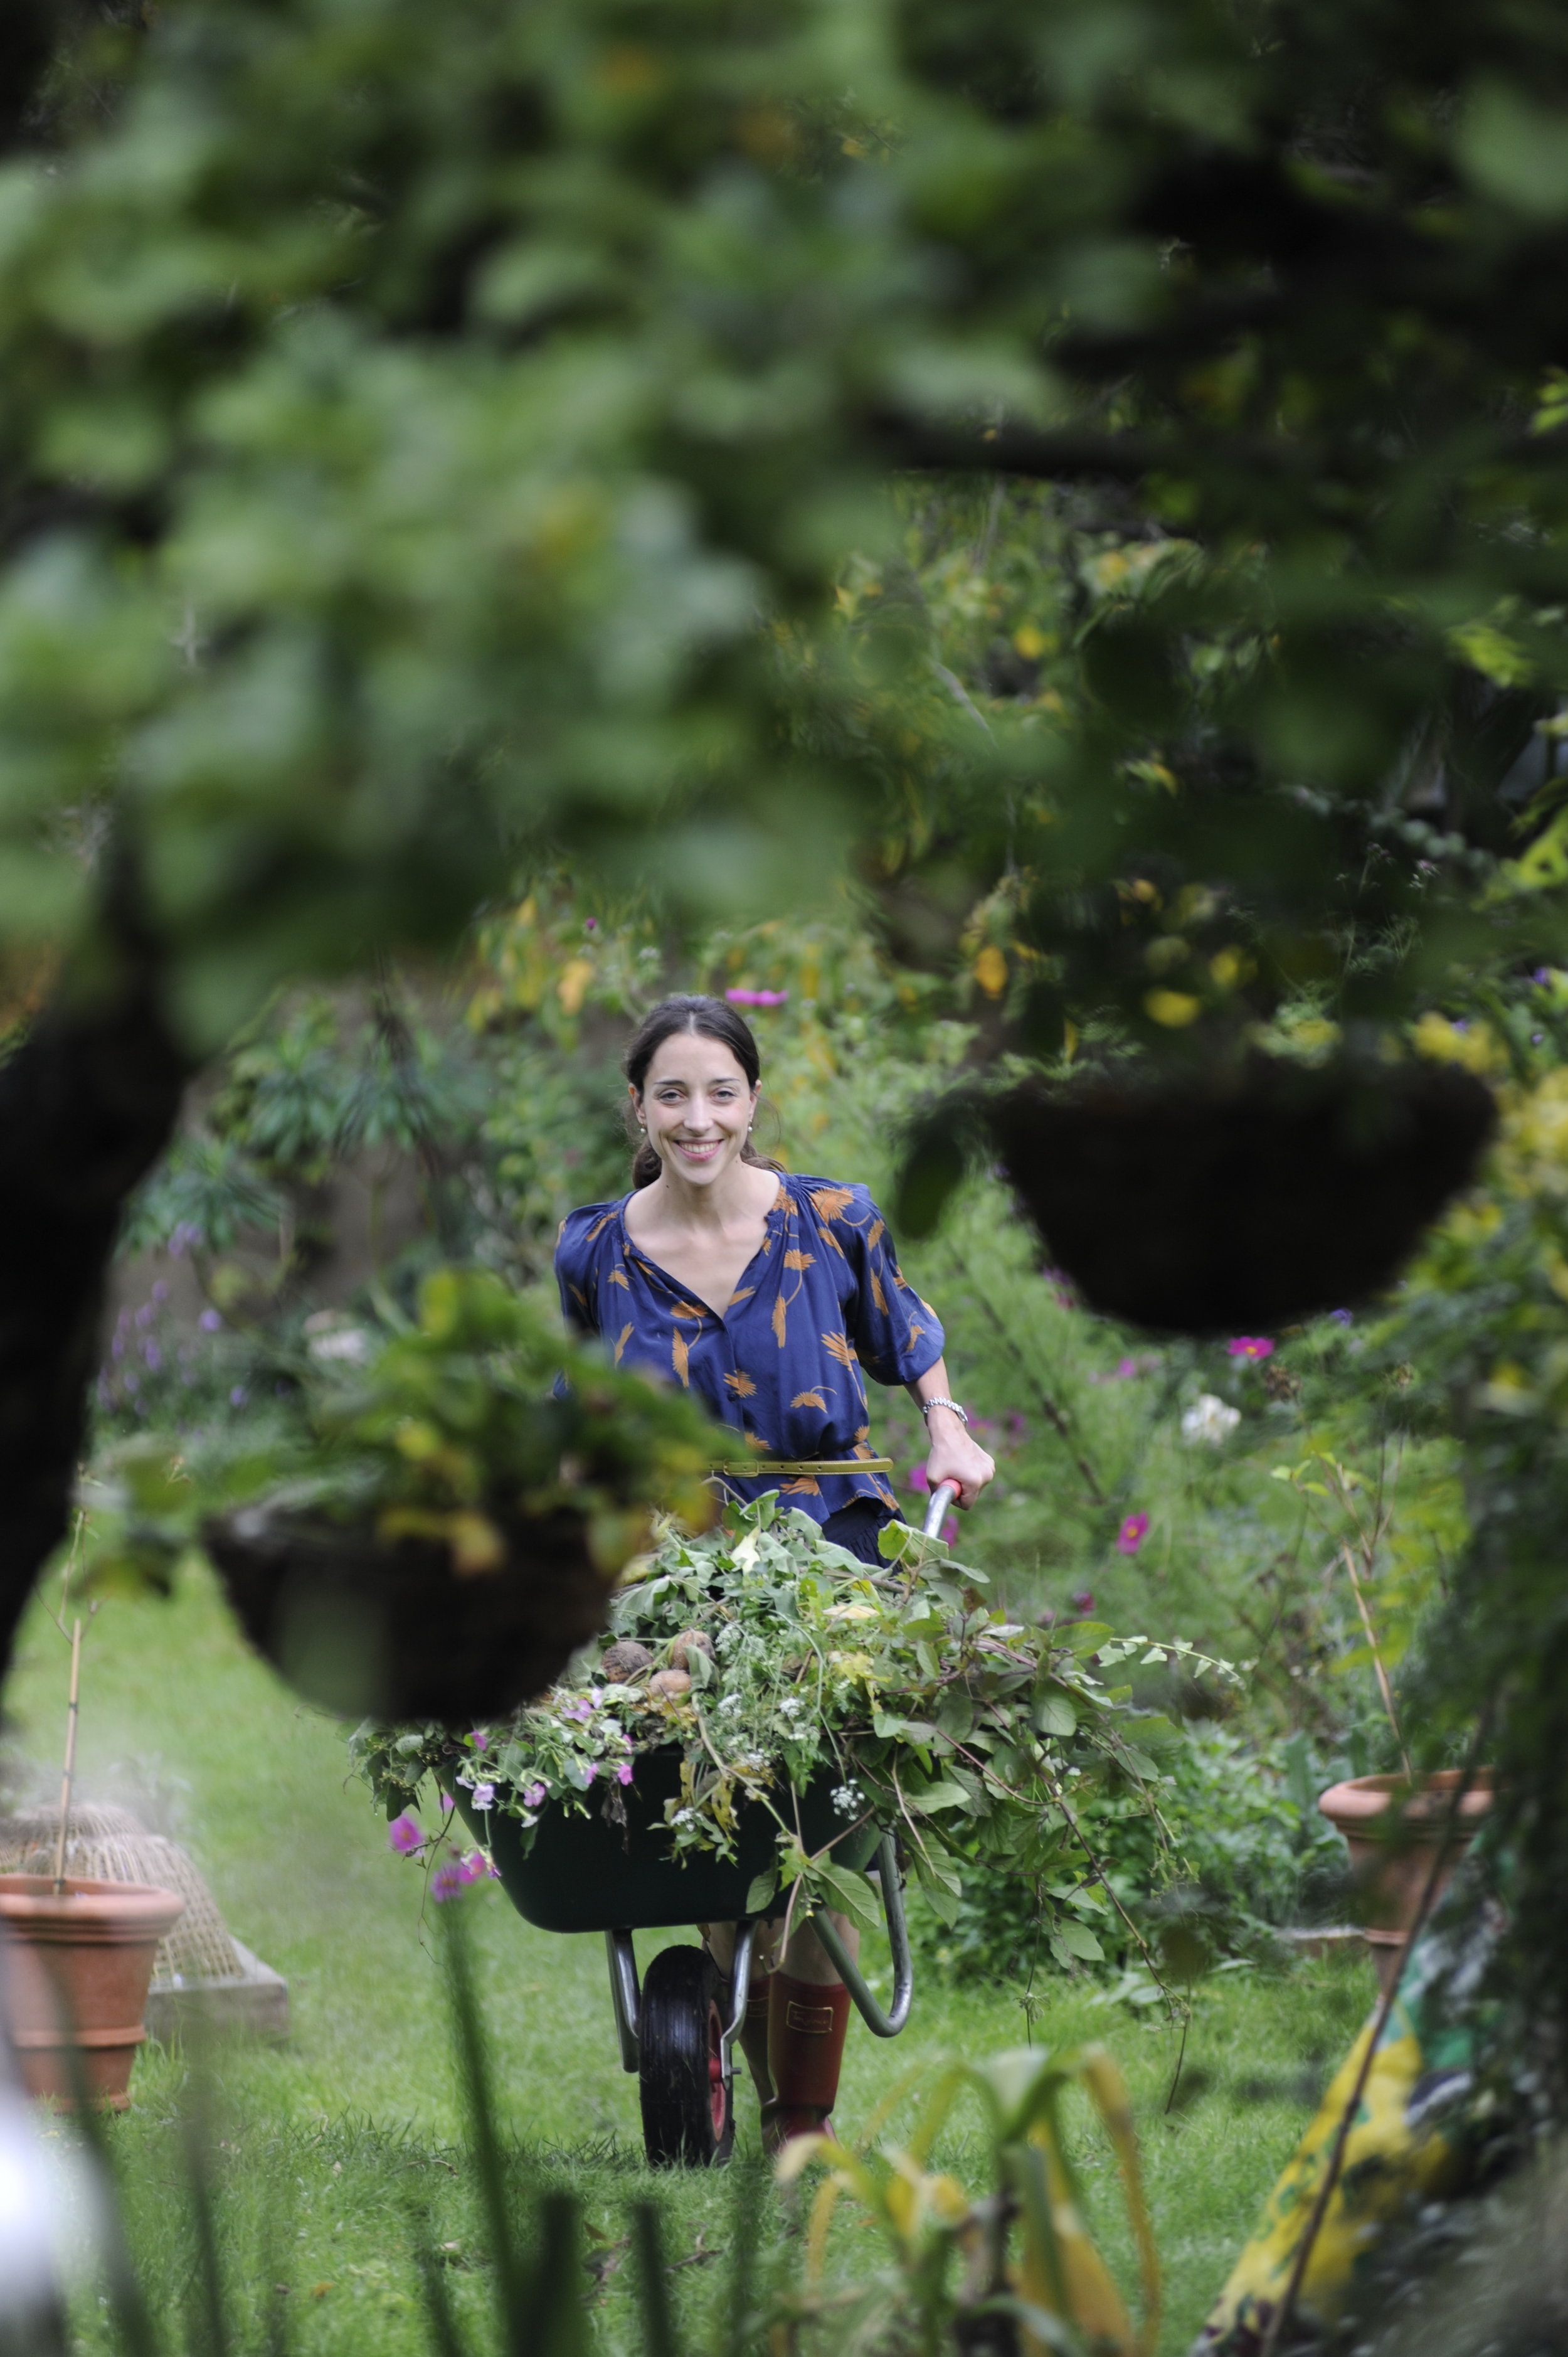
This is the tough bit. All the stuff you accumulate; pots of whatever description, old tools that have long since ceased to serve their purpose, seeds you meant to sow but didn’t, plants you meant to plant but didn’t, garden furniture that you no longer use. Games, languishing in the shed. None of these things are rubbish, but in many cases, many of them are redundant. And here, you really can put everything in one place and sort through it, piece by piece, deciding whether it sparks joy for you or not. Donate (or sell if you have the energy) – get rid of these things responsibly, but don’t leave them where they are. The spaces freed up by this exercise can be repurposed for the things you really love and which are useful to you. THANK these things too if you want to…whatever floats your boat babe.
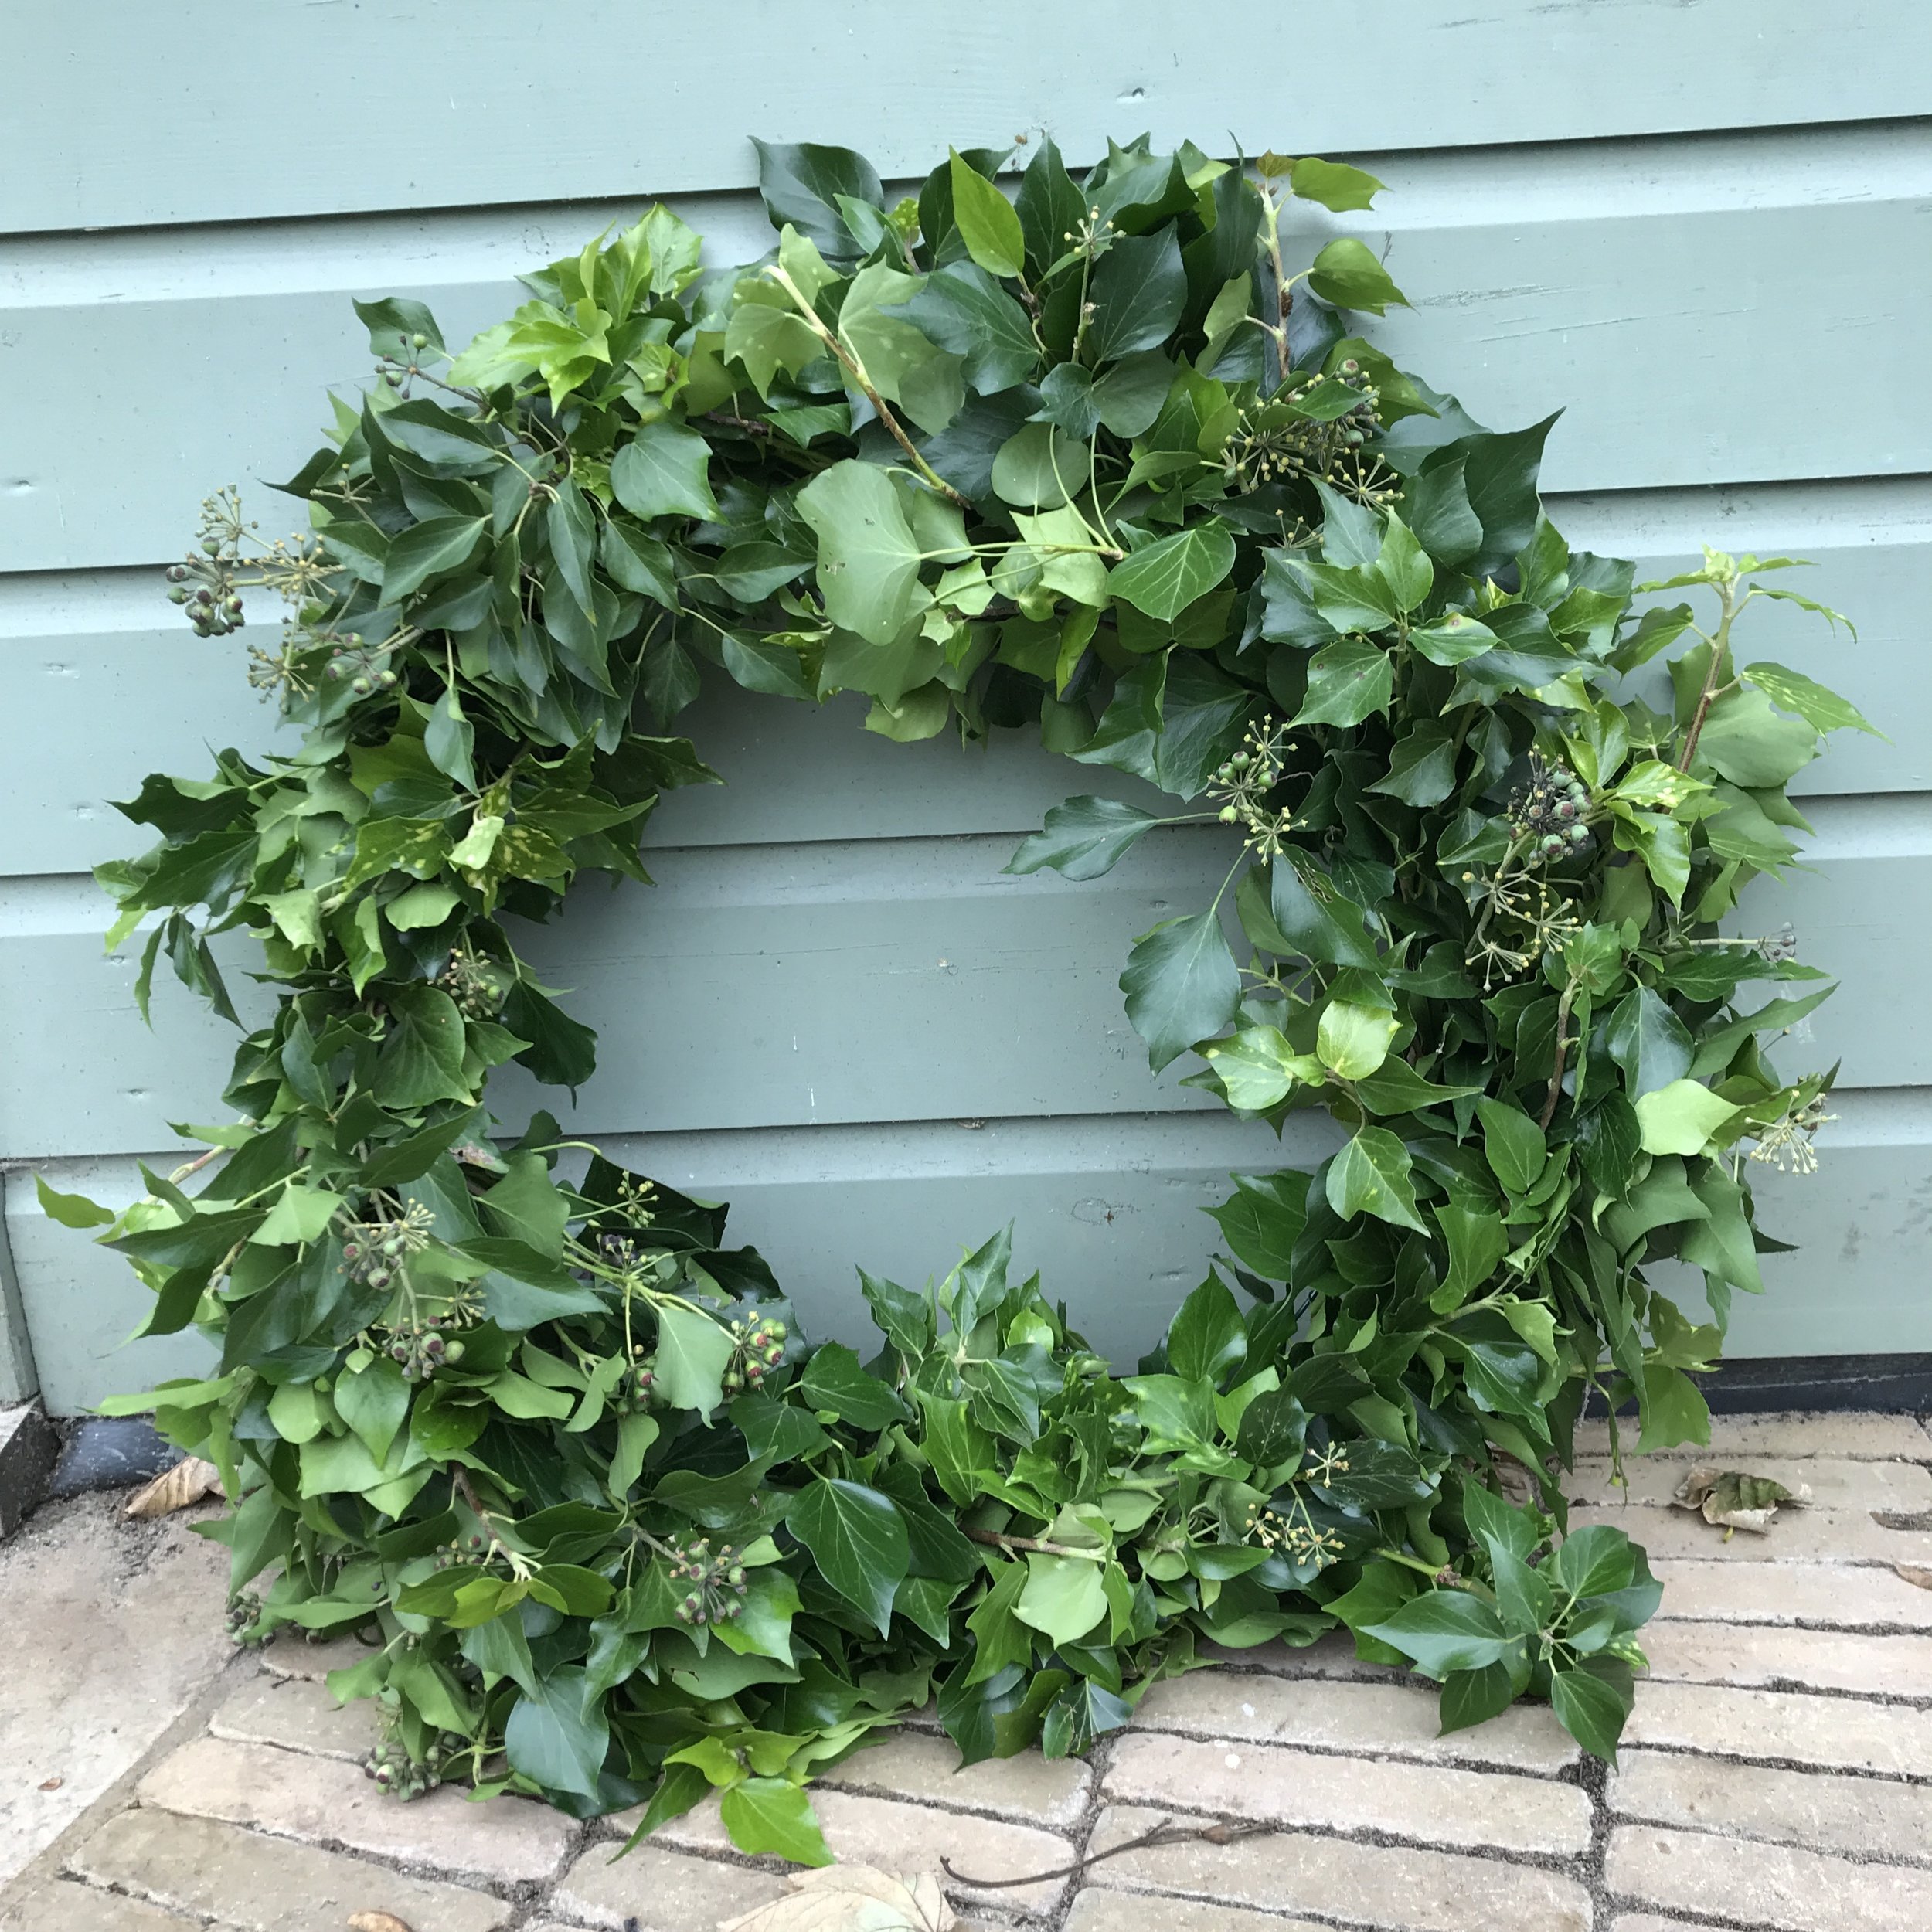
4 Sentimental items – think ‘miscellaneous with memories’. It might be a pot your granny gifted to you. It might be a plastic wendy house your children loved while they were little. It might even be a gnome. If you love it, and it sparks joy, then think of making a special space for it in the garden, and if you baulk at that idea, well then perhaps you don’t love it as much as you thought?
So what do you think? Would this work for you?
Xx Laetitia