Enough with the rain already!

Here are some edible flowers ... eye food as much as tummy food, and an antidote to this chilly rain...

Lilac is one of my favourite velvety petal foods. Fling it in salads or on top of a cake.

...but there is also sweet cicely


...and forgetmenots (of which I have an embarrassment) ... and if this is just too cutesy for you, then have a look at my myosotis strawberry pot over here


Cakes are a good way of dealing with a rainy day. These ones are from a recipe in this book. If you can cope with the fact that the lady who wrote it looks a bit scary, then it's really rather good. These cakes are proper delicious...better than victoria sponge ones, in my humble opinion, and really easy to make. I use tiny paper cases instead of big ones, and they produce the loveliest mouthfuls ever. Reduce cooking time a bit if you're going miniature.


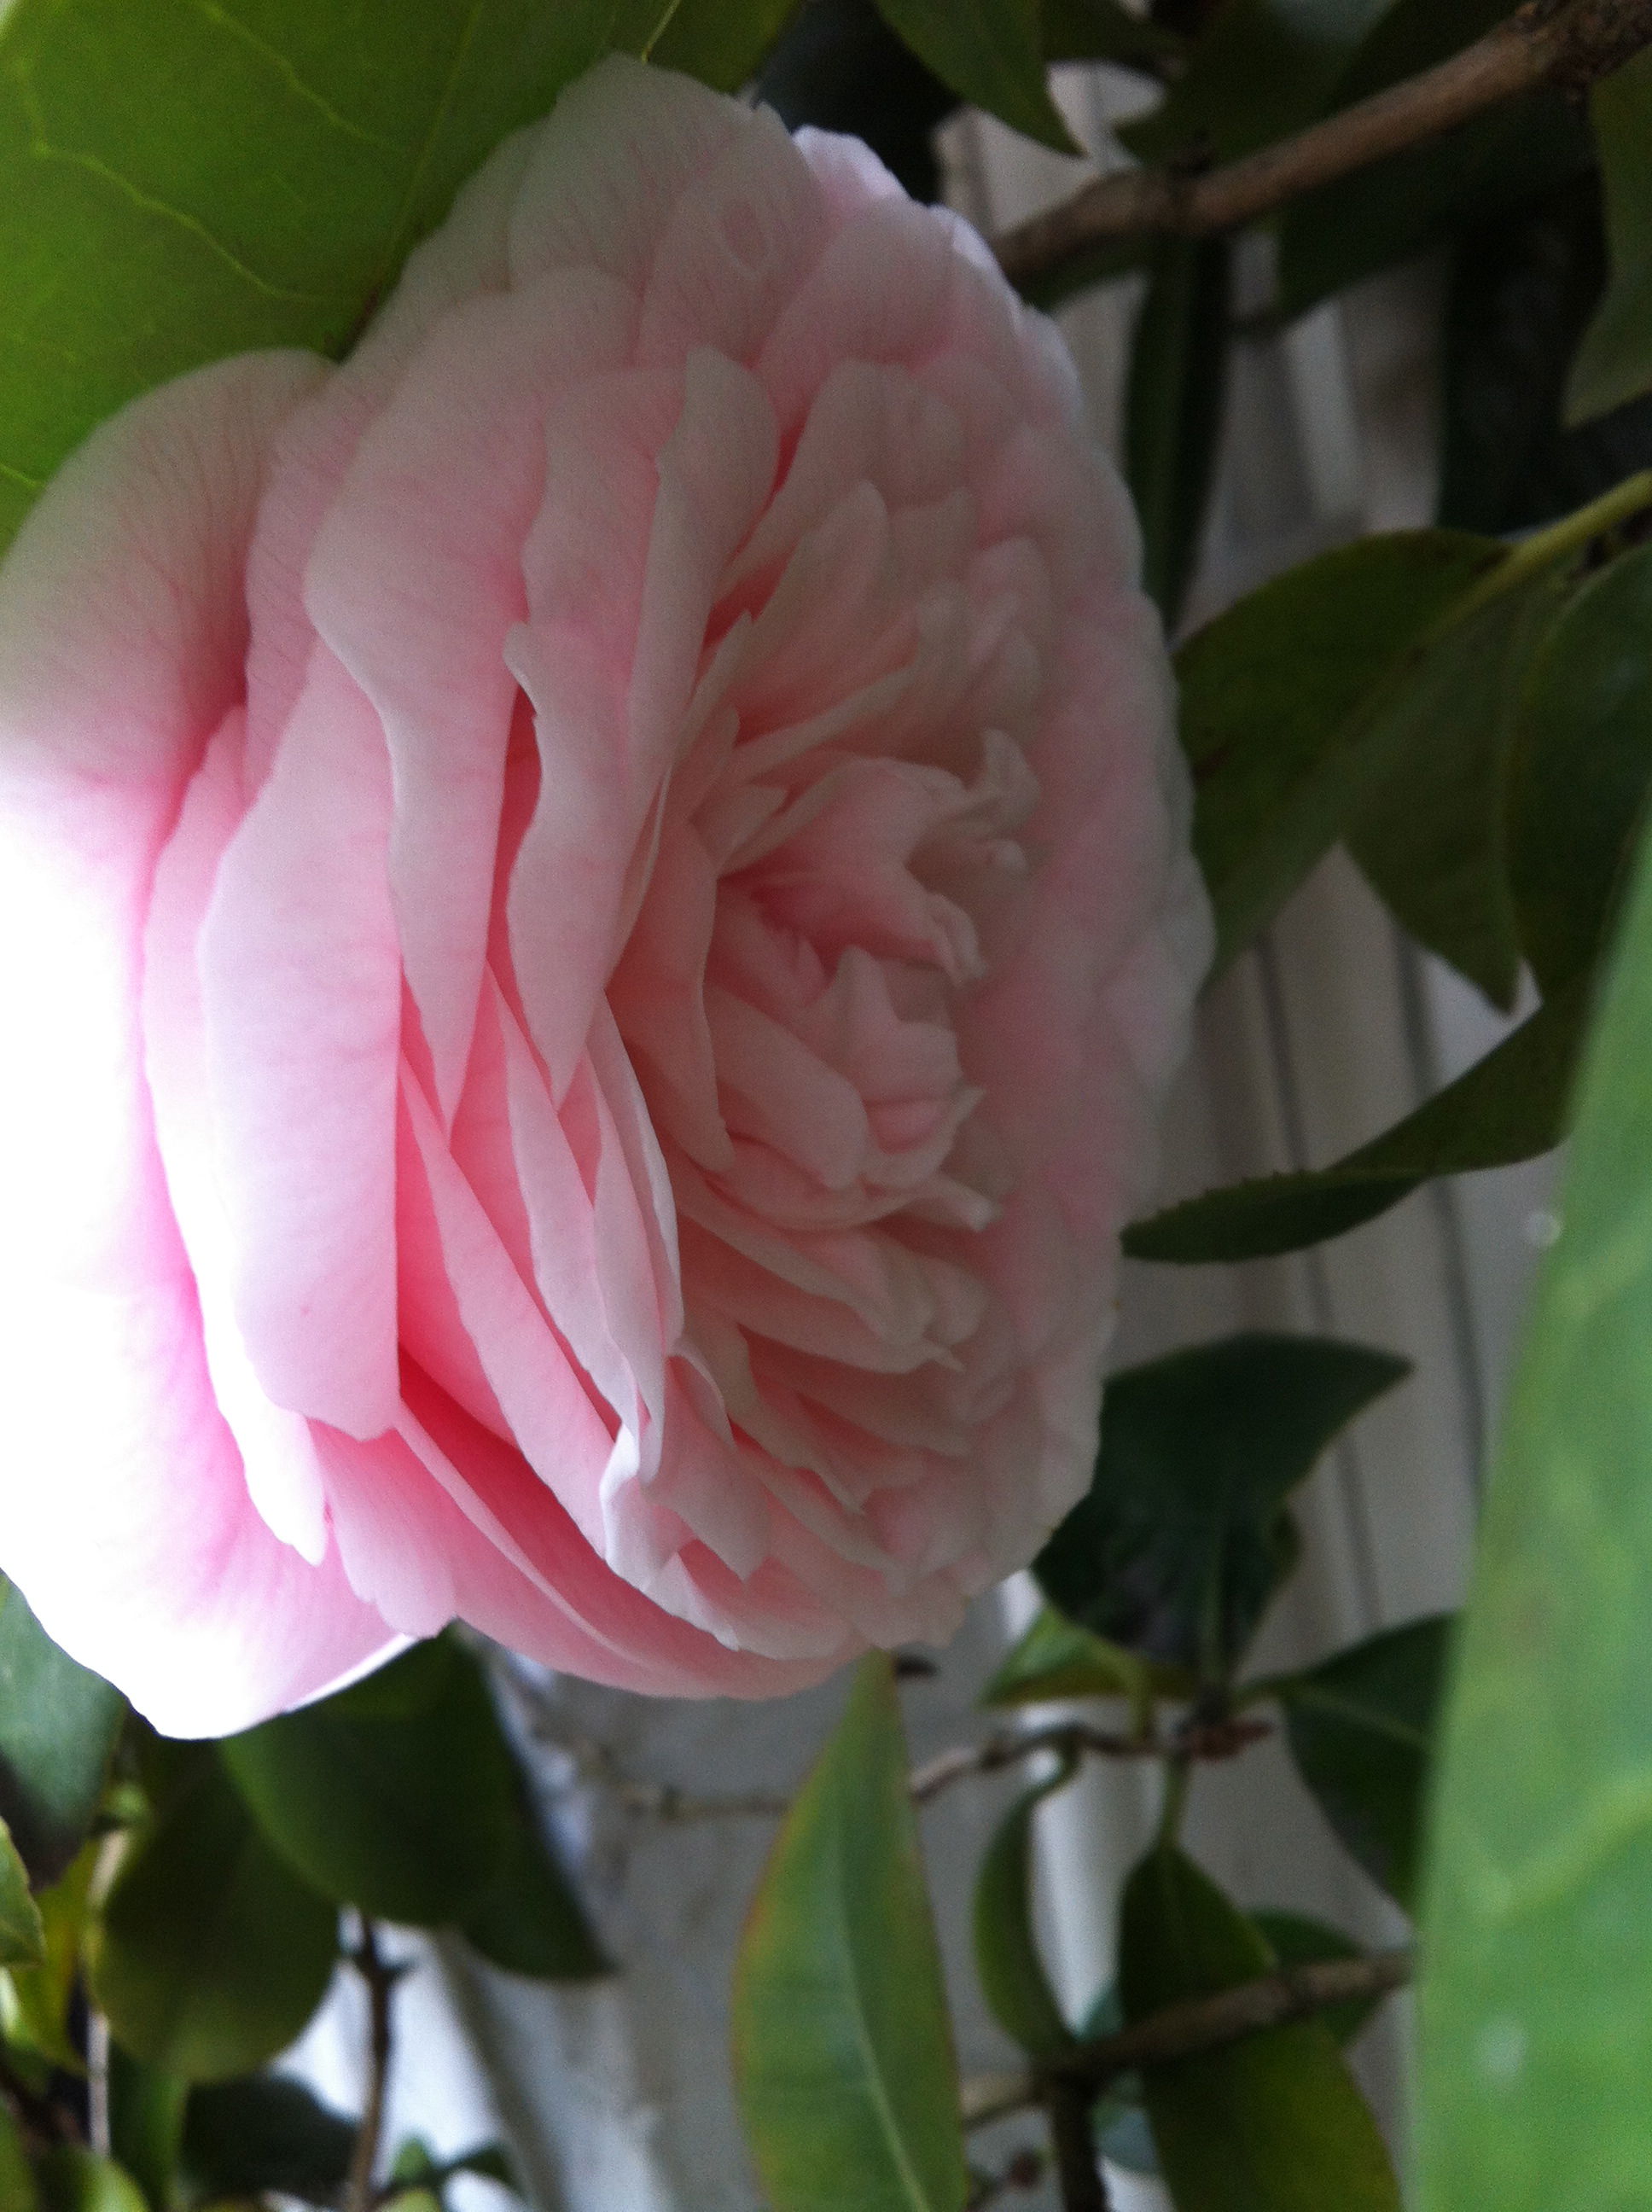
My mother's camellias

...She hasn't space for bushes...so instead she wall-trains them.

...It takes a while....

These have been here for as long as I can remember - (the pink one was given to my mother at the birth of my older brother)....What I'm trying to say is that they're older than ME.

I don't remember them ever flowering so abundantly as this year.


...leaving a trail of luscious bounty....


Too many blooms to carry indoors, (like so many precious babies) and float in bowls


...So they get used to anoint topiary...'n stuff.


I'll write a recipe for this one-pot-wonder once I've grilled my mother on her secrets.

a bientôt

x

The Greens

Tulipa 'Spring Green' This, and T. Princess Irene are probably (PROBABLY) my favourites....although I won't be HELD to that.

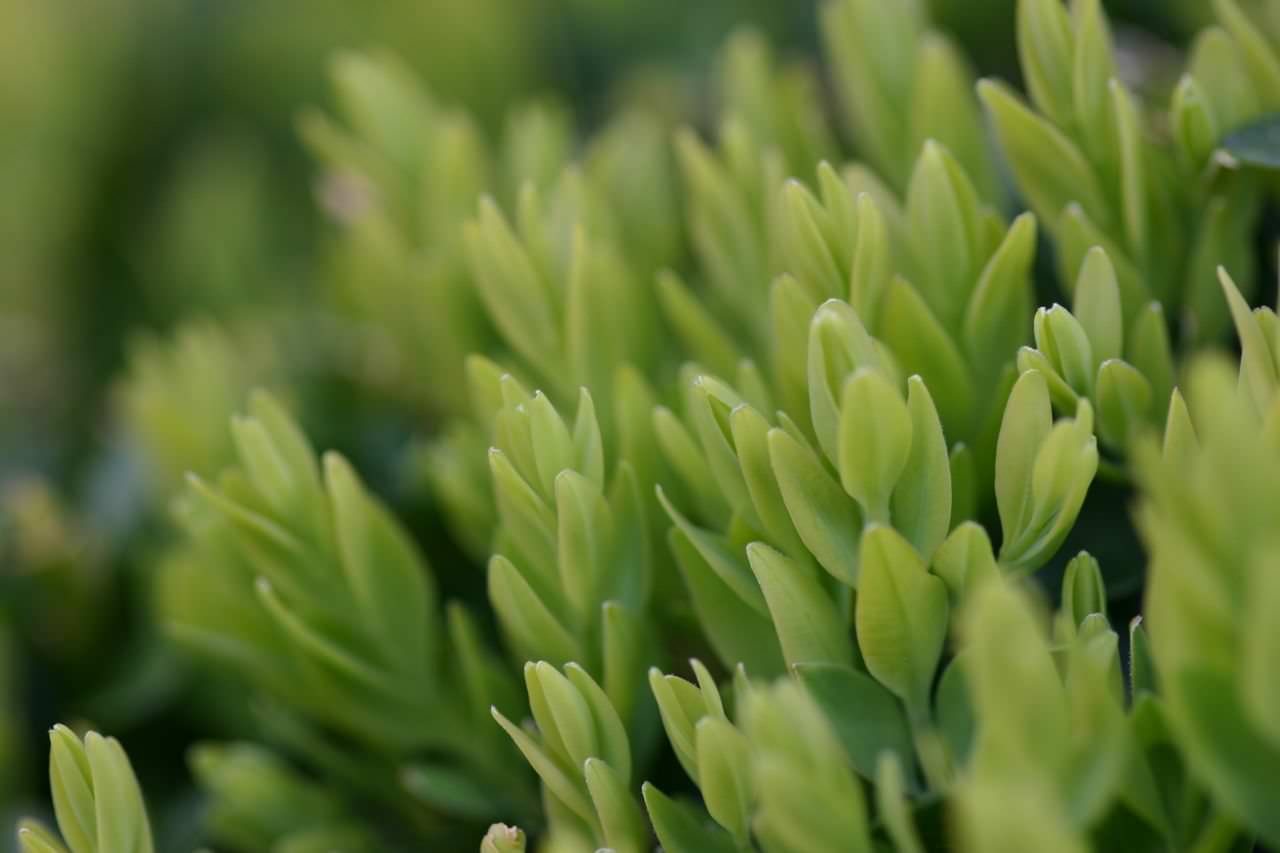
New, baby box leaves. The velvety softness of them, and that wonderful smell of NEW....best part of spring? Quite possibly.


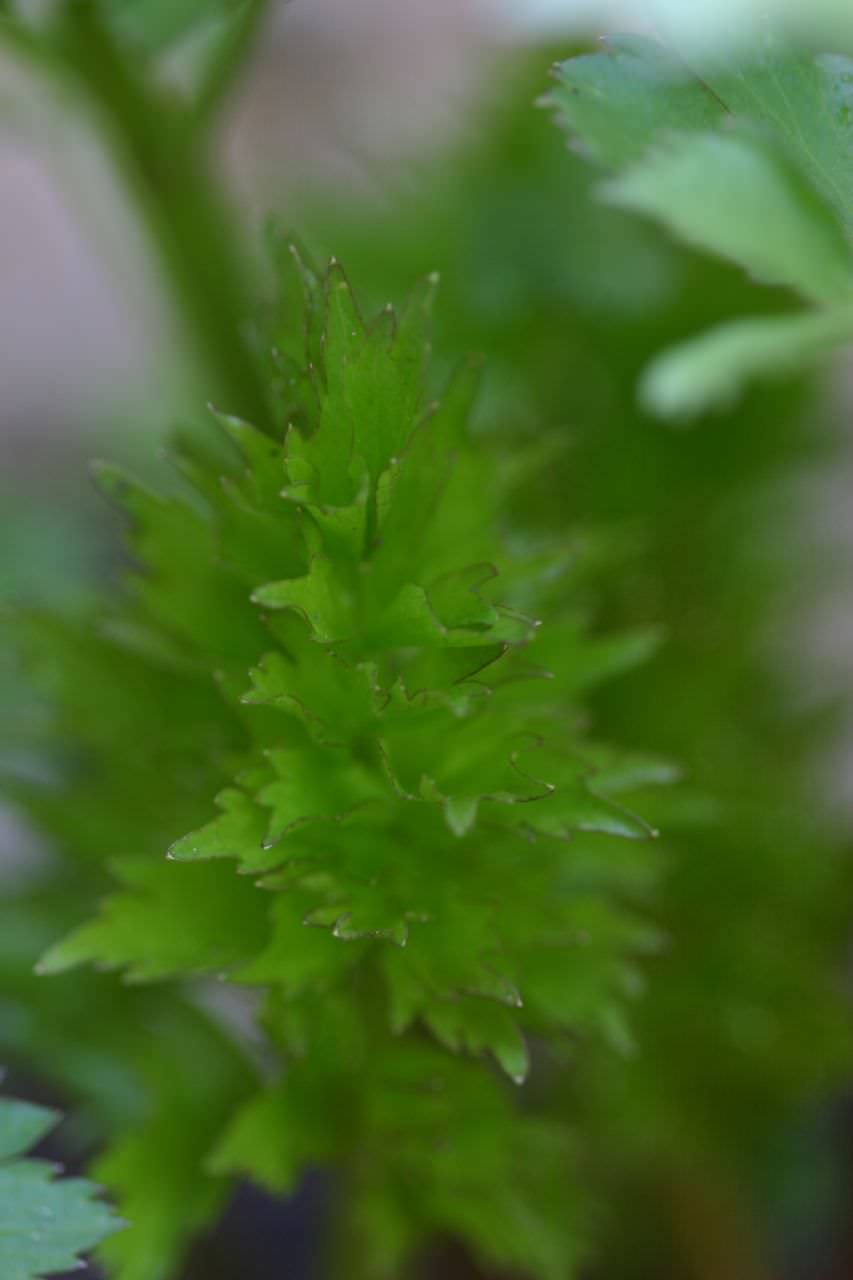
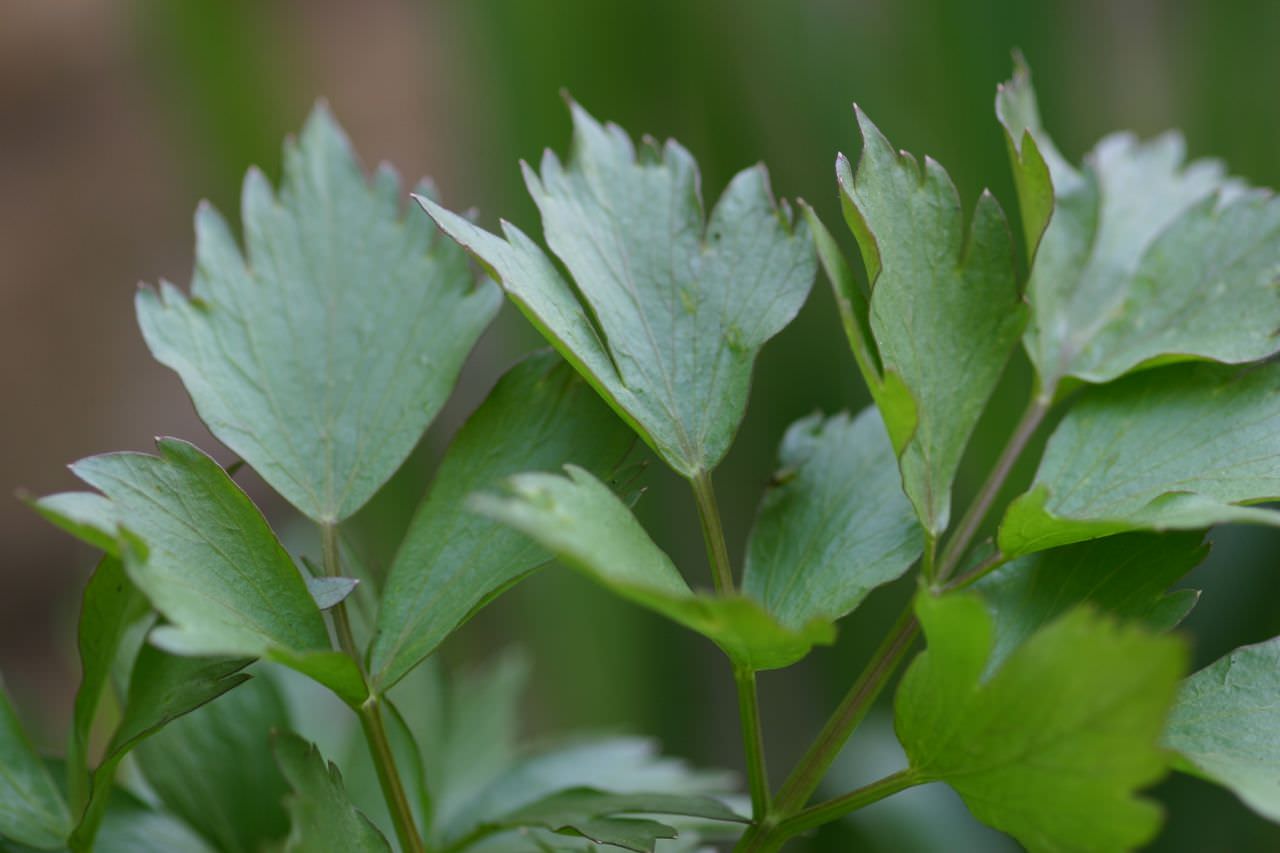
Lovage - starts off all curly and shy, and then it turns proudly into a goose-foot...- my preferred stock seasoning. Delicious raw, or, or as a sauce (see my book), or shredded into natural yoghurt for curry night.


April Blues

Three blue things making my heart sing this month:  

Forgetmenot (myosotis) - which carpets and spreads so obligingly. It was here when I arrived, and has now migrated to every pot on my terrace. I don't mind a bit. The most perfect of blues ...in my humble opinion.


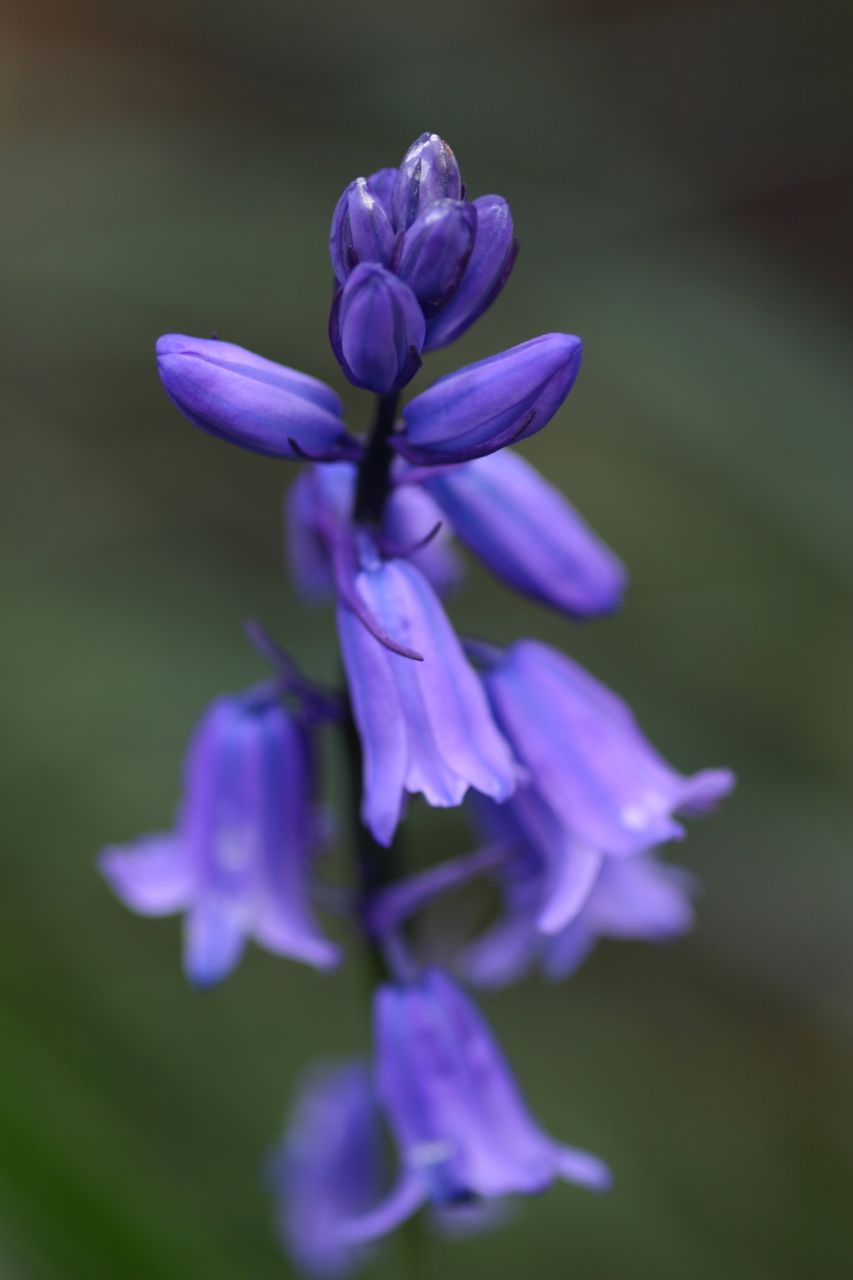
Bluebell (Hyacinthoides non-scripta) - I THINK these are English ones (deep blue with white pollen) but if you think they're naughty spanish ones then do let me know and I'll yank them out (with sadness)


Pulmonaria 'Blue Ensign' Exquisite blue, low growing. Mottled leaves.  Need more.

April whites

Pear blossom - this one is Concorde. There is something about pear leaves, and the clumsy, hopefulness of them.


Clematis montana - exquisite, rich scent. Don't know what this one's called, because it's not mine...I 'borrow' it, from my neighbour. If anyone knows do please tell me.


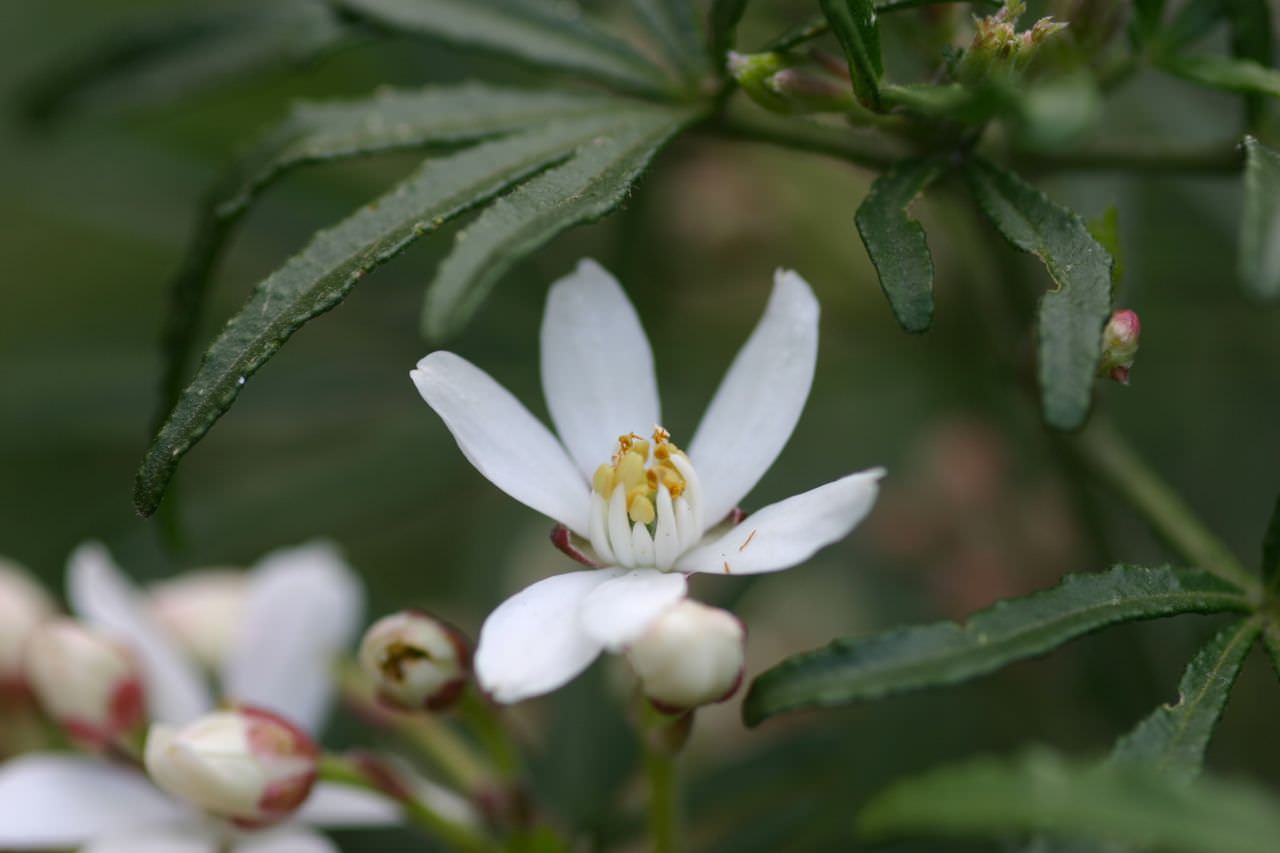
Choisya 'Aztec Pearl' - just bursting open and pumping out honey scent.


Sweet cicely... prettiest and most underrated herb on the planet.


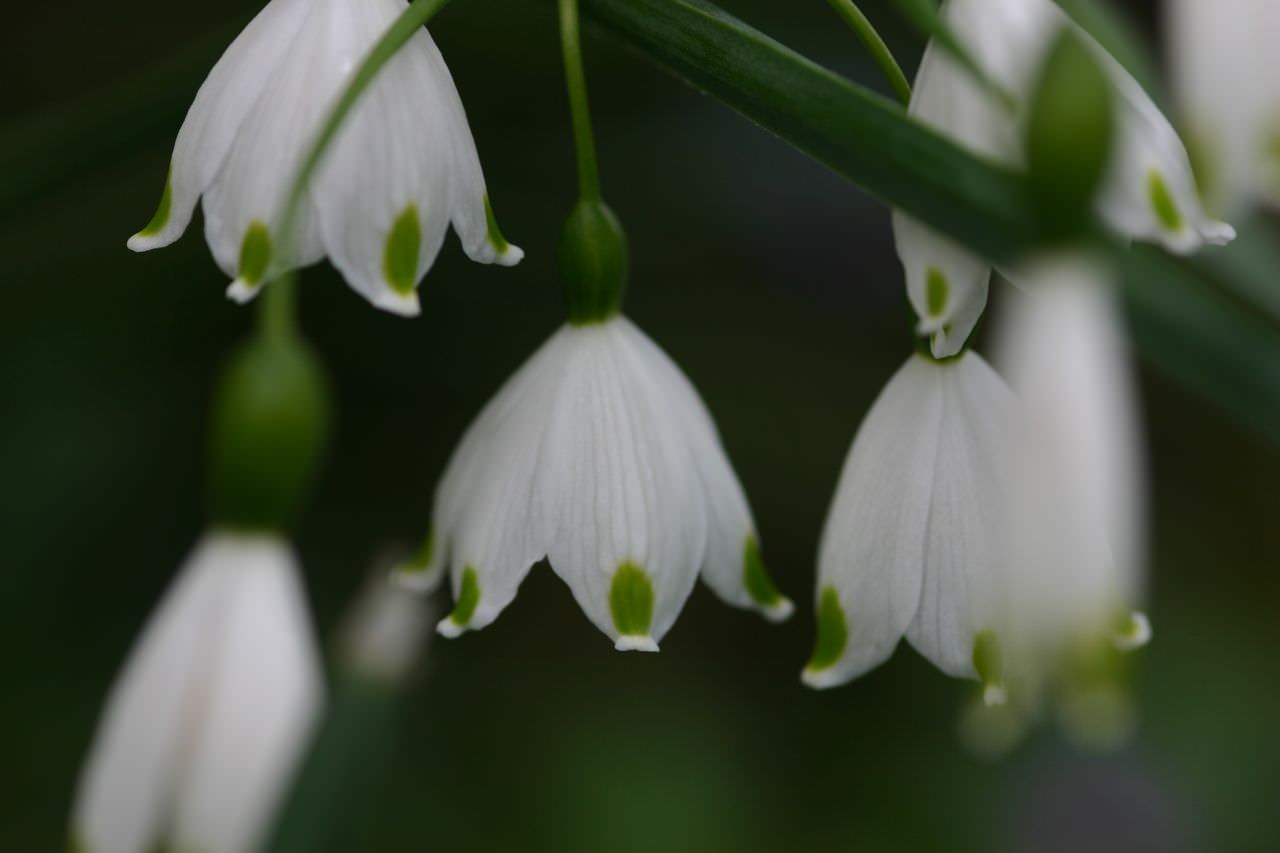
Leucojum vernum


April Newness

S'been a while since I posted 'the garden' Some time last year I stopped taking monthly pictures (just because)...

But now I've discovered Pinterest,  so I'm starting again.

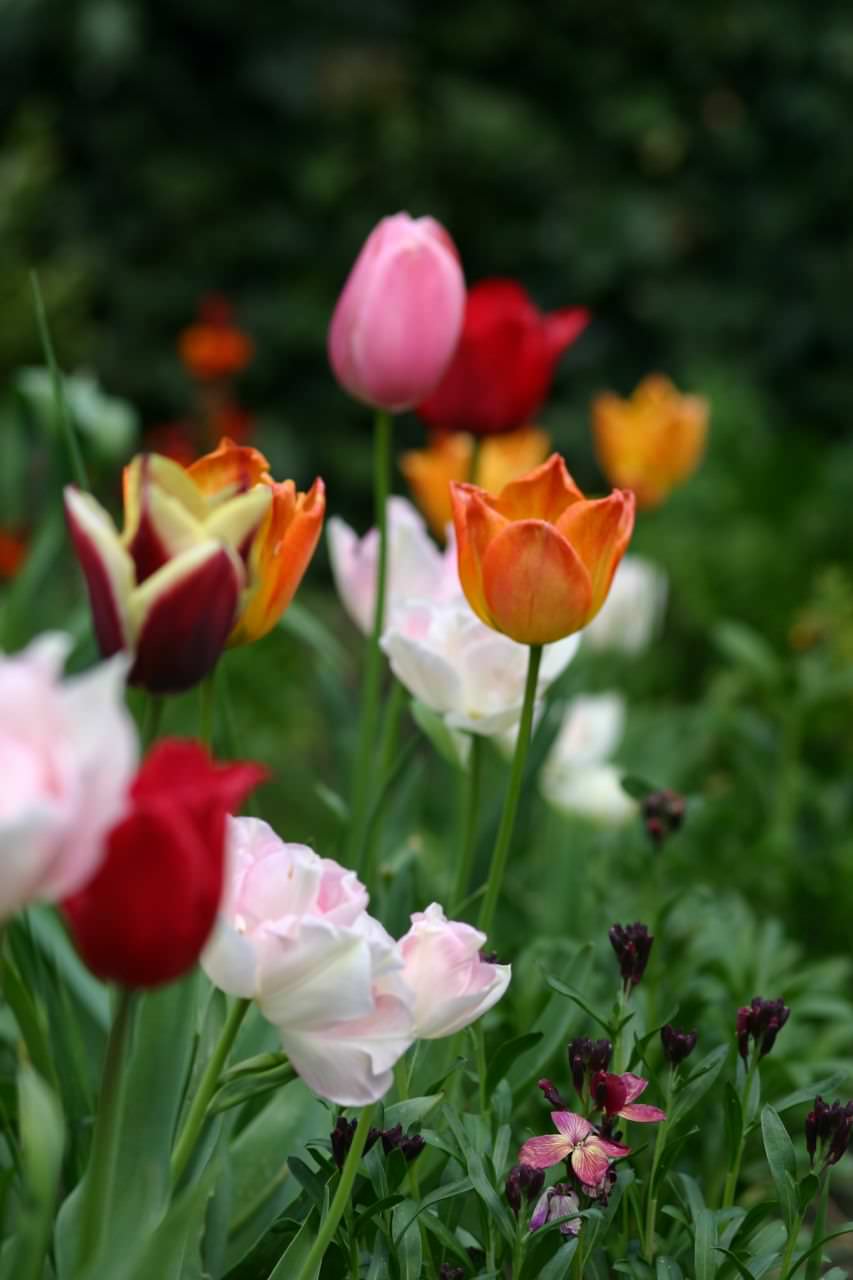
Here's my April image...and my leading ladies - the tulips (which, by the way, were planted not last autumn, but the autumn BEFORE).

The arches look a little wonksome, don't they. I think it's my camera skills

The tulips are in my cutting patches. They are in lines. This is because I don't want to disturb them when I plant all my cutting garden stuff later on, and also because my grandfather used to have tulips - all one type, and in VERY straight lines - like soldiers. Fondness prevails.

The beds are edged with erysimum (not the psychadelic orange of last year)...I'm going to miss it I think.

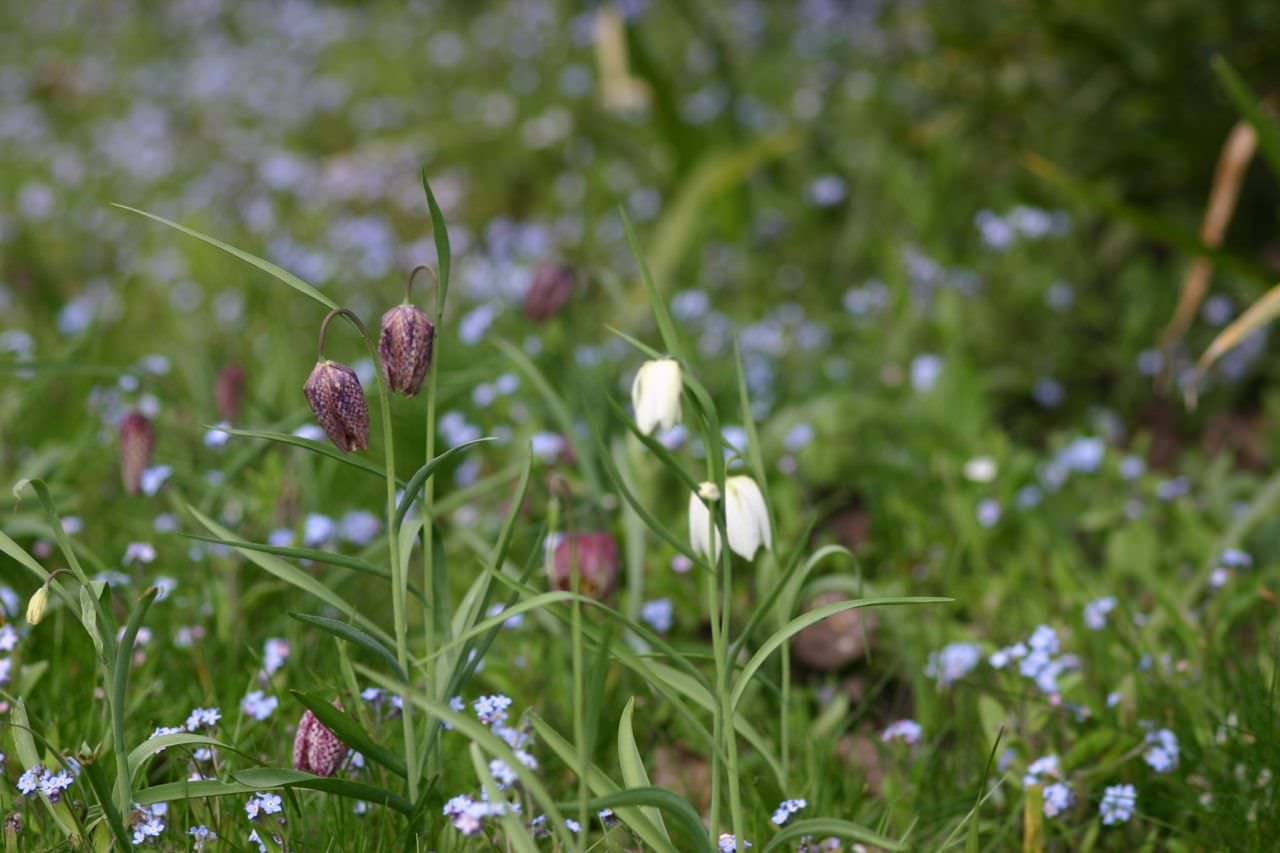
And lastly, a picture to show everybody that a fritillary meadow of ones own IS possible..even if you only have three square metres to do it in. This is very much my favourite part of the garden.

Stay tuned for some April colour highlights.

Lip bump bliss

The garden is looking rather delicious...in spite of me.

Tulips up and out and better than they were last year. Sometimes I think the secret to this whole gardening lark is to be rather minimal when it comes to work.

I'm going to take the tulips' portraits and post them soon, but right now, it's holidays again. I have learned from my mistakes, and this time I am determined not to end up in the foetal position.

I have stuff planned.

...THINGS, tucked away in cupboards

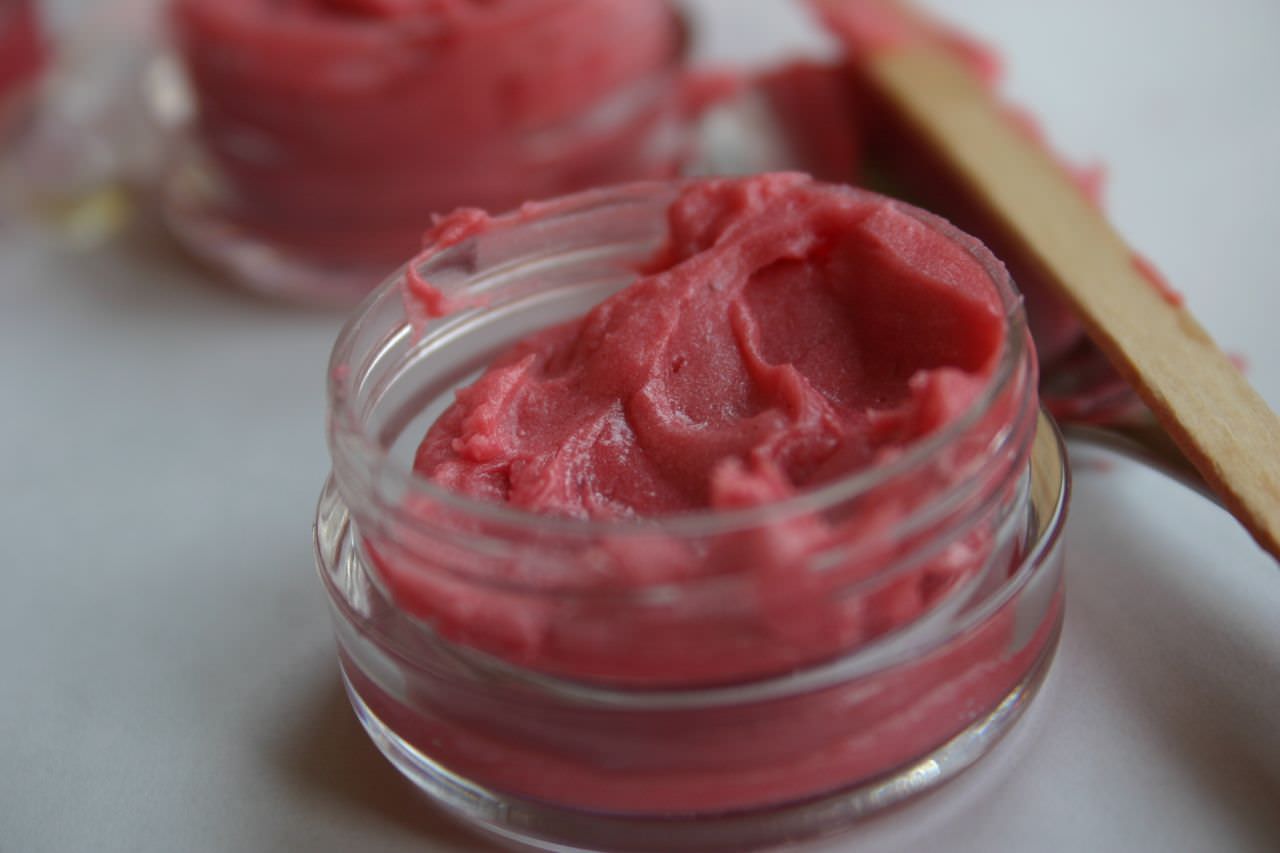
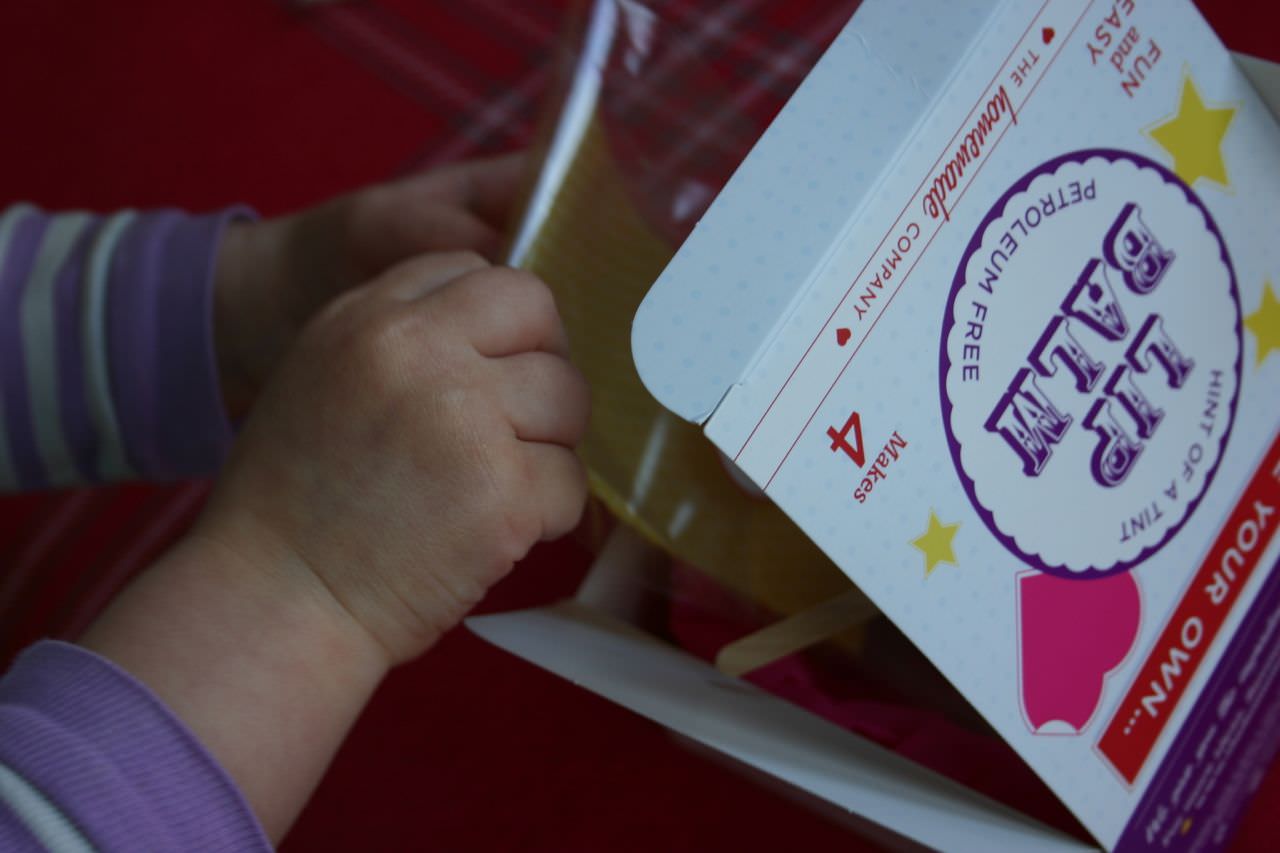
One such thing...a lip-balm kit from the Homemade Company, gave us a lovely hour of wholesomeness this morning.

(We call it lip bump)

It all comes in a pretty box, and everything is included for you to make four little pots of lovely lip balm.

...and it's all natural, chemical-free, biodegradable (even the plastic) and completely safe for mucking about at home with.

Best of all, it's made in Blighty.....ALL OF IT.


A rose and sweet pea arch

My new book, Sweet Peas for Summer is in the SHOPS, so I thought I'd do a little recipe in its honour

I've been wanting arches in my garden for quite some time now, (for sweet pea frolics and in order to satisfy my climbing rose fetish) and I've been holding back mainly because I thought it would be expensive, but then I spied these and realised it'd be silly not to really. True - it's not like having a proper blacksmithed confection, but, well, it's going to get covered in roses and sweet peas anyway.

So, for your gorgeous arch you need:

An arch like mine (or you could fashion one out of sticks and stuff if you were ... handy.

Two climbing roses. I have three arches, and I've used Rosa. Cecile Brunner on one, R. Blairii No. 2 on the second and R. Constance Spry on the third. The first two are eulogised in more detail here, and the third, well, I bought my roses from here with the kind help of Tom (talented flowersmith, who should definitely write a blog, and we all need to bully him until he does just that). Tom convinced me about Constance Spry by telling me that an arch full of it would be 'utterly camp'. Sold.

Sweet peas. It depends on the girth of the arch you're going for, but each of mine got about six sweet pea plants planted on either side. You can get sweet peas in the shops right now. Mine were sown in October last year (I know...get me!) and came from here. This is the first time I have ever done autumn-sown sweet peas. It is deeply satisfying but in my HUMBLE opinion it's not necessary unless you're planting hundreds of the things.

Some well-rotted manure (optional, but great if you can get it). Otherwise, chuck in some 'soil improver' also sold in bags.

A nice, weed-free, fertile, sunny site (i.e. the holy grail). I cleared each end of my raised vegetable beds to do this project. Don't worry too much if things aren't perfect though. Sweet peas are terribly obliging. They will give it a good go, whatever you do to them. Roses are a rather longer-term proposition, so do pick one that's suited to your site.

Some natural-coloured garden twine. (String, to you and me)

Some pea sticks or netting for those tendrils to climb up

Method:

First you need to erect your arch. Mine came flat-packed and I'm VERY glad I had a power drill to drive all those screws in (otherwise it would have taken me all day). It wasn't taxing though...just boring. Stick it into the ground and make sure it's properly secure. I know that I'm going to have to reinforce my arches some wintertime, because once there are roses all over them, then the wind will rock them (wind-rock is no good for roses, or anything else planty). This will probably involve driving a stake into the ground or something like that. At any rate, it's far too boring to think about right now. Once my arch was up, I stuck a twiggy pea stick into the ground to proved something for the sweet peas to climb up. You could equally throw some netting over the arch and tie it down securely.

Next, plant your roses. If they're in pots then they won't have put out roots yet so don't be surprised if all the compost falls away when you take them out. Dig two pretty deep holes at either side of the arch (you want your roses planted about 4cm deeper than they were in their pots). Put some well-rotted manure at the bottom of the hole and mix it with the earth that's already there, so everything is nice and soft and there aren't any big stones or obstacles to the roots getting down to find water. Put the rose carefully in its hole, looking at the stems and placing it so that they look like they're in the best position to start climbing, and back-fill carefully, firming the whole thing in really well with your foot. Water your roses diligently and continue to do so every day for at least two weeks, with a can of water for each one.

Now plant your sweet peas. I dug two trenches (little ditches) for mine, either side of the bottom of the arch (so that some peas will climb 'inside' the arch, and some will climb 'outside'. Put some well-rotted manure at the base of your trench and mix it in with the earth, then VERY carefully remove your sweet peas from their pots and plant them in the trench. If you have bought sweet peas, then there will most probably be several in each small pot. Do NOT separate them, but just plant them as they are, in a clump. Sweet peas hate their feet being fussed with so the less disturbance the better. I know that sweet peas are supposed to be spaced apart from each other but I promise this works, and if you try and separate the clump the plants will suffer (I've tried both ways!). If you really feel that things are too congested then you could just snip out a couple of the weakest looking seedlings at the base of the stalk.  If you have single sweet peas, then plant them 20cm apart. Firm it all in well, then gently gently gently tie as many shoots as you can in to the arch. This may not be possible at first, as your seedlings may be too small. You can see that I have stuck in some sticks (the sort you get attached to orchids with those funny plastic hair clips) to start them off in the right direction. You can do this too if you like (but do NOT spear those roots!).

It's fiddly, but worth doing all the tying in at first, so your peas know where to go and don't just trail along the ground, looking lost and sad.

Now water your sweet peas, and keep watering every day to get them off to a properly good start.

This is a ridiculously long post, so I'll post again to give maintenance tips for this project.

If you give it a go, do post a pic on my Facebook page - would be great to see it.

An Easter Nest

I love nests

I am the nesting type.

Around this time of year I can usually be found fashioning things to hold eggs...chocolate or otherwise.

I recently spied this lovely thing on the Marfa Stewart website.

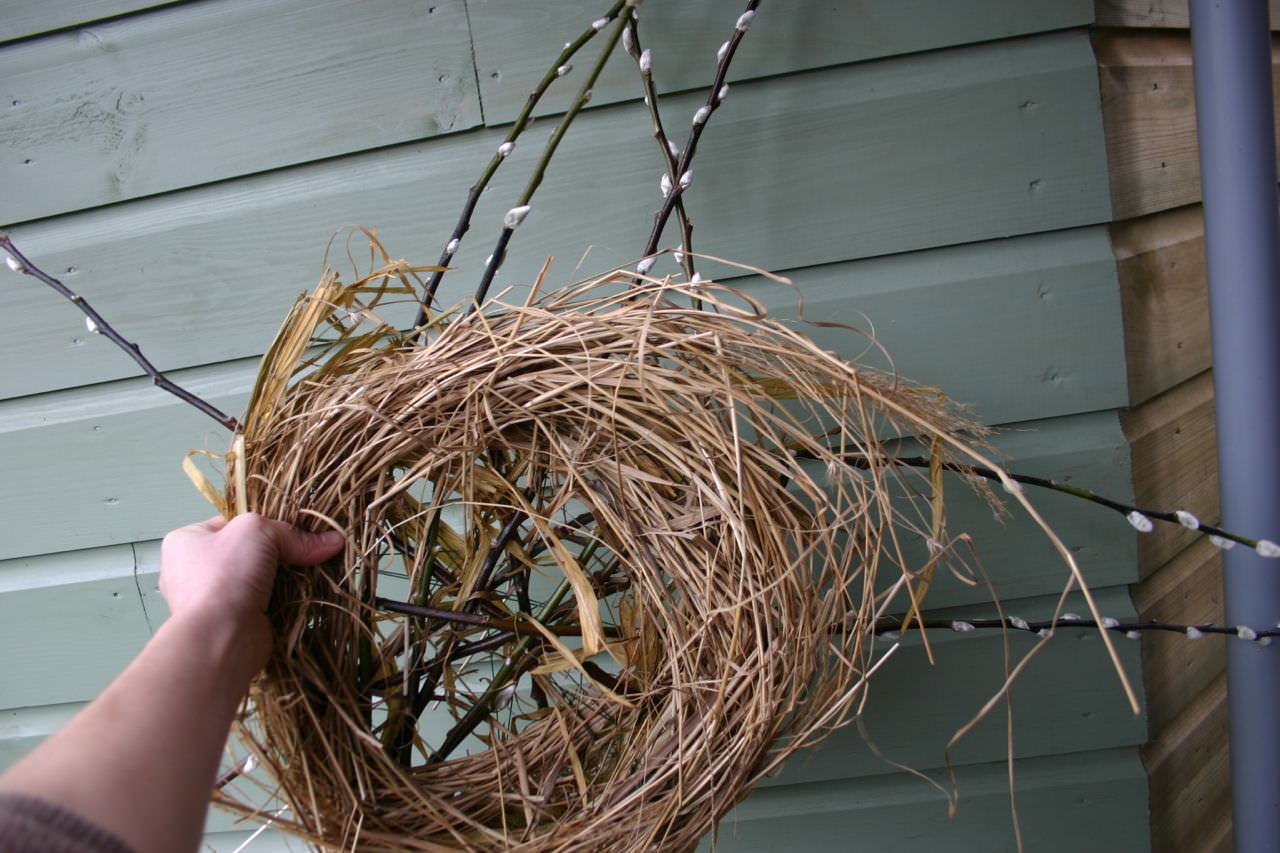
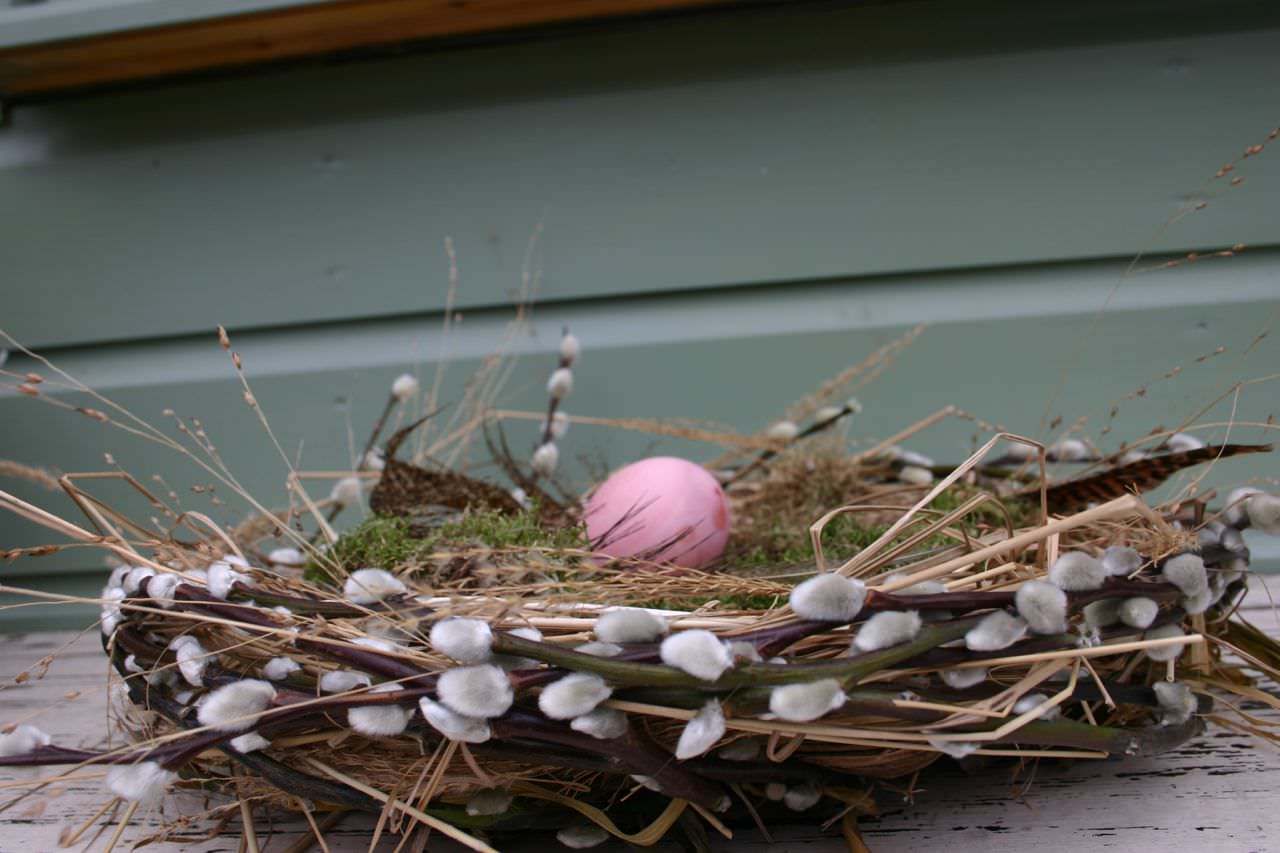
I had pussy willow (because I always end up buying it at this time of year)...and my old, dried, crispy Christmas wreath, looking forlorn in a dark corner...crying out for me to dismantle it. The result is nothing like the perfection of Martha's...(I was time-poor, and the instructions are vague) but I love it all the same.

You need:

Some nest material: I used dried grasses from a selection of miscanthus and bunny tails that I'd just pruned from the garden, and the old, crispy foliage from some gladiolus callianthus that I had tied up aeons ago in my basement. Basically, a mixture of flat/thick and fine grasses....the sort of thing a bird might choose to make a comfy nest with.

Pussy willow: In all the shops right now - One bunch...mine came from the supermarket.

A wreath form - mine is about 35-40cm diameter

Some thin wire - mine is green

Wire cutters - I use sectaurs....*gasp*

Some fishing wire or thin, clear thread, and a thick, blunt needle (or 'bodkin' as my mother calls it)

Method:

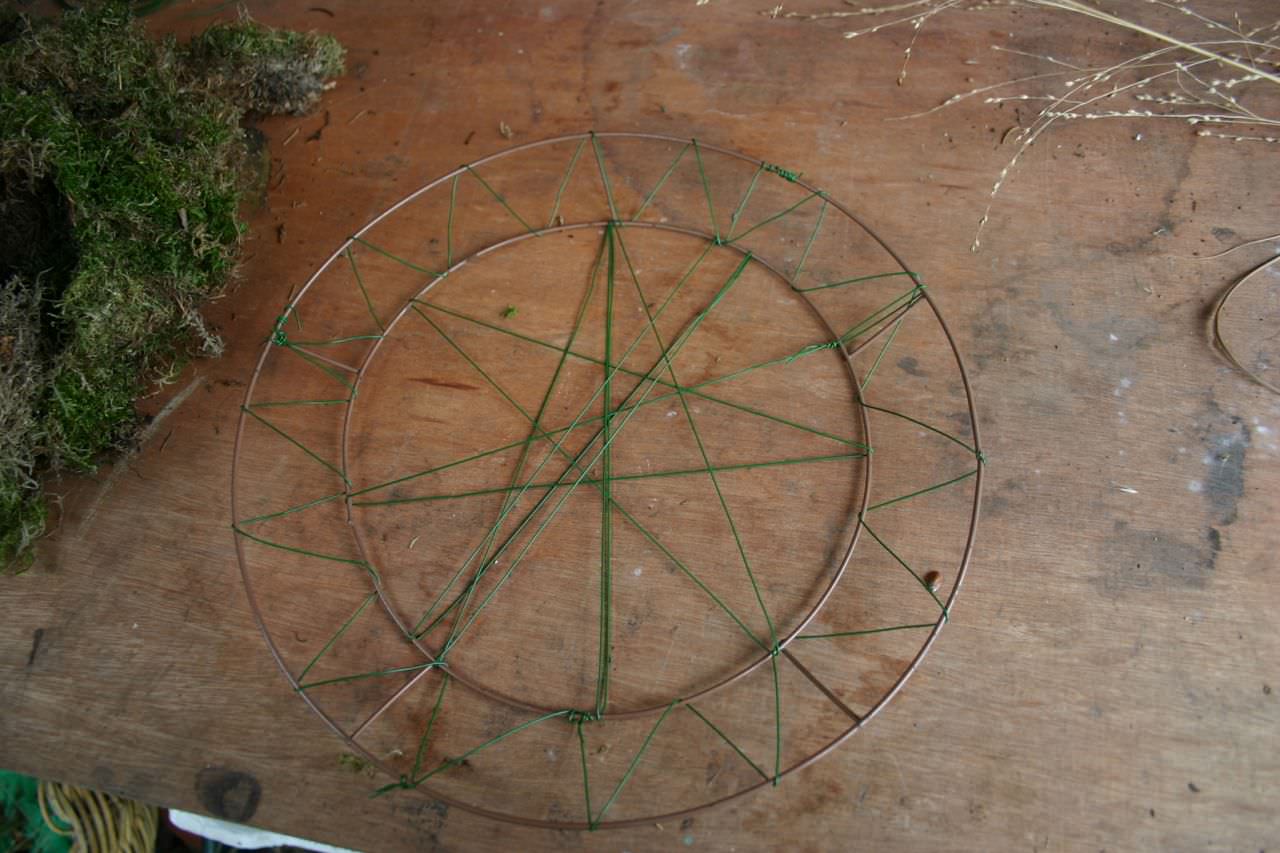
First, take your wreath form and make a sort of dream-catcher out of it with your wire like this:


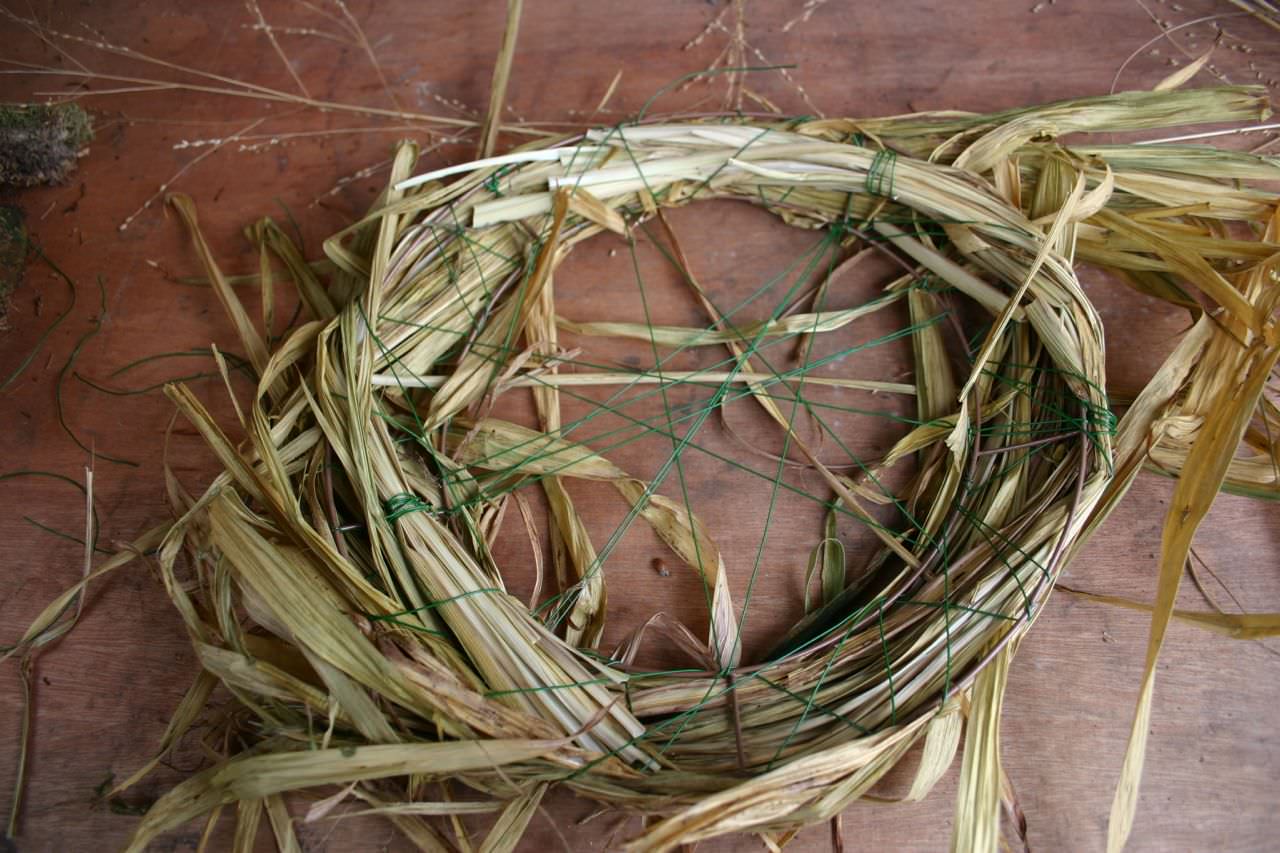
Next, separate your base-grass (in this case, my gladiolus leaves) into three or five handfuls and secure each of them with wire, and then attach them to the wreath form, just as you would if you were making a Christmas wreath (by placing them at regular intervals and securing them to the form with a long piece of wire like this:


So far, so messy, but don't worry (birds don't worry, do they).

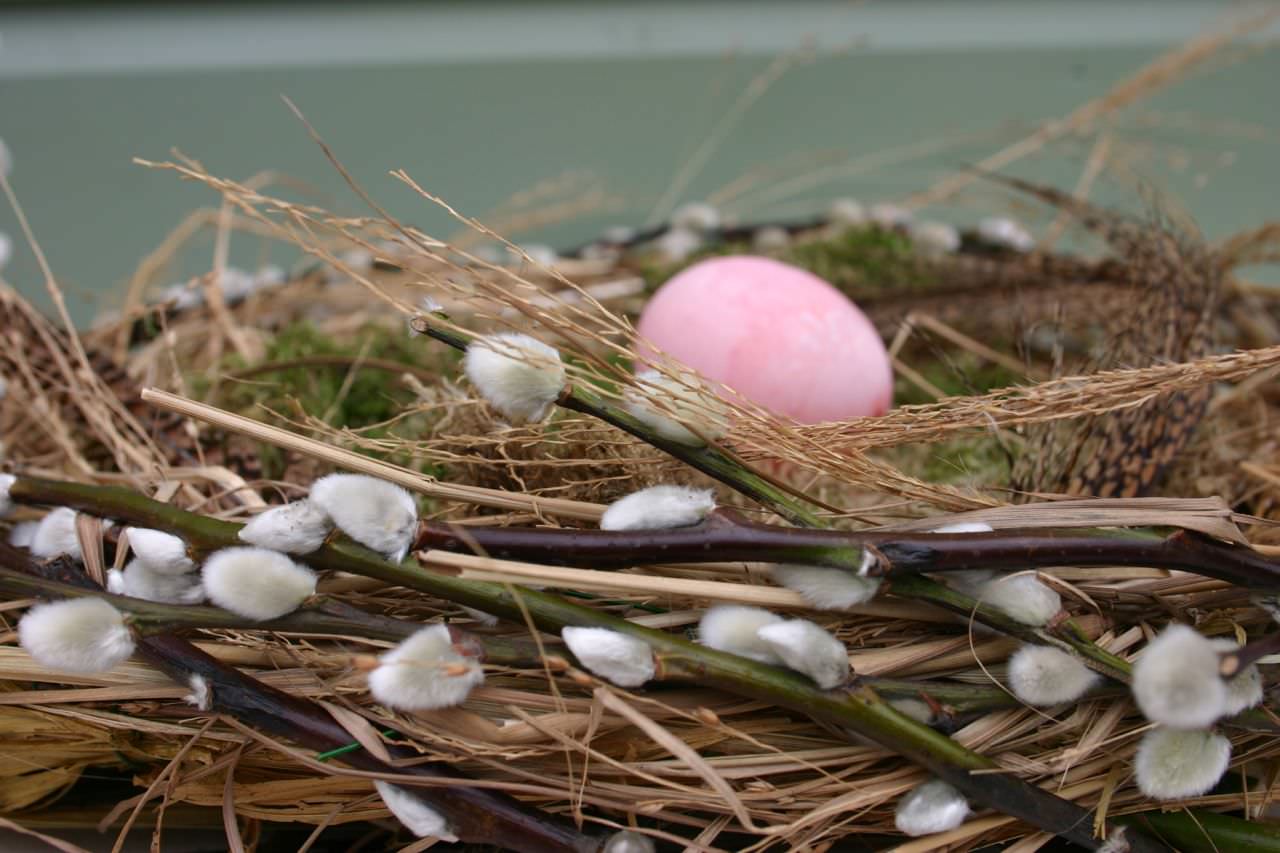
Next, add in your thinner, prettier grasses. I just wove them in - I didn't need to wire them because I had the framework. Concentrate on the outside of your nest - don't worry about the base of it too much yet..you can fill that in later. Keep adding grasses until you have what looks like a bird's nest with a hole in the bottom.

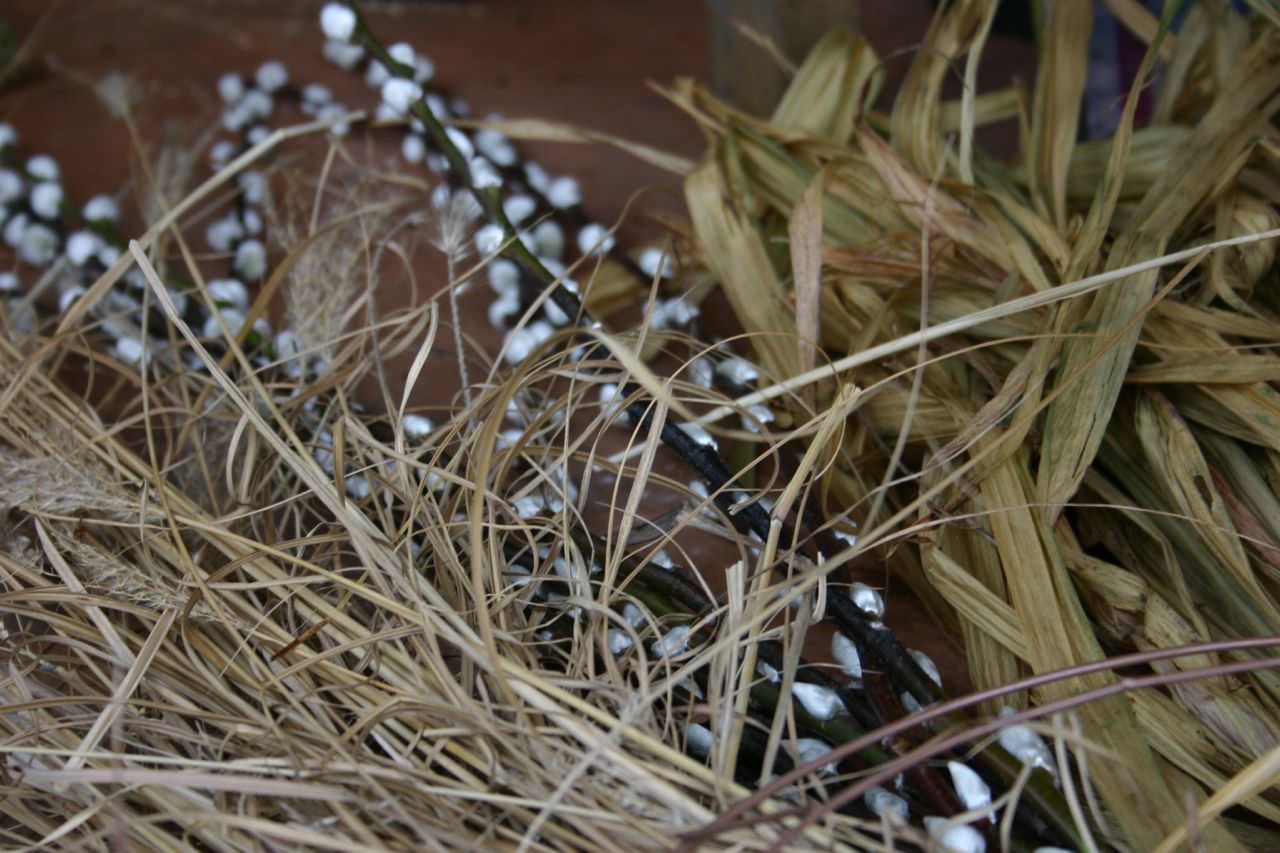
Now you're ready to add your pussy willow. It's really amazing how pliable this stuff is. Start by pushing each individual stem into the base of your nest, weaving it in and out of the criss-crossy wires so that you have what looks like a child's drawing of the sun:


Then take the first stem and bend it firmly round the wreath form. Don't worry about breaking it - go tighter than you might think possible. Martha says you can just tuck them in and that's that...but my pussy willow had other ideas, so I threaded up a really long piece of fishing wire on a needle and 'sewed' the nest tight, holding each stem down as I sewed around it with my needle. There's no denying that this is fiddly, but once you've got the hang of it, it becomes pretty easy to do.


Fiddle around with the nest until you are happy with the look of it, and then line the bottom with some more grass (and I used a bit of sphagnum moss and a few feathers from a forgotten hat too). Make sure it's suitably messy (birds don't do perfect).


My egg is a duck-egg - blown and dyed with pink food colouring. This is very easy to do.

Even better, store your favourite chocolate eggs here. There is something about this nest that says 'hands off...I'm precious, and rare'.

If you don't feel like doing quite this amount of fiddling, then I've written a cheat's guide to nest-making which will appear very soon on the Crocus website...I'll keep you posted.


Sweet violets for a heady concoction

The lovely thing about mothers is that they love you ... whatever. This year, mine will get this:

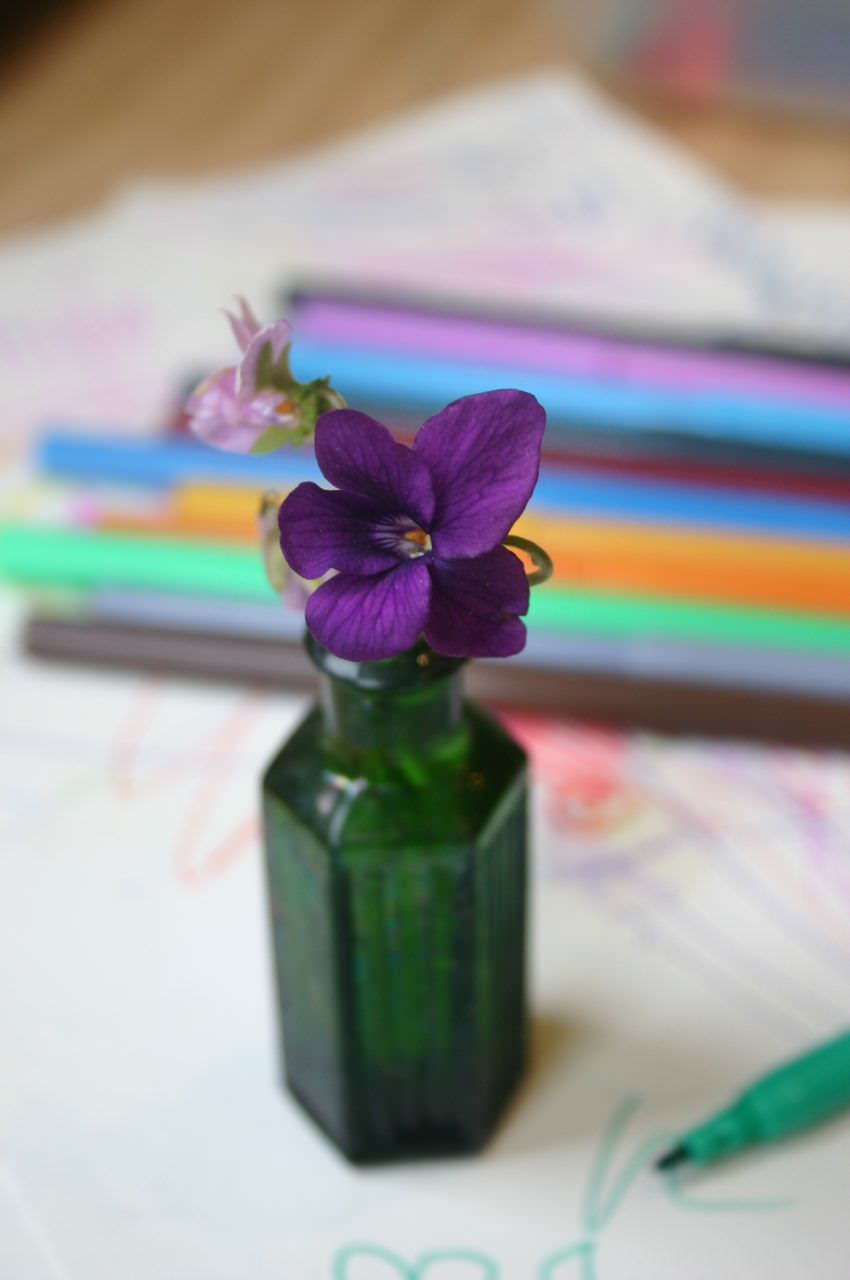
I used to grow all my sweet violets in pots when I only had a balcony to play with, and one of the first things I ever did when I got to my new garden was to plant them all in the ground near my apple tree.  They have thanked me for freeing them and are flowering now as if the world were about to end (I hope it's not, because my new book is launching tomorrow)...

If you want to buy violets then go to a specialist nursery and pick your favourites. I'd suggest sticking with Viola odorata, (I love V. 'The Czar') because although Parma violets look oh so tempting, they don't like frost, so need special treatment.

Violets do this funny thing to your nose: After that sensational initial hit, the scent sort of overwhelms the olfactory senses, and you can't smell anything any more. It's quite a feat for such a tiny little thing...and knowing you've only got a limited time to experience the sublime smell is all part of the charm methinks.

Anyway, I have enough now to make violet syrup, which was one of the first floral concoctions I ever tried. I used to drink it with champagne (those were the days) - as a sort of violet kir royal. Now I just lick it off a spoon with my daughter....smiling.

You need:

15-20 sweet violet blooms, stalks removed

150ml water

Granulated sugar

Method

Boil the water and add the flowers. Remove from the heat and leave to infuse for 24 hours or so. The next day, weigh your liquid and add twice that weight of sugar, heating slowly to dissolve it. Put a lid on the pan and leave it to infuse again for three days. Put it back on the heat and reduce it to a syrupy consistency. Strain and devour.

You can get a taster of my new book in You Magazine on Sunday. Very much hoping you like it...

x


Well Hello Darlin!

Magnolias, bursting...

They've got mink coats on...
...and nothing on underneath

Very eighties...reminding me of....(sorry) Dallas...
...So when they emerge, I always think about JR Ewing, eyeing up the ladies.


Did I ruin magnolias for you?

No?

Thought not.

Desperate measures

I don't tend actively to involve my daughter too much in my gardening - Children command all your attention, and I am not Dawn Isaac...(although I'm trying...very, VERY hard to be).

But I had one of those desperate moments the other day - the sort where you have to kill 30 minutes, and every toy has been played with, and illness is preventing a proper walk, and you're just out of ideas....
generally...
...in life.

So that's when I remembered this, from Homebase, where you buy what looks like a takeaway coffee cup, with compost and a packet of seeds (these are bunny tail grass) inside. You're supposed to sow the seeds with your child, put the lid on, so it becomes its own propagator, water, watch and wait.

She loved it.

...loved doing the seed sowing thing, and every morning she wants to look at it, to see if it's germinated.

It's not like I haven't sown seeds with her before...(we did some peas in the summer)...but I think the attraction of this was partly the packaging, and the fact that she has ownership of this colourful paper cup with its own lid. #simplepleasures

It's an easy way to do the gardening thing with her when I just don't have it in me to gather all the necessary bits and pieces...I'll be buying more and putting them in a cupboard, in exactly the same way that I store lollies....for emergencies.


Look away now....

I can't quite believe I'm about to do this... I am going to talk about my laundry...(there's a little voice in my head saying "I really wonder AT you, Laetitia" ... could it have been Mrs Vetch? Spoils of Poynton? Is that her in there?

Anyhow...

I went to a gardening press event recently. It was lots of fun (if you like gardening, and gardeners).


Anyhow, I was given this labelling thingy from Brother (they said they didn’t mind if nobody reads my blog…they WANTED me to have it…They were also frightfully apologetic about it being sans batteries (SO don’t care - Thank you very much Brother!)

It’s meant to be for labelling your plants and seeds (fat chance of that...I'm too much of a haphazard gardener).


The past couple of weeks my house should have had a red cross on the door. Babety has been ill, and up all night. We cannot go out to see friends because we might be CONTAGIOUS …and of course nursery is out of the question. My adored nanny, who gives me several hours off a week, is also sick as a dawg.


I have proper, exciting amounts of work to do (not mothering work, or housework…which is totally WORK, but fun, scary, career type work. Sick children don’t let you do fun, scary career type work….they need you firmly there…just focused on that hot little head.


I suppose I became a tad deranged - worry…lack of sleep…too much chatting with NHS direct…but what can I say, I was stuck indoors. I did something frightfully strange. During the fleeting moments when I had time to myself…


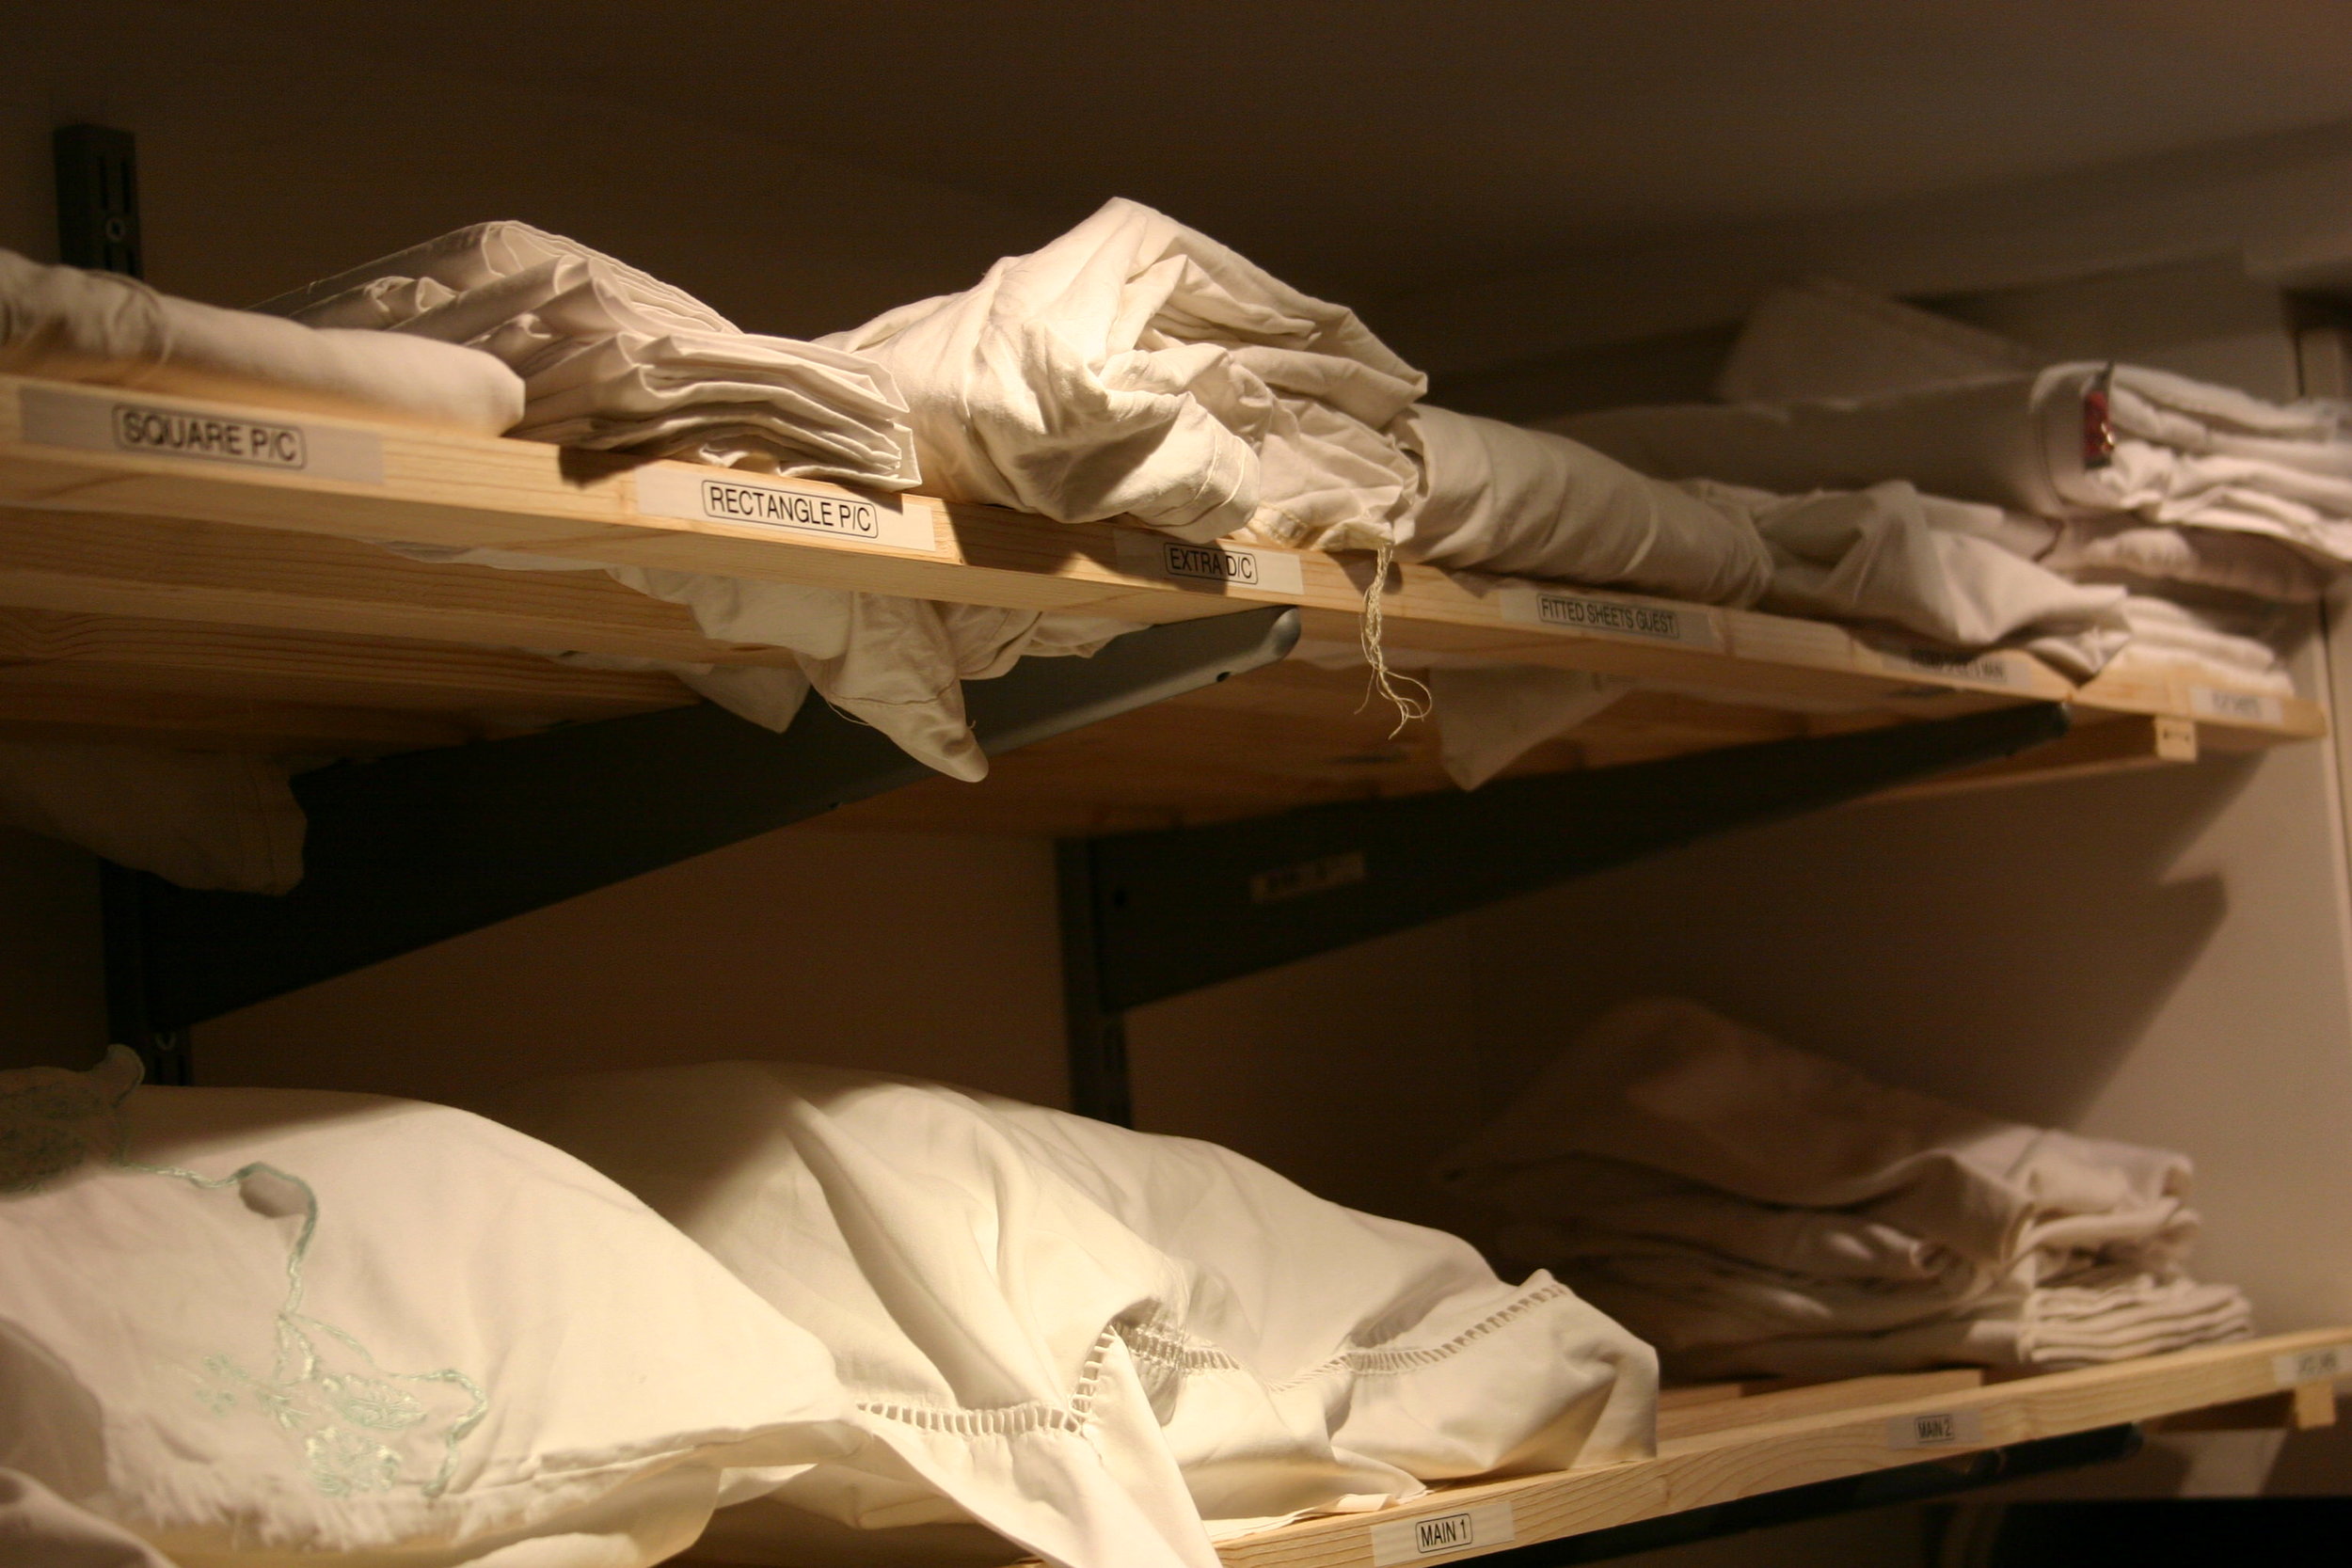
I arranged my linen.

I should have been catching forty winks, or meditating, or something…


But I arranged my linen.


I blame this machine thingy. It makes these lovely labels, that stick to anything, with print that is indestructible (hence the gardening angle). I am hooked. I now have an urge to label EVERYTHING. I think I am going to label the Hunk.


Okay, now I am going to tell you how I arranged my linen, so if you are baulking already then, well, go somewhere else for a bit.


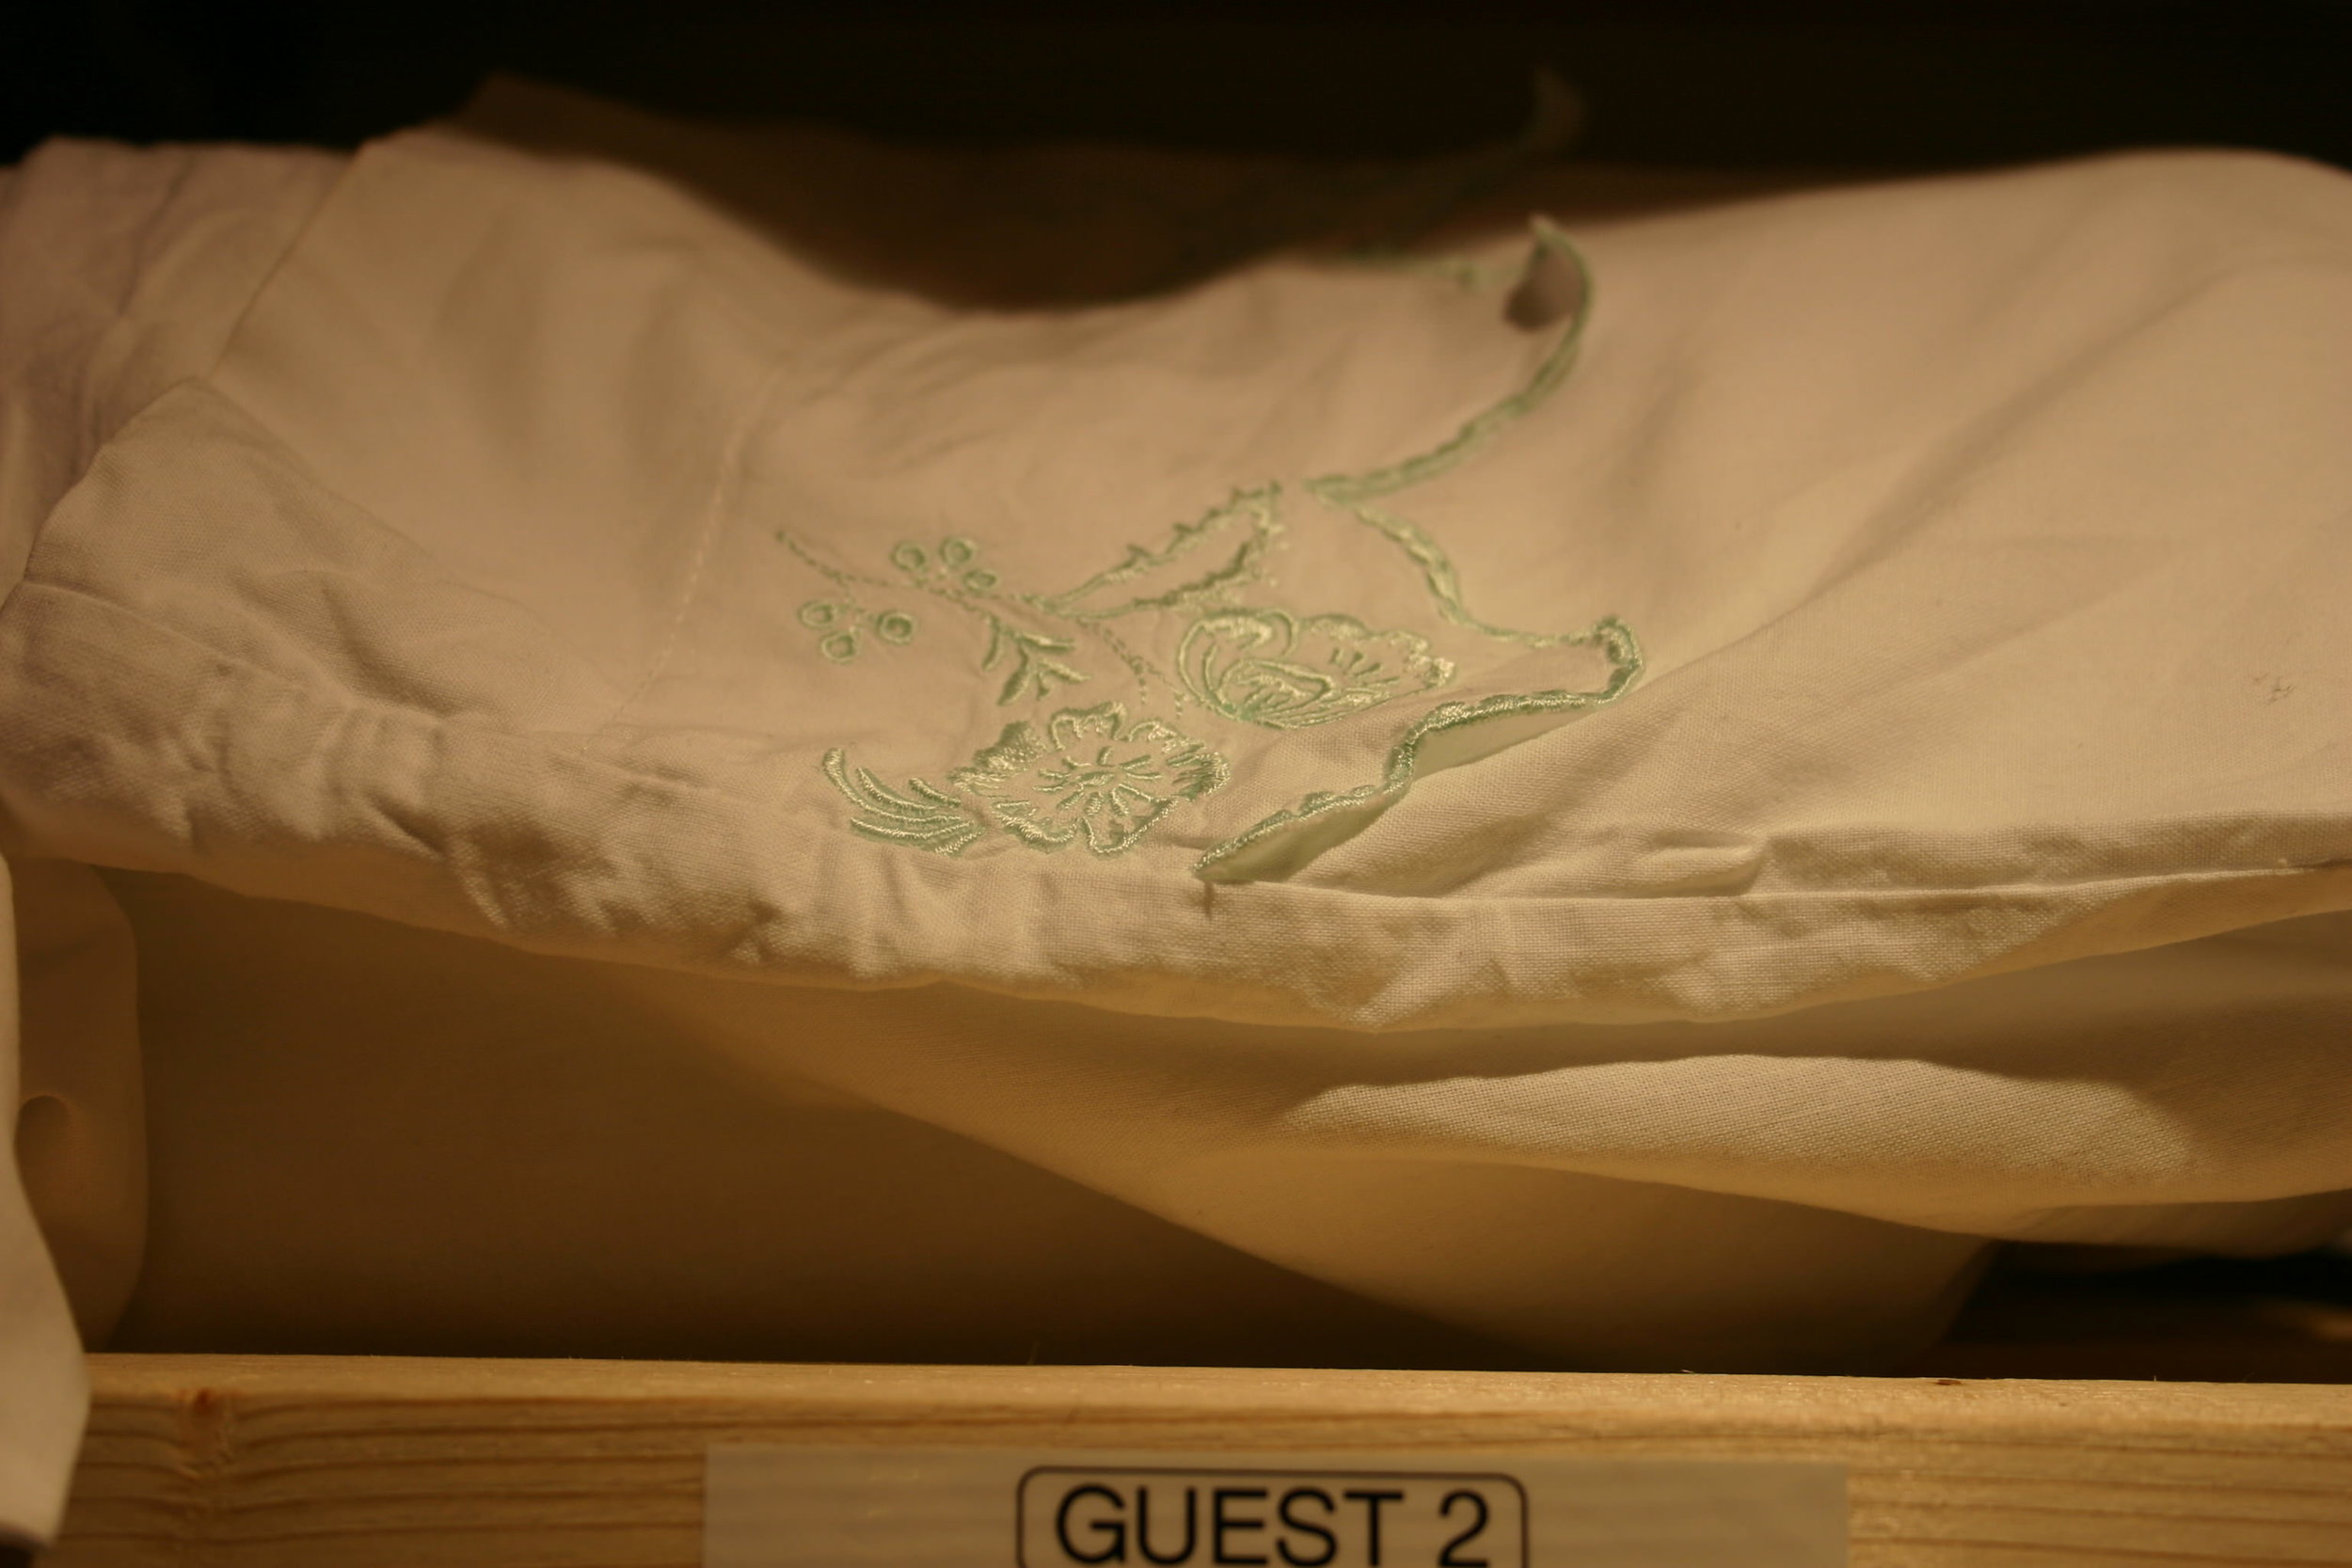
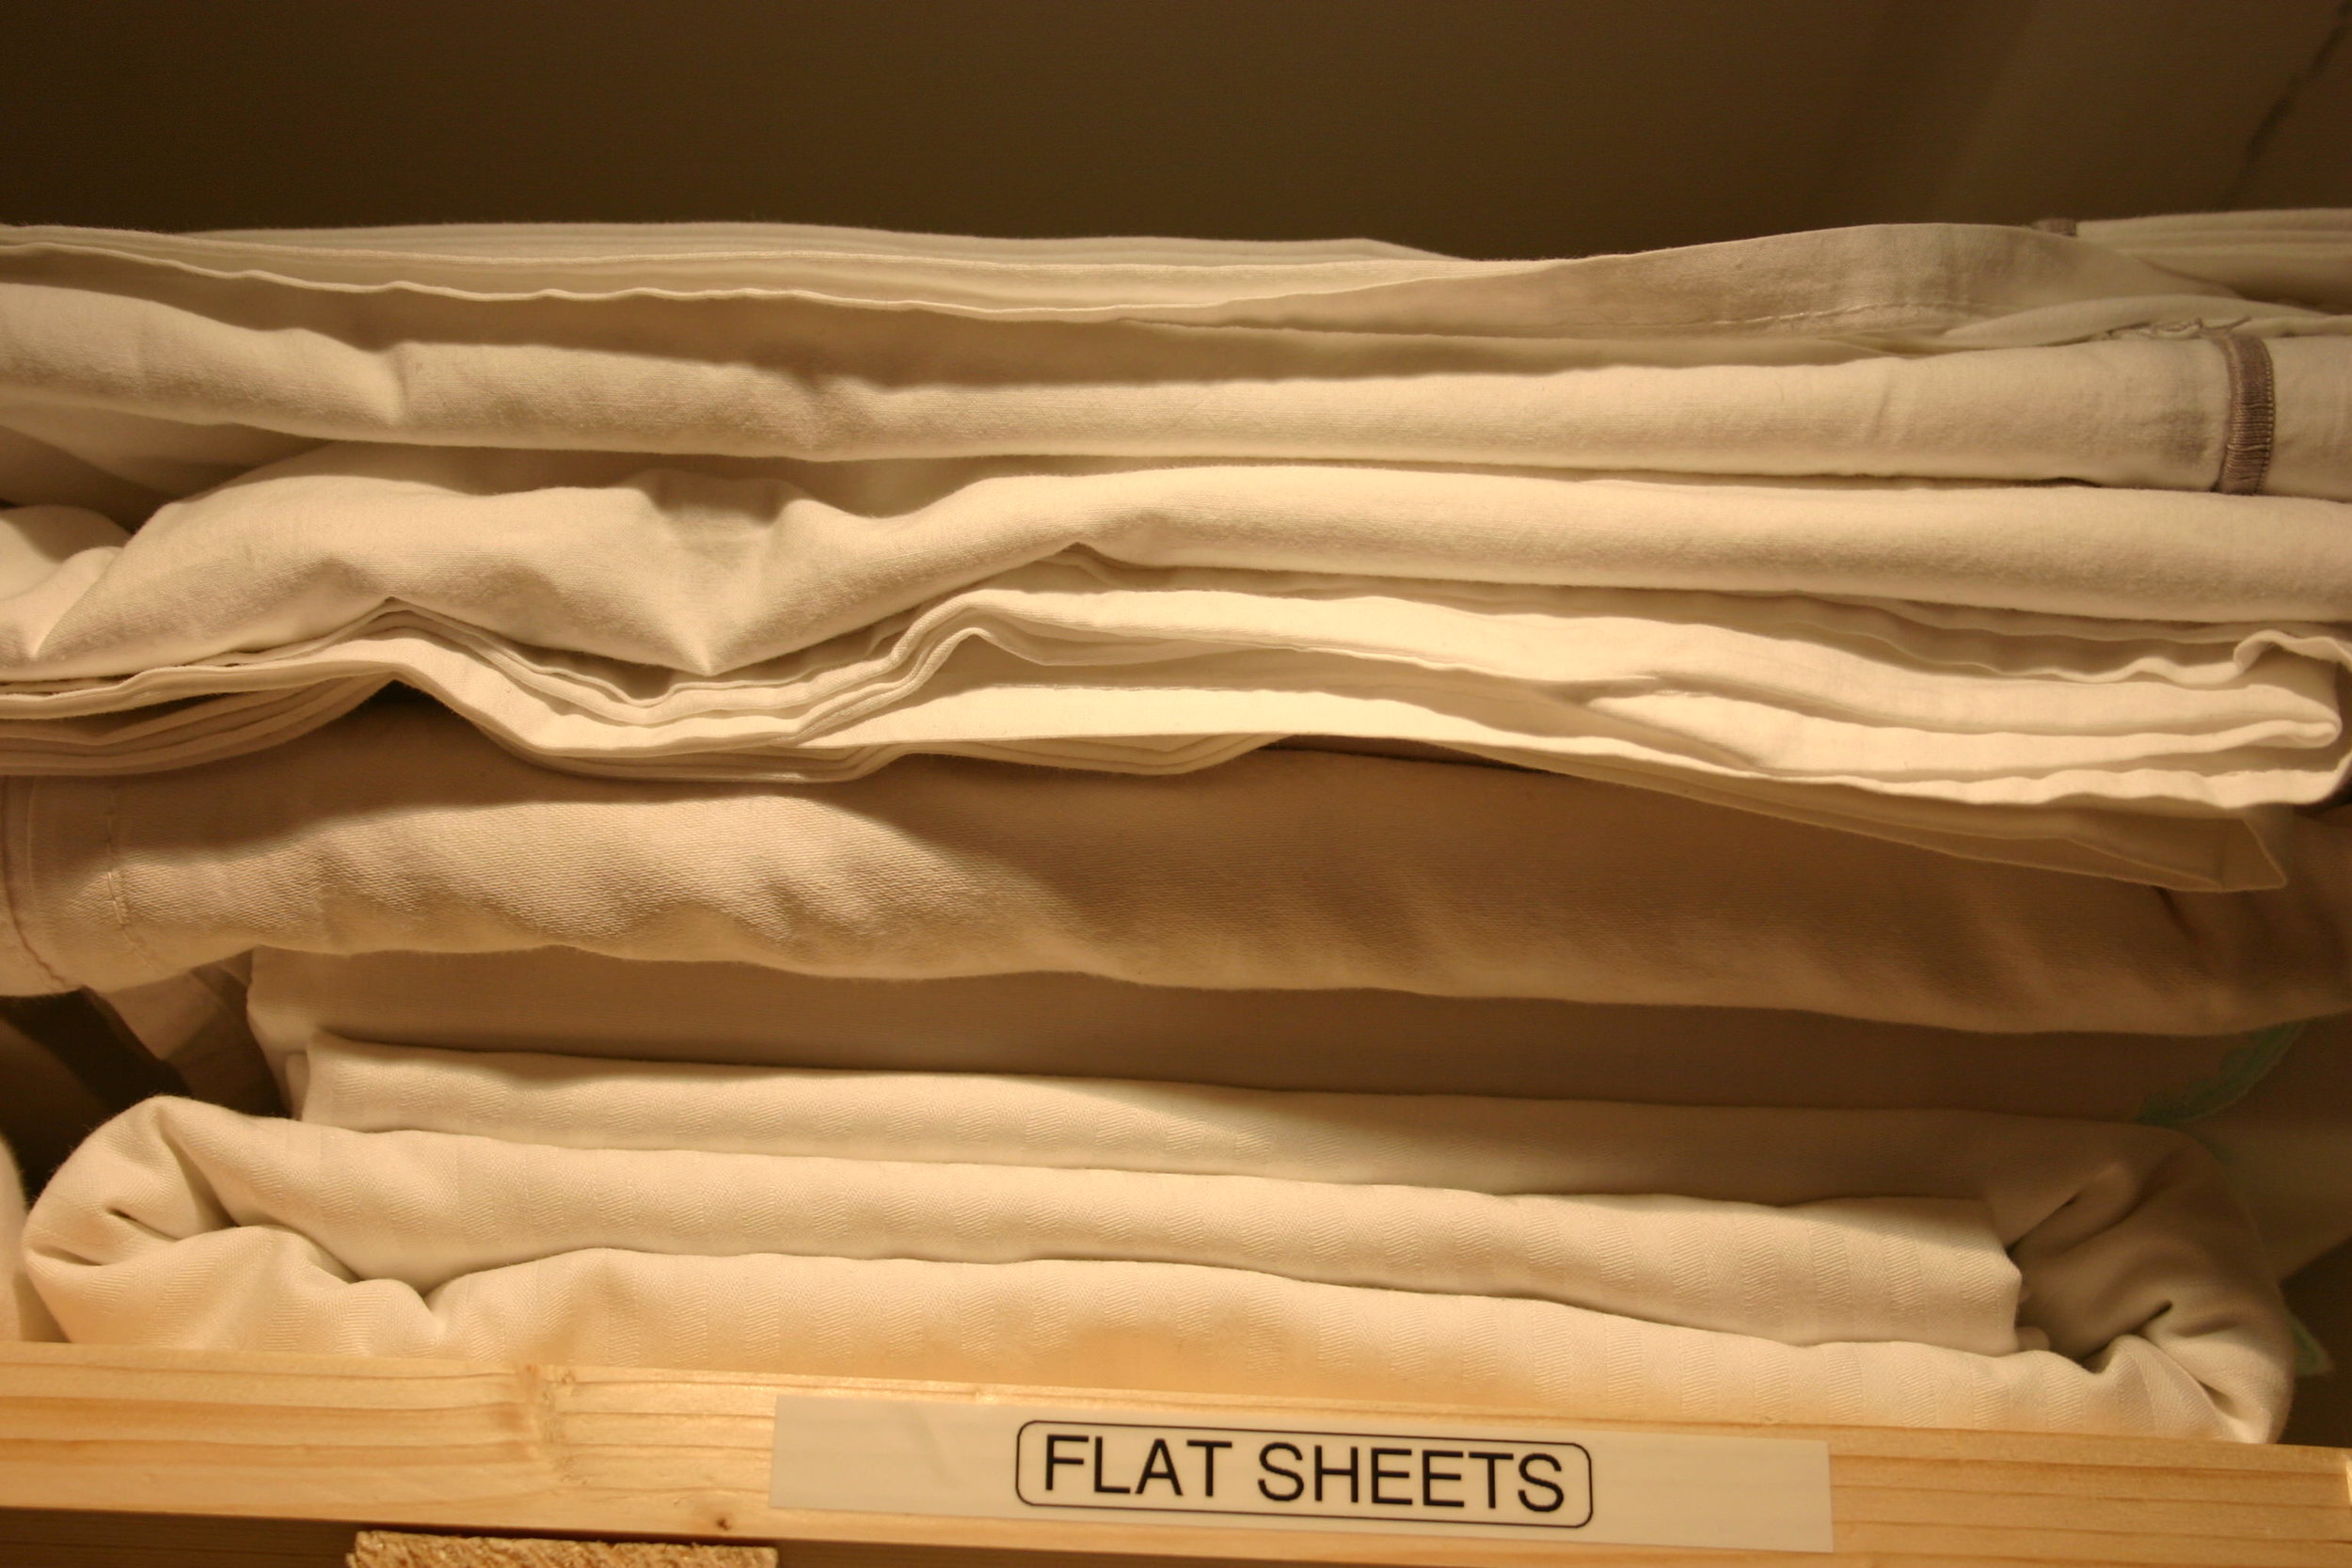
Everything is arranged into sets of linen, (rather than grouping like with like) and then it’s all put inside one of the pillowcases*. Then there are neat(ish) piles of extra sheets for when I'm feeling slatternly and don't want to wash the whole lot.

...a perfect, boring exercise for my addled, flu-ridden brain.

I am disgustingly excited about not having to unfold and re-fold three or four fitted sheets to get the right size one. I am also thrilled to bits that I will never, ever have to do it again.


Amen.


*I got this idea from Martha Stewart, whose cavernous website is my guilty, secret pleasure. This is where I go to get lost when I feel anxious or overwrought…to ogle a sanitized, perfect life, where even the garage is colour-coded and you KNOW where you left the calpol (why, in the first aid cabinet of course…I don’t have a first aid cabinet..I have bottles of half-empty out-of-date calpol sitting in amongst the vinegar, the biscuit cupboard, under the bed)....One day....one day x

Comforts

This lovely thing is soothing my heartstrings right now. I made it in October last year, having bought rather too many hellebores. I wish I had made more - it's one of those all-year-round pots to which you do precisely nothing, and it sits around looking gorgeous in spite of that.

Bruised, sober, ever so slightly funereal...but with bulbs in it, symbolising hope (?)...okay, I'll shut up now - suffice to say, we are one year on from this. Tricky.

Here's how you do it:

So here's the thing -

I love cyclamen and pansies as much as the next person

...and I have buckets of them everywhere...

...but right now I'm in the mood for something that'll go the distance with me...

Here's a lovely pot that will remain lovely all year round. I've been growing hellebores in pots and window-boxes ever since I began gardening and they are completely low-maintenance and trouble-free. I've added some bulbs to this pot for spring zing, but a hellebore and some pretty ivy is enough for me...enjoy.

You need:

1 gorgeous hellebore...they're on sale now and there are a squillion different permutations 3 little ivy plants 5 dwarf daffodil bulbs A pot (mine is 30 cm diameter) Some multi-purpose compost, mixed half and half with John Innes no. 2, because this pot is not a flash-in-the-pan part-time lover...it's a keeper.

Simply fill the pot with compost half full and put a circle of bulbs around the edge. Place your hellebore in the centre and fill in the gaps, squidging your ivy into the sides as you go. Don't worry about the bulbs getting through...they always manage somehow. Water it thoroughly and enjoy x

A January Kiss

I had something all ready to make for a shiny, happy New Year project, and then I went outside and did something else instead....

Nothing new there, except that the something else was picking up rotten apples and clearing away brown, soggy leaves - not exactly the kind of thing you spring out of bed for, and yet those two hours of raking, sweeping and clearing have been my favourite for a long time.

My book, in its proper book form, got delivered to me recently...that was a pretty damn great moment I can tell you. And yet with the inevitable stroking of the shiny new pages, and the hugging of the thing, and the tears of joy shed (yes, I'm a bit soppy), there were still the (guilt-inducingly high-class) questions:

"Will anybody read it?"

"Will they like it if they read it?"

"Will I ever write another one?"

"Will anyone ever give me another job?"

...the list goes on and on


...And then there was my daughter beginning another term at nursery, and flinging her arms around me afterwards and saying "I need to go to school AGAIN!". That was a rather fabulous moment (I can't remember ever feeling that way about school). And yet, there were the questions:

"Will things always be joyful for her?" (to which I know the answer is 'No, not always, that's life'.

"Are all the other children being kind to her?"

"Is she being kind to all the other children?"

"Am I doing enough?"

etc...etc...

So yes, the rotten apples, which were so soft and yucky that they kept exploding in my hands, and I have come away smelling like cider...the sweeping, the slow, steady, physical act of clearing...of doing something simple and silent and alone, with no questions....That's been my favourite moment so far this year.

There are daffodils and hellebores out, and sarcococca, and snowdrops coming up...

And hey....it's getting LIGHTER!

Post-party paperwhites

More bulbs, I know, but hey, this is seasonal stuff...and I'm not going to argue with that.

I usually put a load of paperwhites (little daffodils, highly scented and prepared to flower indoors over the winter) into containers in late October for Christmas blooming, but, as with the rest of what I've been doing this year, everything went a bit squiffy this autumn because I've been finishing my book...c'est la vie.

The last paperwhites are available right now in the shops. You can put them in ordinary compost or bulb fibre, but I like growing them in deep vases which reduces the need for twiggy support (indoor stuff tends to flop over eventually because we live in the warm).

You need:

Some paperwhite narcissi bulbs

Some glass vases

Some sort of 'mulch' (stones or marbles or gravel) I've used slate, which is...yeah, 'interesting' and not the prettiest thing on the planet, but I happened to have it to hand.

Method:

First, wash your mulch (my slate chippings were covered in dust, which would turn the water brown (no thanks)

Fill your vases with a layer of your chosen mulch (6-8cm is ample) and then fill with water so that the water comes just level with the top of the mulch.

Now place your bulbs a-top your stones or whatever. Soon, their clever roots will 'feel' that there is water below, and start growing downwards. The long stems will grow upwards, supported by the sides of your chosen container.....and then there will be those blooms....and that scent...Delish

Take back your mint...

...Take back your pearls....

It just turned chilly enough for me to wish I was on the beach wearing a bikini.

...and mint is THE thing to evoke the freshness of summer.

Here's how to have it over the winter.

You need:

1 mint plant (do you already have one? You probably think it's died...It hasn't...It's just having a bad hair day, because it's winter).

1 pot, with holes in the bottom

A bit of multi-purpose compost (peat-free please)

Some horticultural grit, or pea gravel.

Method:

Take your plant and knock it out of its pot, or yank it out of the ground (whatevs, just get a nice bit of root...long and squirly).

Cut the root into small bits, about 2cm long.

Now fill your pot with compost, just a couple of centimetres shy of the rim, and lay the root pieces, 2-3cm apart, on the surface.

Cover the root cuttings (for that is what they are) with grit or gravel, water the whole thing, and leave it inside your kitchen windowsill.

Magic will happen...and soon (the above photo and the one below were taken exactly 14 days apart) There is nothing quite so lovely as seeing those pale green hairy leaves peeping up at you - just keep the thing watered and you'll have mojitos for Christmas.


Hey, you!...yes YOU!

My publishers have produced a calendar...and very pretty it is too. It's to get people in the mood for my book, which will be out in March...

...Would you like one? Or two? Or three?

I've got hold of some and I thought I'd sell them for charity.

It's a useful piece of kit...You'll never turn up to work on a bank holiday, or forget Valentine's day with one of these babies.

Be warned, it does have my mug on the front, but that's the bit that faces the wall when you've hung it up, so phew, basically.

Just donate what you want by clicking the button below (minimum donation of £3 per calendar please, to cover my costs), then email me (Laetitia AT laetitiamaklouf.com) with your postal address and how many calendars you want, and I'll send one out to you quick-sticks!

I'll be sending the profits to RSPCA who help animals out of truly hideous situations, so please give generously...it's Christmas.

THANK YOU!

...and if you've never, ever shared or re-tweeted or told someone about a post before...then please make this your first time...I'd love to raise LOTS of money for this wonderful charity xxx

Violet's Spoon


I never knew anything called 'stir-up Sunday' existed until I saw it on Twitter.

Is it an American thing? Why have I missed it? Possibly because my mother (very sensibly) buys her Christmas Cake from a SHOP.

Anyhow, I'm a sucker for family stuff like this (well, I'm in the first bloom of motherhood aren't I)...so I did the cake thing, and we stirred....

and wished with eyes tightly closed...

And because it is a CEREMONIAL type of stirring, I dug out Violet's spoon.

Violet's spoon was given to me by my cousin Paula when I got married. It belonged to her grandmother (Violet) and is more a weapon than a spoon really.

It is vast and long-handled and great for doling out food when you've got friends round, because you can serve someone at the opposite end of the table without getting up from you chair....(very lazy).

I love it.

...so as I was stirring and wishing, I knew I had to celebrate the spoon a bit more...

You need:

A spoon like Violet's (or, obviously, any shallow bowl-like thing). See here for more suggestions

Some sempervivums or other succulents. I have babies a-plenty from this project, but you can find them in the better garden centres (the ones that haven't removed every single plant and replaced them with yawny christmas things).

Multi-purpose compost

Horticultural grit or gravel

Method:

Carefully select a few choice rosettes, nipping them from your plant with your fingernails - (the babies shooting outwards from the main mother rosette are perfect for this, but if your plant doesn't have any then just carefully pull a whole rosette off your plant, remove the bottom two layers of leaves so you get a 'stalk' and use that.)

Put a small amount of compost in the spoon or whatever you are using, dampen it slightly with water so that it's moist but not wet (turn the whole thing upside down and squeeze any excess water out through your fingers if you add too much).

Now just poke your rosette or rosettes into the compost, and finally fill in the gaps with gravel.

Display. (I will be displaying Violet's spoon indoors in a bright place over the winter, and then re-planting the semps outside in the spring).

Watering. I'll be watering Violet's spoon with a tiny smidgin of water every couple of weeks, but only because they're indoors. My outdoor ones get nothing at all...ever.


My thanks to English Mum for posting about stir-up Sunday...Her cake recipe is here and looks fabulous. I used my favourite cake book of the moment, Pam Corbin's River Cottage Cakes, because I happened to have it in my handbag when I was a the supermarket (yes, you read that right...it is hand-bag size). Her Christmas cake recipe is called 'The Mother Cake' - brilliant name.

Cyclamen wedding cake


All of us...(oh, not you then...?) okay, but MOST of us have one of these thingys lying around.... a wire cake stand, that is...

After the initial 'ooooh, that's purdy, I'll so USE that for all the, CUPCAKES I make!', mine ended up in a cupboard just TAKING UP SPACE.

So I thought I'd use it for some kind of confection of cyclamen, which, let's face it, are the only thing widely on sale right now everywhere.

You need:

A cake stand like mine, preferably one that's annoying you.

Cyclamen. For my cake stand, I used 6 little plants (all on sale, because they were in a sorry state, and I had to save them). You could also use little ferns, or little pots of ivy, or pansies.

Multi-purpose compost

Sphagnum moss, which comes in sheets - perfect for lining anything that is holey, and prettifying anything that is ugly.

Method

Line the wire stand with moss so there aren't any gaps. Now remove the cyclamen from their pots and squish them in, using extra multi-purpose if you see any gaps. Water it and disPLAY. I put a candle in the top bit, but chocolate fingers would be even better (or of course, another cyclamen).

You're going to need to put the whole thing on a big plate or tray to catch any bits. Keep the plants watered so that the compost remains moist but not sopping. I take the whole thing outside and let it drip out before I return it to the table. I tend to water cyclamen quite carefully because if you let big droplets linger on the leaves or stems then they often rot. To avoid this, I use a watering can with a thin nozzle and stick it under the leaves so that I only get water on the compost.

And last but not least, remember to dead-head. This will give you more flowers....

...and you'll like that.

x